 Pin it
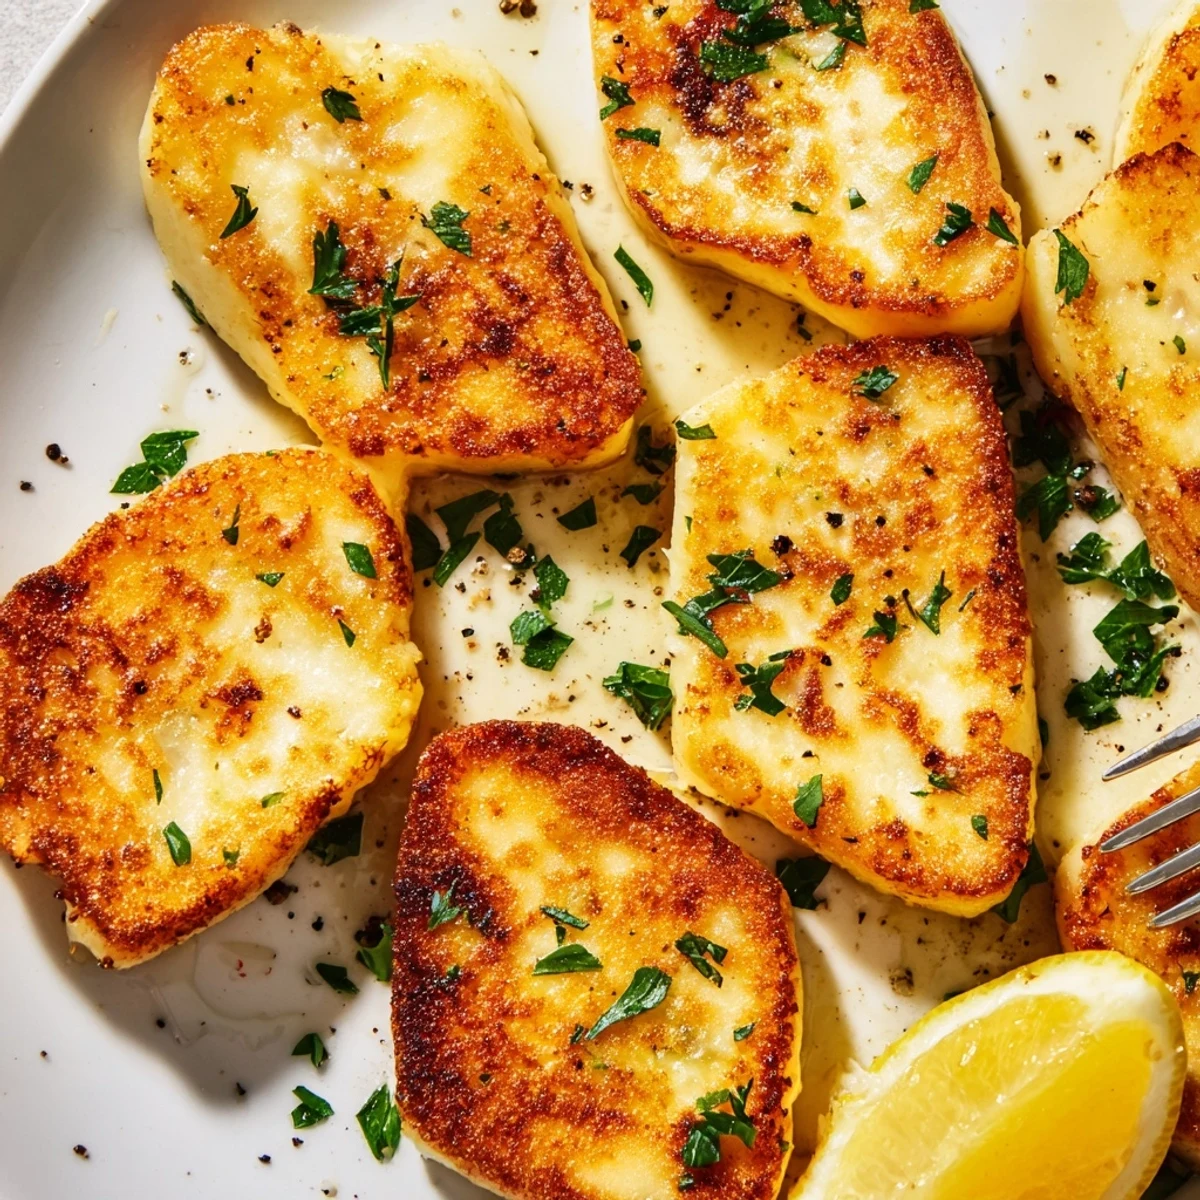
 Create golden, crispy halloumi in under 15 minutes with this simple Mediterranean technique. The salty cheese develops a beautiful crust when fried in hot olive oil, while the interior stays perfectly tender. Fresh lemon juice cuts through the richness, while parsley adds bright herbal notes. This versatile dish works as an appetizer, side, or part of a mezze spread.
The sound of halloumi hitting a hot pan is something between a sizzle and a song, and once you hear it, you will chase that moment in your kitchen forever.
A friend brought a block of halloumi to a rooftop potluck last summer, and I panicked because I had no plan for it.
Ingredients
- 225 g halloumi cheese: The star of the show, so buy the freshest block you can find and avoid pre sliced versions that dry out faster.
- 1 tbsp olive oil: A thin coating is all you need since the cheese releases its own richness as it cooks.
- ½ lemon, cut into wedges: Bright acidity cuts through the saltiness and wakes up every bite.
- 1 tbsp fresh parsley, chopped (optional): Adds a pop of green and a grassy freshness that makes the dish feel complete.
- Freshly ground black pepper, to taste: A few cracks over the top right before serving add gentle warmth without overpowering the cheese.
Instructions
- Prep the Cheese:
- Remove the halloumi from its packaging and pat it thoroughly dry with paper towels, because excess moisture is the enemy of a good sear.
- Slice Evenly:
- Cut the block into uniform 1 cm thick pieces so every slice cooks at the same pace and nothing burns while you wait.
- Heat the Pan:
- Warm the olive oil in a non stick skillet over medium high heat until the surface shimmers and a faint ripple appears.
- Fry Until Golden:
- Lay the slices down without crowding the pan and fry for 2 to 3 minutes per side until each face is deeply golden and crisp.
- Finish and Serve:
- Transfer to a warm plate, squeeze lemon juice generously over the top, and sprinkle with parsley and pepper before the cheese cools and firms up.
 Pin it
 That rooftop evening turned into one of those nights where everyone stood around the folding table eating off the cutting board because nobody wanted to wait for plates.
Serving Ideas Worth Trying
Layer the fried slices over a bed of roasted vegetables with a drizzle of honey for a sweet and salty contrast that surprises people every time.
Choosing the Right Pan
I once used a cast iron skillet thinking the heat retention would help, but the cheese bonded to the surface like it never wanted to leave.
Quick Reference Checklist
A few small things to keep in mind before you start will save you from learning the hard way.
- Pat the halloumi dry like you mean it, moisture is the only thing standing between you and a perfect crust.
- Do not walk away from the stove, the window between golden and burnt is surprisingly narrow.
- Serve immediately because halloumi waits for no one and reheating never brings back the magic.
 Pin it
 Keep a block of halloumi in your fridge at all times and you will never be without a crowd pleaser that asks almost nothing of you.
Recipe FAQs
- → Why do I need to pat the halloumi dry before frying?
-
Removing excess moisture with paper towels helps the cheese achieve better browning and prevents splattering in the hot oil. Dry surfaces caramelize more effectively for that golden crust.
- → Can I use butter instead of olive oil?
-
Yes, butter works well and adds extra richness, though it may brown faster than olive oil. Monitor the heat carefully to prevent burning.
- → How do I know when the halloumi is ready to flip?
-
Look for a deep golden-brown color developing on the edges and bottom. The cheese should release easily from the pan when properly seared, usually after 2-3 minutes.
- → What other herbs work well with fried halloumi?
-
Mint, oregano, thyme, or dill all complement the salty cheese beautifully. Fresh herbs work best, adding brightness that balances the rich flavors.
- → Can I prepare halloumi ahead of time?
-
Halloumi is best served immediately while hot and crispy. However, you can slice it ahead and keep it refrigerated until ready to cook for faster preparation.