 Pin it
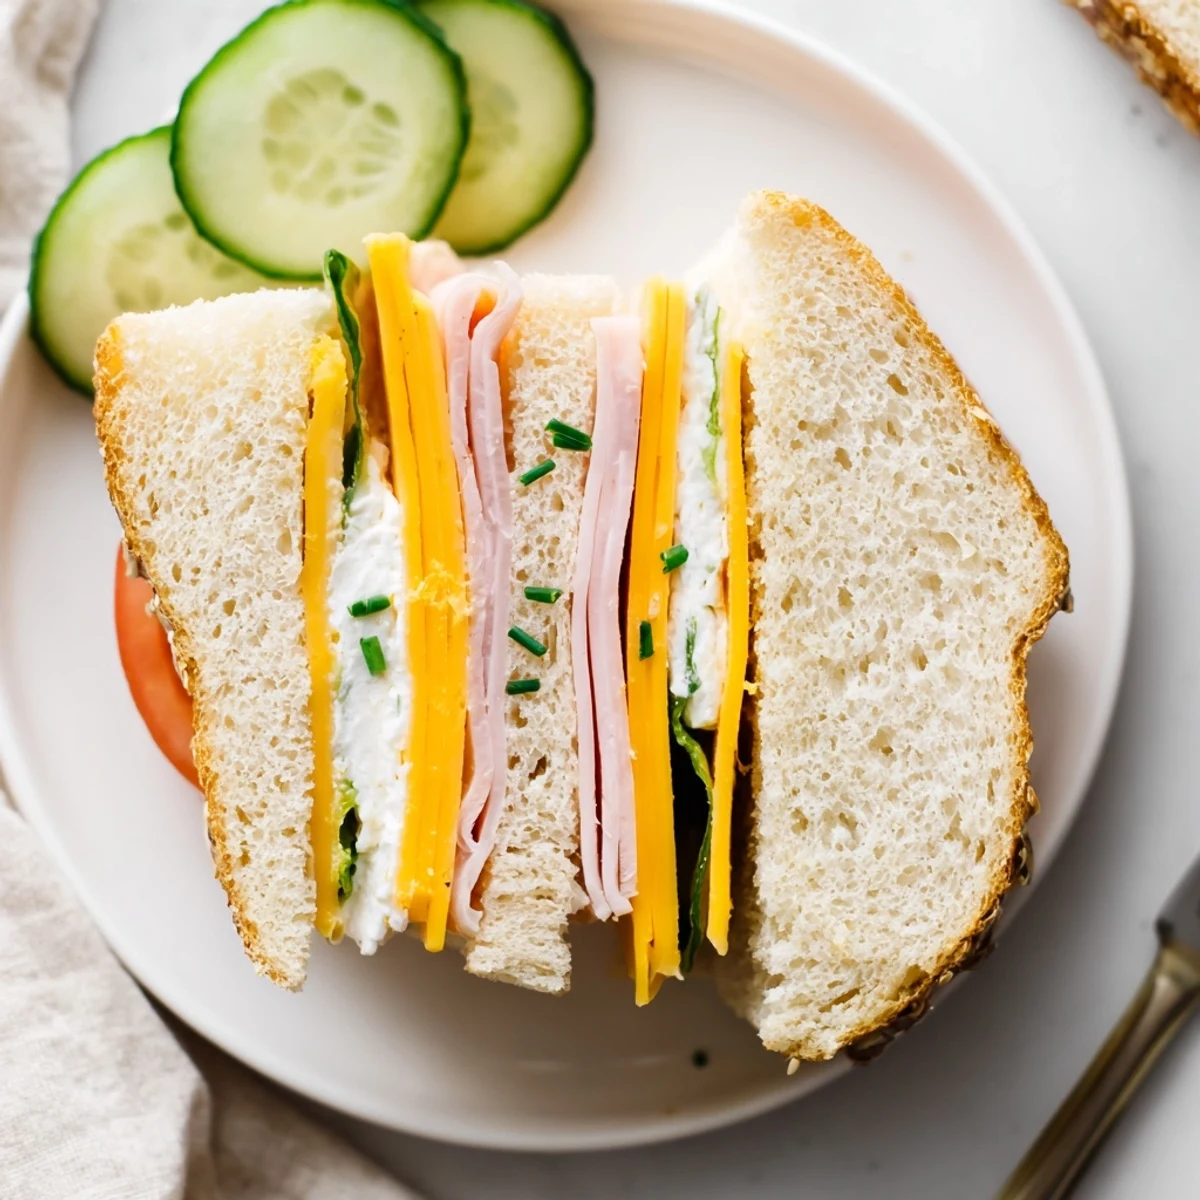
 Mini sandwiches deliver an easy platter of bite-sized layers: spread mayonnaise or cream cheese on soft bread, add cheddar, ham or turkey, or cucumber, tomato and lettuce. Trim crusts and quarter each sandwich to yield 16 pieces. Ready in about 20 minutes, they store briefly under a damp towel. Swap fillings for smoked salmon, egg salad, or roasted vegetables for variety.
The first time I made mini sandwiches on a whim for a lazy Sunday picnic, the whole kitchen turned into a flurry of mismatched fillings and spontaneous laughter. There’s something quietly satisfying about slicing through pillowy bread and seeing layers of color peek out from the edges. Every ingredient I touched felt like a new possibility, each sandwich a tiny blank canvas. The clusters of fragrant fresh herbs on the cutting board had me pausing just to inhale the cool, green scent between slices.
I still recall setting out a platter of these mini sandwiches for a last-minute movie night and how quickly conversations faded as everyone grabbed a handful. Someone dripped a bit of mayonnaise on the couch, but no one minded—the sandwiches were too good to protest. It was a small reminder that sometimes simple food creates the most shared moments. I’ve since made them for all kinds of occasions, but that easy, messy gathering stands out.
Ingredients
- Bread: Soft, fresh sandwich bread works best—sometimes I mix white and whole wheat for visual appeal and variety.
- Mayonnaise: Adds creamy richness and helps hold everything together without making the bread soggy.
- Cream cheese: Letting it come to room temperature first makes spreading a breeze (no ripped bread here).
- Cheddar cheese: Its sharp flavor stands out, and thin slices fold beautifully on small sandwiches.
- Ham or turkey (optional): I keep this optional so vegetarians aren't left out—good quality meat makes a difference if you include it.
- Cucumber: Thin slices lend crunch and freshness, especially welcome on warmer days.
- Tomato: Draining slices on a paper towel prevents the bread from getting soggy.
- Lettuce: Crisp leaves like romaine or butter lettuce lend a gentle crunch and hold together well in small sandwiches.
- Salt and pepper: Just a dash wakes up all the flavors—don’t skip this simple step.
- Fresh herbs: Chives, dill, or parsley bring a gentle aroma and make the platter look inviting.
- Pickles or olives: Totally optional, but they give little pops of tang and color when used for garnish.
Instructions
- Set up your workspace:
- Clear off a counter or table and arrange your tools and ingredients so you can move smoothly through the assembly line—this turns the process into less of a chore and more of a satisfying ritual.
- Spread the base:
- Using a small spatula or butter knife, gently swipe each bread slice with either mayonnaise or cream cheese, listening for that gentle crumbly sound as you reach each edge.
- Layer the fillings:
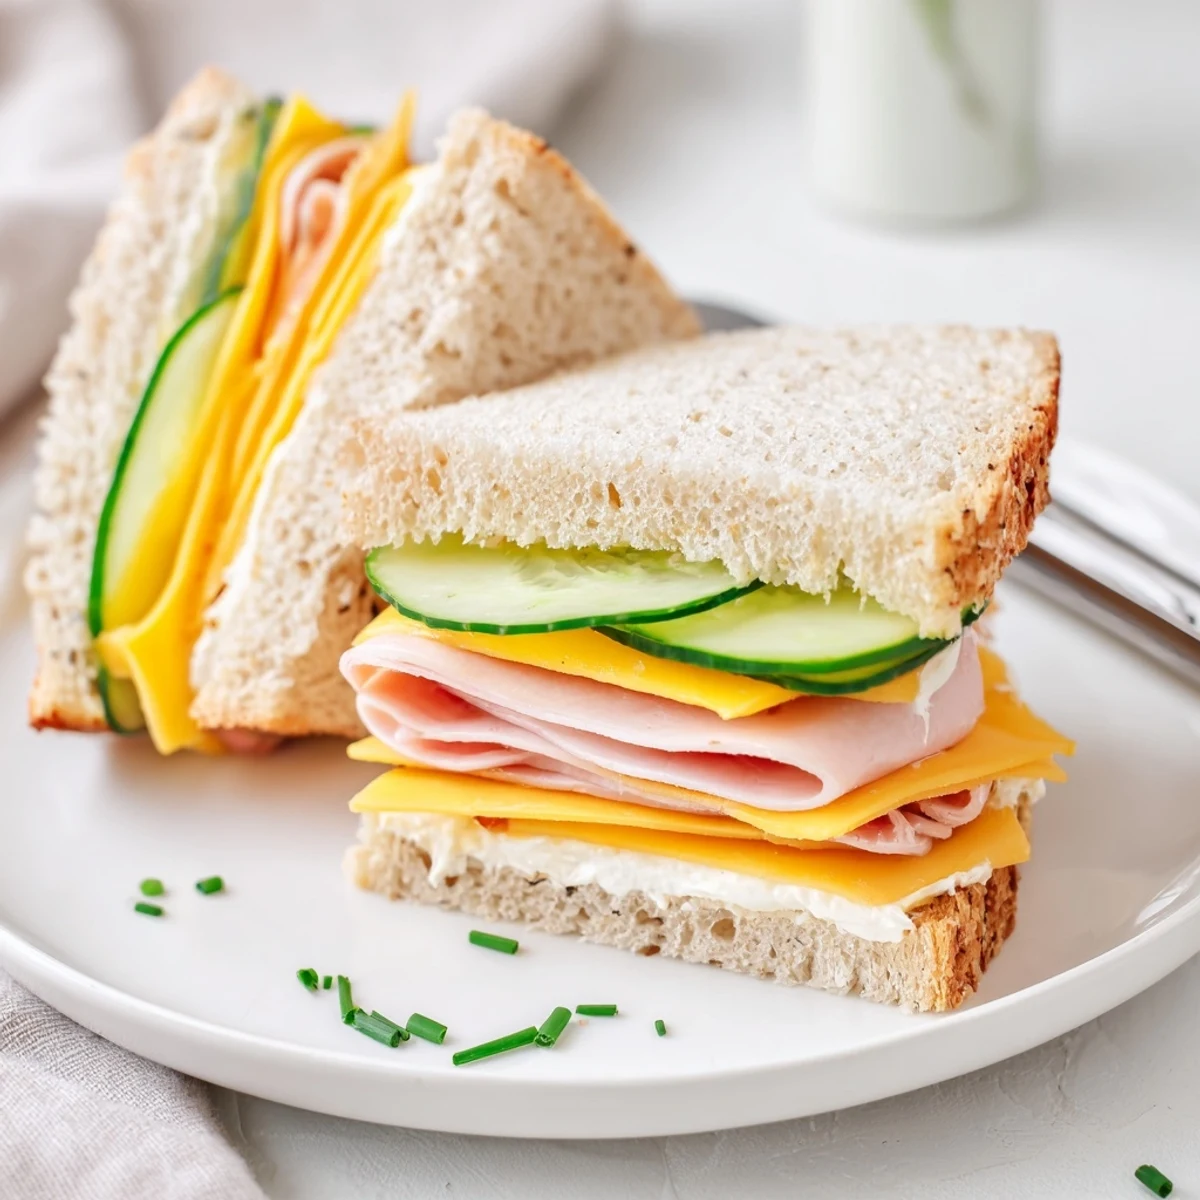
- On some slices, artfully layer cheddar and ham or turkey; on others, arrange cucumber, tomato, and lettuce—press the veggies in lightly so they set into the bread.
- Season just right:
- Sprinkle a little salt and pepper over the fillings, pausing to tap the salt lightly for even coverage.
- Top and trim:
- Place the remaining bread slices on top to close the sandwiches and press down gently; if you fancy, trim off the crusts in a single, confident swoop.
- Cut into minis:
- With a sharp knife, slice each sandwich into quarters—I love alternating between triangles and little squares for visual interest.
- Garnish and serve:
- Arrange them however you like on your favorite platter, scattering herbs, pickles, or olives across for a final festive touch.
 Pin it
 One rainy afternoon, I assembled a batch for my friend’s birthday and she burst into laughter watching me fuss over the garnish. As we chatted over mugs of tea, the sandwiches turned snack time into a cozy ritual. Those tiny bites ended up being the guest of honor at our little celebration—everyone agreed they tasted like friendship in bread form. Sometimes, the simplest nibbles leave the biggest impression.
Mix-and-Match Filling Ideas
Over time, I’ve raided my fridge for new filling combos—a sheet of roasted veggies, a scoop of egg salad, even tangy pickled onions found their way in at some point. Smoked salmon with cream cheese and dill makes an elegant variation if you’re feeling extra, and most leftovers can be tucked into these sandwiches for a new twist. Swapping breads like rye or pumpernickel sparks curiosity and adds a little drama to the platter.
Easy Assembly for a Crowd
The real magic is how stress-free these are for gatherings—line up the bread, let everyone pitch in with their favorite fillings, and you’ve got a party activity and snack all in one. Prepping all your veggies and spreads ahead of time means that assembly takes just minutes (which is handy when you’re running late and still want to impress). Kids, in particular, love being in charge of ‘designing’ their own bites, and it keeps everyone busy and happy.
How to Store and Serve Fresh
If you make these ahead of time, a damp (not wet) paper towel over the top keeps everything tender without drying out the bread. A tight wrap with plastic keeps them fresh for a couple of hours in the fridge, and I’ve learned that serving straight from the cold makes the flavors crisp and bright. Setting out a little bowl of extra herbs and pickles lets each guest jazz up their snack to taste.
- Keep sandwiches in a single layer to prevent squishing.
- If your bread is very soft, chill briefly before cutting for neater edges.
- Let everyone reach in with bare hands for the true party experience.
 Pin it
 It’s amazing how quickly a platter of mini sandwiches can transform an ordinary day. However you fill and serve them, these tiny bites bring people together in all the best ways.
Recipe FAQs
- → What bread works best?
-
Soft sandwich bread such as white, whole wheat, or multigrain is ideal for easy spreading and neat cutting; rye or pumpernickel add color and flavor contrast.
- → How do I keep them from drying out?
-
Cover the platter with a damp paper towel and plastic wrap or store in an airtight container in the fridge for short periods to retain moisture without sogginess.
- → How can I make variety quickly?
-
Prepare a few filling stations: cheese and cured meat, cucumber-tomato-lettuce, and a creamy spread option. Mix and match slices before trimming and cutting.
- → Any tips for neat assembly?
-
Spread a thin, even layer of mayonnaise or cream cheese to act as a barrier against soggy bread, press gently, trim crusts if desired, then cut into quarters for uniform bites.
- → How far ahead can I prepare them?
-
Assemble up to a few hours ahead and chill under a damp towel. For longer lead time, keep components separate and finish assembly shortly before serving.
- → What vegetarian swaps work well?
-
Use cream cheese, roasted vegetables, smoked salmon alternatives, egg salad, and an array of fresh herbs to create satisfying meat-free layers.