 Pin it
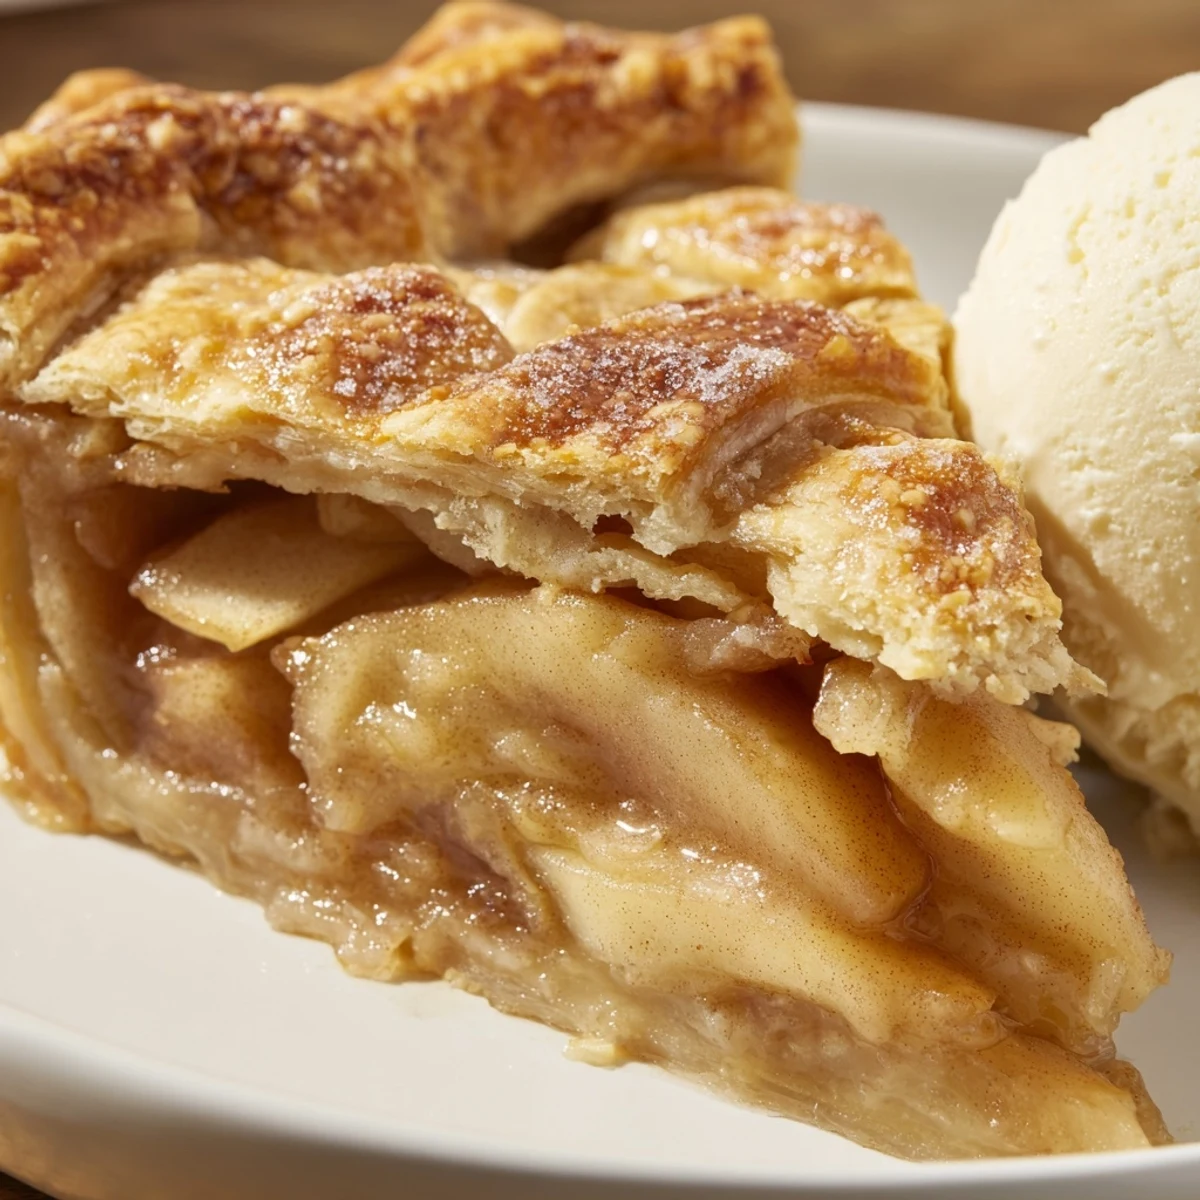
 This timeless American dessert combines tart Granny Smith apples with warming spices like cinnamon, nutmeg, and cloves, all nestled inside a homemade buttery pastry crust. The apples soften beautifully while baking, creating that perfect tender-crisp texture everyone loves.
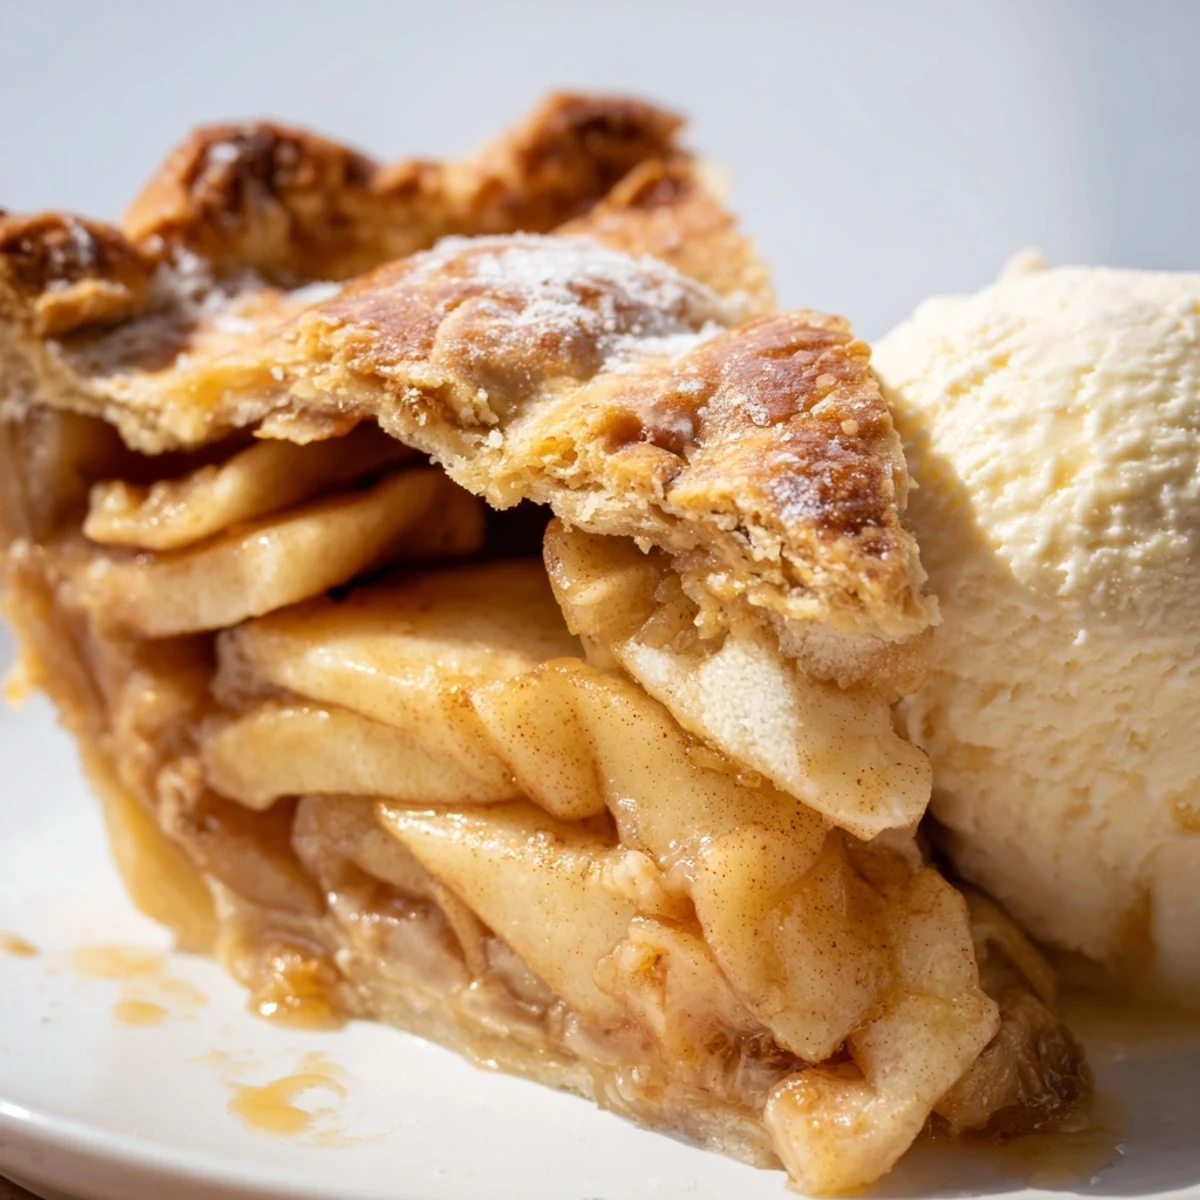
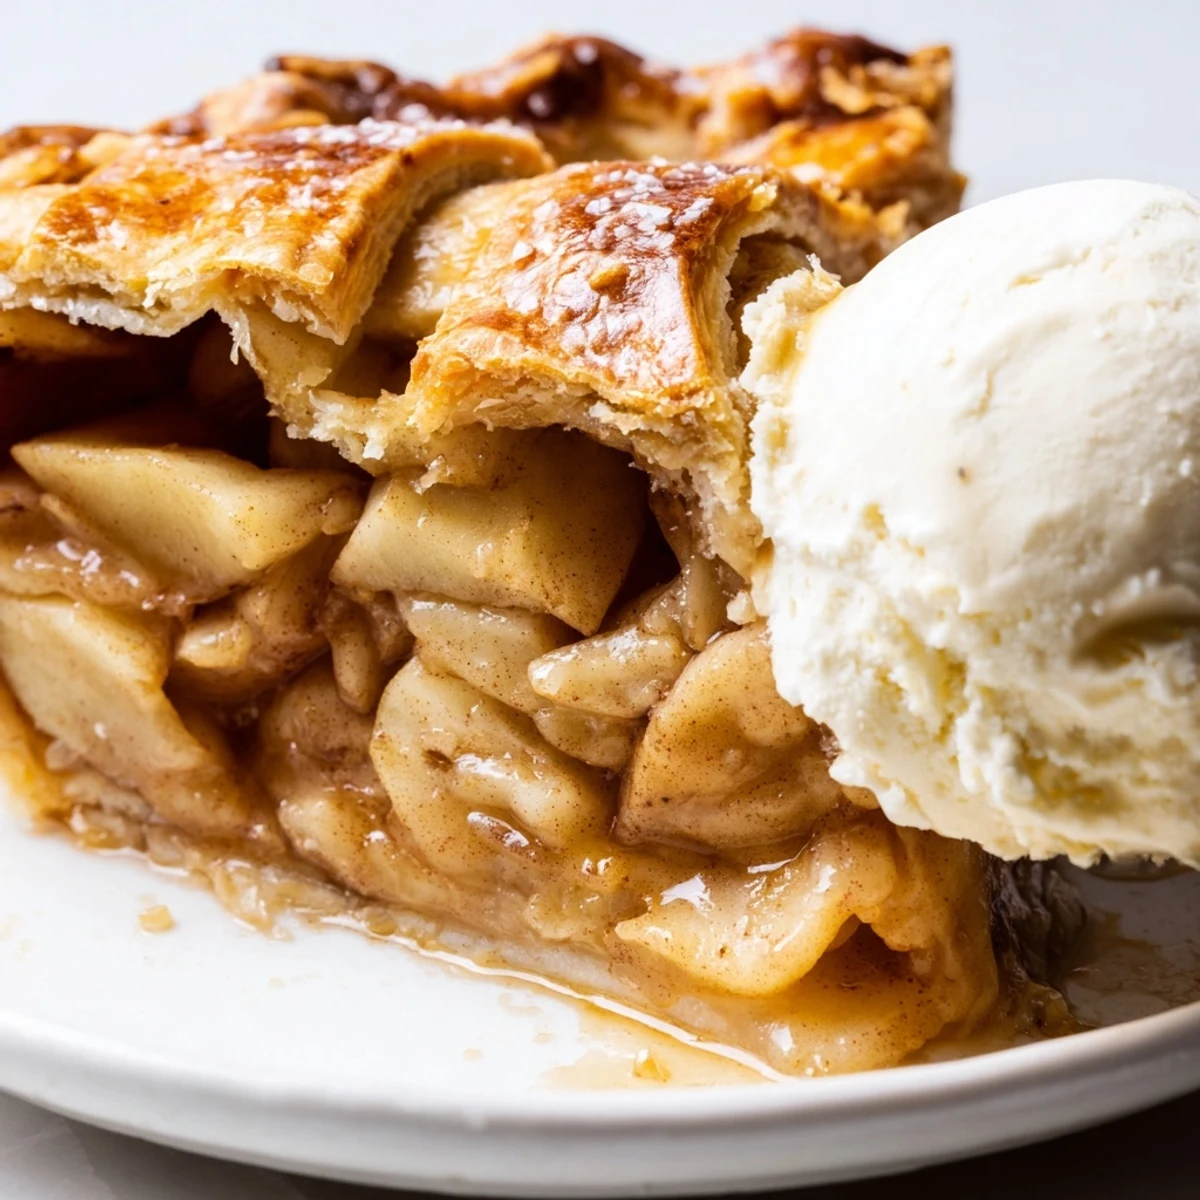
The magic happens during the 55-minute bake, when the crust turns golden brown and the filling bubbles up through those classic steam vents. Letting it cool for two hours is essential—that's when the filling sets properly, making for clean, picture-perfect slices.
Serve each slice slightly warmed with a scoop of vanilla ice cream melting over the top, or add a dollop of freshly whipped cream. For extra depth, try adding raisins or a splash of Calvados to the apple mixture before baking.
The first time I attempted apple pie, I used a store bought crust that stuck to the counter and filling that turned into soup in the oven. My roommate still teases me about the apple soup incident, but it taught me that cold butter and patience are the real secrets to a flaky crust. Now I understand why my grandmother always kept her butter in the freezer when she was baking.
I brought this pie to a Thanksgiving dinner where nobody knew me well yet. By the time we reached dessert, people were asking for the recipe and suddenly I was part of the conversation. Something about a homemade apple pie makes people gather around the kitchen island and stay there.
Ingredients
- All purpose flour: The structure builder for your crust, and the thickener that keeps your apple filling from becoming soupy
- Cold unsalted butter: Keeping this ice cold is what creates those magical flaky layers in the crust
- Tart apples: Granny Smiths hold their shape during baking and provide the perfect contrast to the sweet spiced filling
- Granulated and brown sugar: The brown sugar adds a caramel note while white sugar provides straightforward sweetness
- Ground cinnamon, nutmeg, and cloves: This warming spice trio is what makes apple pie taste like comfort and nostalgia
- Lemon juice: Adds brightness and helps prevent the apples from browning too quickly
- Egg and milk: The simple wash that gives your pie that beautiful golden bakery finish
Instructions
- Make the pie crust dough:
- Whisk flour, salt, and sugar in a large bowl, then work in cold butter until the mixture looks like coarse crumbs with some pea sized pieces remaining. Sprinkle ice water over the dough and mix gently until it just holds together when squeezed. Divide in half, form into discs, wrap, and chill for at least an hour.
- Prepare the spiced apple filling:
- Toss the sliced apples with both sugars, flour, lemon juice, cinnamon, nutmeg, cloves, and salt in a large bowl until every piece is coated. Let the mixture sit while you roll out the crust to draw out some of the apple juices.
- Roll and fit the bottom crust:
- On a floured surface, roll one dough disc into a 12 inch circle, occasionally rotating to prevent sticking. Carefully transfer to your pie dish and gently press it into the corners, leaving the overhang for now.
- Fill the pie and add the top crust:
- Pour the apple mixture into the bottom crust and dot the surface with the small butter pieces. Roll the second dough disc and place it over the filling, then trim and crimp the edges to seal everything in. Cut steam vents in the top so the pie can breathe while baking.
- Add the finishing touches and bake:
- Brush the top crust with beaten egg mixed with milk and sprinkle with coarse sugar if you want some sparkle. Bake at 425°F for 20 minutes, then reduce to 375°F for another 35 to 40 minutes until the crust is golden brown and you can see the filling bubbling through those vents.
- Let it cool completely:
- This is the hardest part, but letting the pie rest for at least 2 hours allows the filling to set properly so you get clean slices instead of apple soup.
 Pin it
 My aunt always says she can tell a good apple pie by the sound it makes when you cut into that first slice. There should be a slight crackle from the sugar on top and a gentle resistance from the crust before your knife sinks through to those tender spiced apples.
Choosing Your Apples
I have learned the hard way that sweet eating apples like Red Delicious turn into mush in the oven. Stick to firm tart varieties that hold their shape and provide enough acidity to balance all that sugar. Mixing two or three apple varieties can give you more complex flavor and texture.
Getting That Flaky Crust
The secret is working quickly and keeping everything cold, which means not overworking the dough with your warm hands. Those visible bits of butter in your dough are exactly what you want, because they create steam pockets during baking and that is what makes the crust flaky instead of tough.
Serving And Storing
While this pie is absolutely incredible warm, I actually think it is even better the next day when the flavors have had time to meld and the filling has fully set. Room temperature is perfect for serving, though a quick 30 seconds in the microwave brings back that fresh baked warmth.
- Leftovers keep well at room temperature for up to 2 days, or refrigerate for up to 5 days
- A scoop of vanilla ice cream melting into the warm slices is non negotiable in my house
- The pie can be frozen unbaked for up to 3 months, just add an extra 10 to 15 minutes to the baking time
 Pin it
 There is something deeply satisfying about pulling a golden apple pie from the oven and knowing you created something that will make people gather around the table.
Recipe FAQs
- → What type of apples work best for filling?
-
Granny Smith apples are ideal because their tart flavor and firm texture hold up beautifully during baking. You can also mix in Honeycrisp or Braeburn for a sweeter balance.
- → Why must the pie cool for 2 hours before slicing?
-
The filling needs time to set and thicken as it cools. Cutting too soon results in a runny texture. Patience rewards you with clean, perfect slices that hold their shape on the plate.
- → Can I make the dough ahead of time?
-
Absolutely. The dough actually benefits from resting—wrap it tightly and refrigerate for up to 2 days, or freeze for up to 3 months. Thaw overnight in the fridge before rolling out.
- → Why does the oven temperature change during baking?
-
Starting at 425°F helps quickly set the crust and seal the edges. Lowering to 375°F allows the apples to cook through completely without burning the pastry, ensuring tender fruit and golden crust.
- → How do I know when it's fully baked?
-
The crust should be deep golden brown, and you'll see the filling bubbling vigorously through the steam vents. If the crust browns too quickly, tent with foil for the last 15 minutes.
- → What's the purpose of the egg wash?
-
Brushing the top with beaten egg and milk creates that gorgeous glossy, golden finish we all associate with bakery-quality pies. The coarse sugar adds delightful crunch and sparkle.