 Pin it
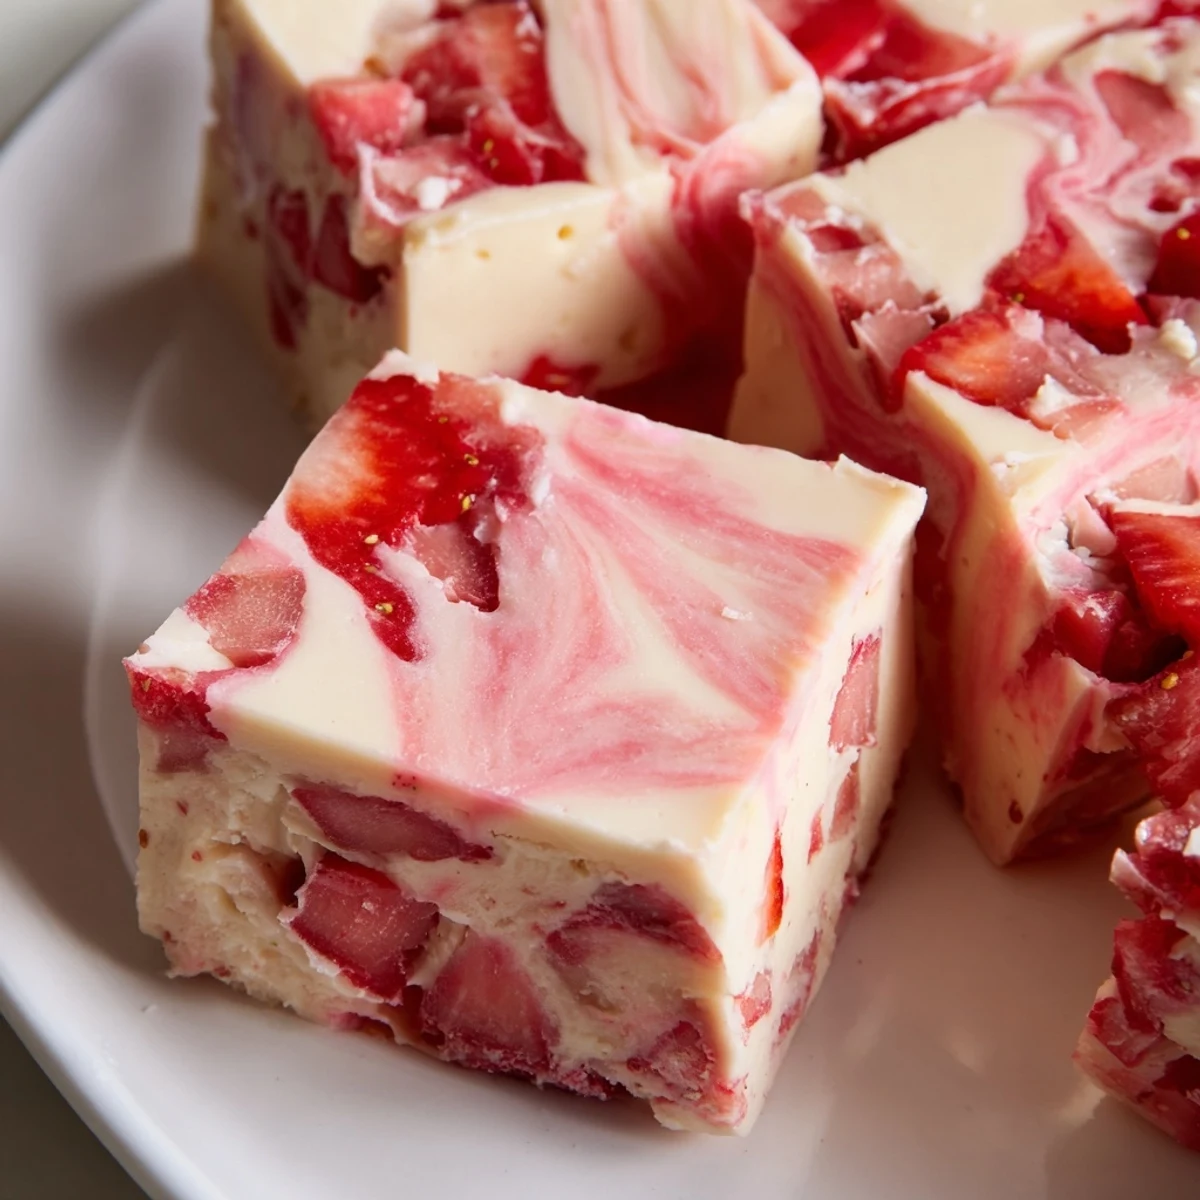
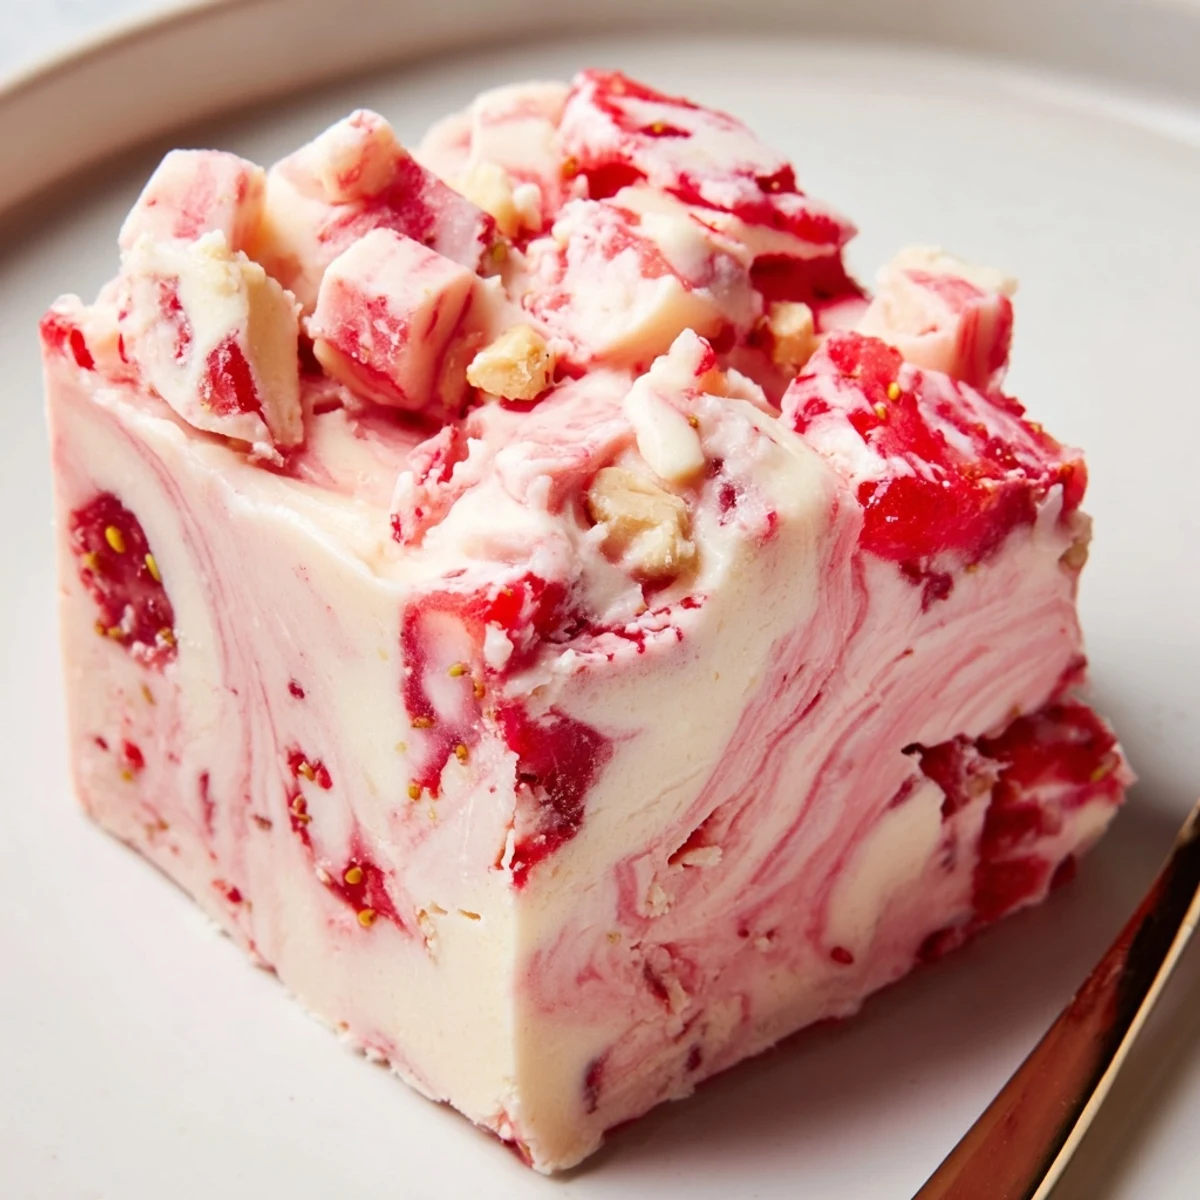
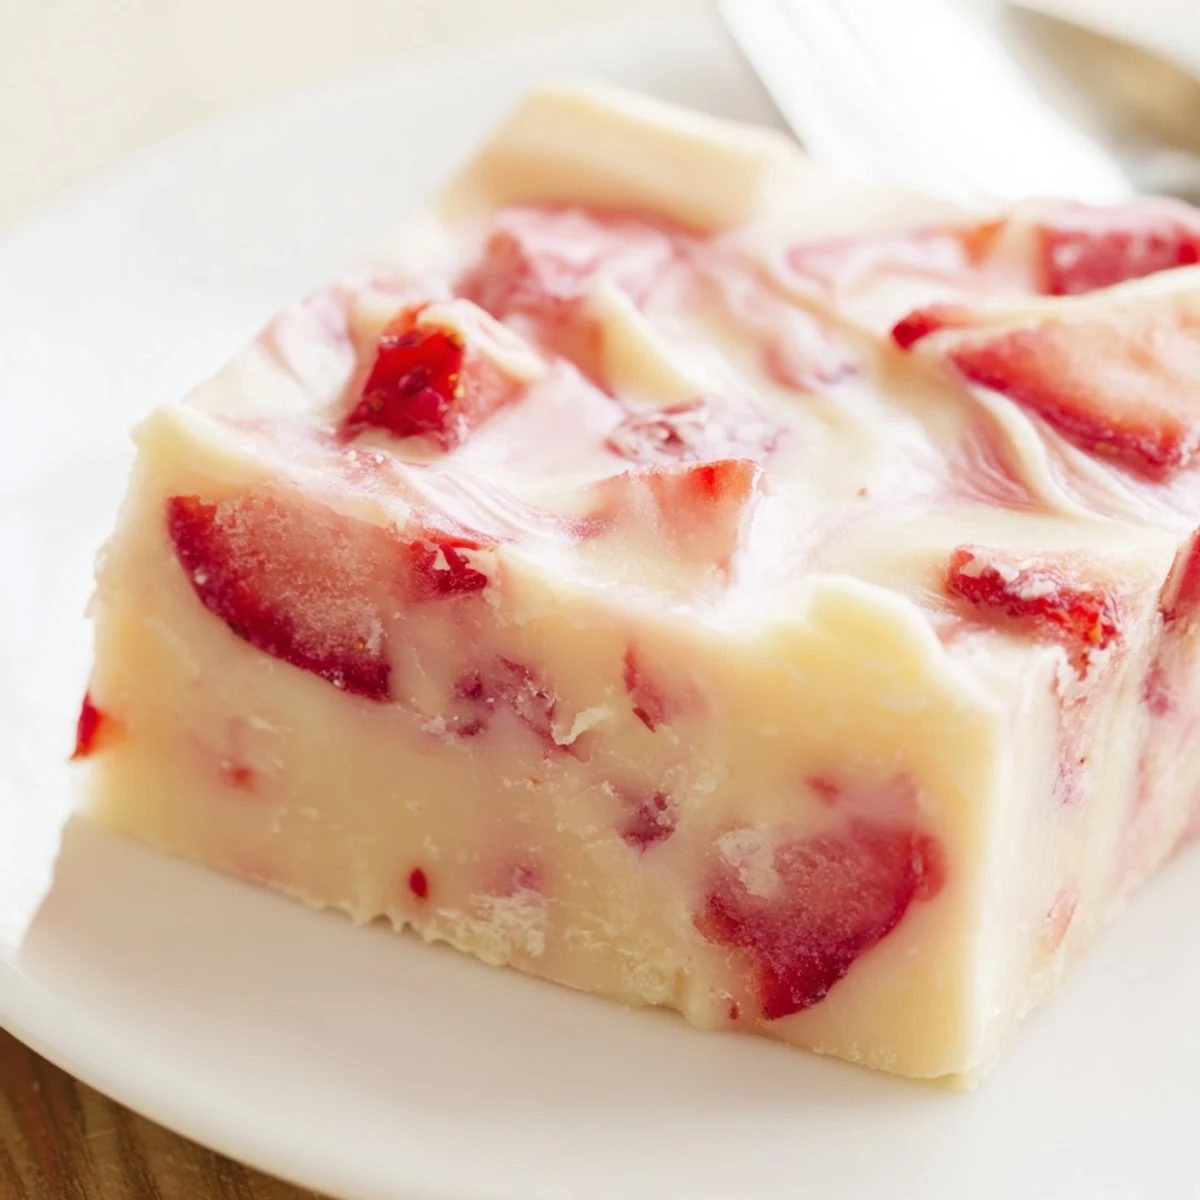
 Quick no-bake fudge made by melting white chocolate with sweetened condensed milk and butter, then stirring in vanilla. A cooked strawberry puree (strawberries, sugar, lemon) is cooled, and a cream-cheese mixture is dolloped on top. Spoon strawberry and cream dollops over the fudge, swirl with a knife for a marbled finish, refrigerate until firm, then cut into squares. Yields about 16 squares; keep chilled up to one week.
The kitchen smelled like a strawberry stand in June, even though it was barely April and I was standing in my socks at midnight making fudge for a potluck I had forgotten about until an hour earlier. The microwave hummed, the white chocolate surrendered into something glossy and golden, and I found myself genuinely surprised that panic could produce something this beautiful. That batch disappeared in ten minutes flat the next day, and three people asked for the recipe before noon.
My neighbor Carla stopped by unexpectedly while I was making my third test batch, and she stood in the doorway watching me drag a toothpick through the fudge like I was painting something. She told me it reminded her of the strawberry creams her grandmother used to buy at a little shop in Bath, and suddenly the recipe felt bigger than just a panicked potluck contribution.
Ingredients
- Sweetened condensed milk (400 g): This is the backbone of the fudge, providing sweetness and that dense, truffle like texture without any need for boiling sugar.
- White chocolate (300 g), chopped: Use real white chocolate with cocoa butter listed in the ingredients, not coating chips, because the flavor and melt are entirely different.
- Unsalted butter (2 tbsp): Just enough to add richness and help the fudge set with a smooth, clean snap.
- Pure vanilla extract (1 tsp): Rounds out the sweetness and gives the white chocolate a warmer, more complex personality.
- Fresh strawberries (100 g), hulled and diced: Fresh berries simmer down into a jammy compote that tastes brighter than anything from a jar.
- Granulated sugar (2 tbsp): Draws out the moisture from the strawberries and helps the compote thicken into swirlable ribbons.
- Lemon juice (2 tsp): A tiny hit of acidity that wakes up the strawberry flavor and keeps it from tasting flat.
- Cream cheese (60 g), softened: Creates tangy, pillowy pockets that contrast beautifully with the sweet fudge base.
- Icing sugar (1 tbsp): Sweetens the cream swirl just enough without making it grainy.
- Heavy cream (1 tbsp): Loosens the cream cheese mixture so it swirls rather than clumping.
Instructions
- Prep the pan:
- Line a 20 cm square baking pan with parchment paper, leaving generous overhangs on two sides so you can lift the whole slab out later without any wrestling.
- Make the strawberry compote:
- Tip the diced strawberries, sugar, and lemon juice into a small saucepan and set it over medium heat. Stir occasionally for five to seven minutes until the berries collapse and the juices turn thick, glossy, and deeply fragrant, then set aside to cool completely.
- Melt the fudge base:
- Combine the white chocolate, condensed milk, and butter in a microwave safe bowl and heat in thirty second bursts, stirring gently each time, until the mixture is completely smooth and pourable.
- Add vanilla:
- Stir in the vanilla extract until it disappears into the glossy mixture.
- Pour and smooth:
- Transfer the fudge base into your lined pan and use a spatula to spread it into an even layer, working quickly before it begins to set.
- Prepare the cream swirl:
- Beat the softened cream cheese, icing sugar, and heavy cream together in a small bowl until smooth and slightly fluffy, with no lumps remaining.
- Create the swirl:
- Drop spoonfuls of the cooled strawberry compote and cream cheese mixture across the surface of the fudge, then drag a toothpick or knife through them in figure eight motions until you see a beautiful marbled pattern emerge.
- Chill until set:
- Refrigerate the fudge for at least two hours, or overnight if you can wait, until it is firm enough to hold its shape when cut.
- Cut and serve:
- Use the parchment overhang to lift the fudge slab out of the pan, then slice it into sixteen neat squares with a sharp knife, wiping the blade between cuts for clean edges.
 Pin it
 The moment this fudge became more than food was when my daughter arranged all sixteen squares on a plate, photographed them in afternoon light, and told me I should open a bakery. She was seven, and the confidence was undeserved, but I have kept that photo as my phone wallpaper ever since.
Playing With Flavor Variations
Once you master the basic technique, this fudge is endlessly adaptable depending on what you have on hand and what season you are stumbling into. Swap the strawberries for raspberries in late summer and you get something sharper and more jewel toned. In autumn, a spoonful of pumpkin puree and a pinch of cinnamon in the cream swirl layer turns the whole thing into something warmly spiced and unexpected. The white chocolate base is a blank canvas, so do not be afraid to experiment with extracts like almond or a scrape of orange zest folded in at the end.
Getting Clean, Beautiful Squares
Cutting fudge neatly is one of those small kitchen skills that makes a surprising difference in how your finished product looks. Run your knife under hot water for a few seconds, then dry it completely before each cut. The warmth glides through the fudge without dragging, giving you those sharp edges you see in photographs. Chill the fudge again for fifteen minutes after cutting if the squares start to soften at room temperature, especially on warm days.
Storage and Making Ahead
This fudge keeps beautifully in the refrigerator for up to a week when stored in an airtight container with parchment between layers. It also freezes well for up to three months, which means you can make it well ahead of any celebration and cross one thing off your list early.
- Always let frozen fudge thaw in the fridge overnight rather than on the counter, so condensation does not make the surfaces sticky.
- If you are gifting it, tuck each square into a small cellophane bag tied with baker twine for an effortlessly charming presentation.
- Remember to label it with the date, because unlabeled containers in the freezer are how good fudge goes to die.
 Pin it
 Some recipes earn their place in your rotation because they are impressive, and some earn it because they ask almost nothing of you and still deliver something gorgeous. This one lives squarely in that second category, and I hope it becomes your go to when you need something sweet without the fuss.
Recipe FAQs
- → How do I prevent grainy melted white chocolate?
-
Melt slowly over low heat or in short microwave bursts, stirring between intervals. Add the butter and condensed milk while warm to smooth texture and avoid overheating, which causes graininess.
- → Can I swap white chocolate for milk chocolate?
-
Yes — milk chocolate will give a richer, less sweet base and melt differently. Reduce added sugar in any fruit layer if needed and monitor melting time, as milk chocolate can scorch sooner.
- → How can I boost the strawberry flavor?
-
Cook the strawberries down to concentrate flavor, use a touch of lemon to brighten, or fold in a few drops of natural strawberry extract or powdered freeze-dried strawberries for extra intensity.
- → What if the fudge doesn’t set firmly?
-
Ensure correct measurements and sufficient chilling time. If still soft, gently reheat the mixture, add a little more chopped chocolate to firm it, then chill again until fully set.
- → Best technique for cleanly cutting squares?
-
Chill the block thoroughly, lift it from the pan, and use a sharp knife warmed under hot water; wipe the blade between cuts for neat edges.
- → How should I store the finished squares?
-
Keep squares refrigerated in an airtight container for up to one week. For longer storage, wrap tightly and freeze; thaw in the fridge before serving.