 Pin it
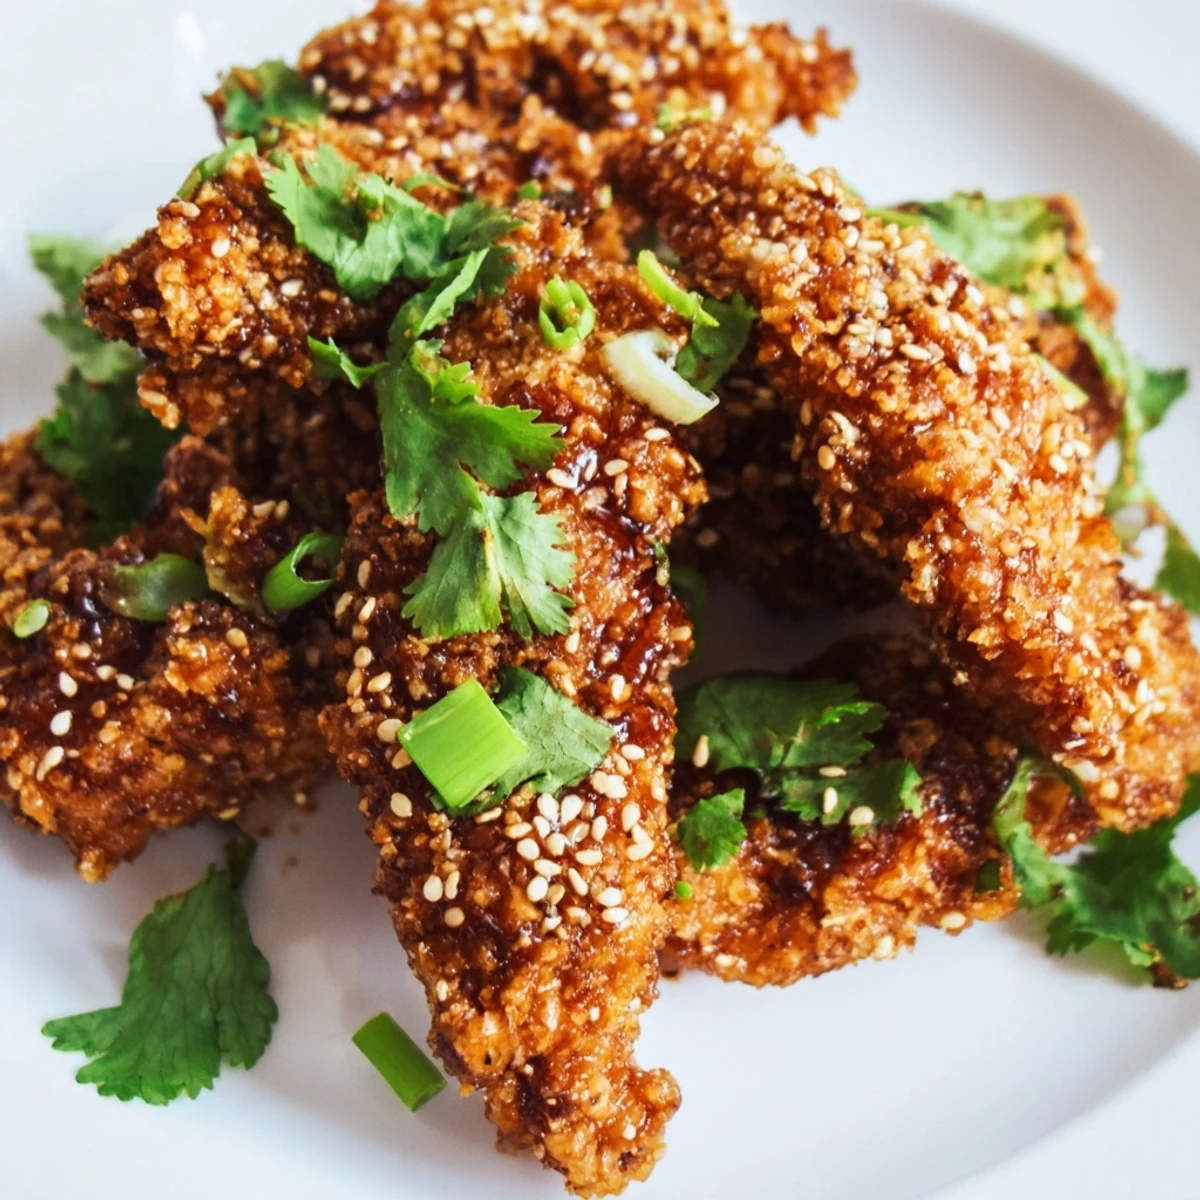
 These chicken strips feature a crunchy panko exterior seasoned with garlic and smoked paprika, baked until golden then tossed in a glossy Thai-style sauce. The glaze combines sweet chili, soy, honey, and fresh ginger for that perfect balance of heat and sweetness. Garnished with toasted sesame seeds, spring onions, and cilantro for extra freshness and texture.
The first time I made these for a dinner party, my friend Sarah actually stood at the kitchen counter eating them straight from the serving bowl while I was still plating everything else. That sticky sauce creates this kind of magnetic pull that makes it impossible to walk away.
Last winter, my roommate kept coming home from her late shift at exactly 10pm when these were still warm from testing different sauce ratios. We started calling it our accidental midnight ritual, standing over the counter with paper towels and zero regrets.
Ingredients
- 500 g boneless chicken tenders: Cutting breasts into strips works perfectly too, but tenders save you precious prep time
- Salt and black pepper: Dont skip this foundational seasoning, it makes everything else pop
- 100 g all-purpose flour: Creates that essential first layer that helps the egg coating actually stick
- 2 large eggs: Room temperature eggs coat more evenly than cold ones straight from the fridge
- 120 g panko breadcrumbs: Regular crumbs work, but panko gives you that restaurant-quality crunch
- Garlic powder and smoked paprika: This dynamic partnership adds depth before the sauce even touches the chicken
- 120 ml sweet chili sauce: The backbone of the glaze, look for one with real chili flakes visible
- 2 tablespoons soy sauce: Adds that crucial savory note that balances all the sweetness
- 1 tablespoon honey: Helps the sauce achieve that gorgeous clingy consistency
- Rice vinegar and sesame oil: These two transform a one-dimensional sauce into something layered and complex
- Sriracha: Even if youre heat-sensitive, just half a teaspoon rounds out the flavor profile beautifully
- Fresh garlic and ginger: Fresh is absolutely non-negotiable here, powder just doesnt sing the same way
- Toasted sesame seeds and spring onions: That finishing sprinkle makes everything look intentional and restaurant-worthy
Instructions
- Get your oven ready:
- Crank it to 220°C with plenty of time to spare, and line that baking sheet like your life depends on it, cleanup will thank you later
- Season the chicken:
- Sprinkle salt and pepper over both sides of your strips, thinking of it as giving each piece its own little personality
- Set up your coating station:
- Arrange three shallow bowls in assembly line fashion, flour first, then whisked eggs, then panko mixed with your garlic powder and paprika
- Start the dipping dance:
- Press each chicken strip into flour, shake off the excess, drag it through egg, and finally press it firmly into the panko until its thoroughly coated
- Arrange and prep:
- Space them out on your baking sheet without touching, then give everyone a light spray or brush of oil for maximum golden potential
- Bake to perfection:
- Slide them in for 20 to 25 minutes, but remember to flip halfway through, thats the secret to even coloring on both sides
- Make the magic sauce:
- While the chicken bakes, combine all your sauce ingredients in a small saucepan and let it simmer for just 2 to 3 minutes until it thickens slightly
- The glorious toss:
- Transfer that golden chicken to a large bowl and pour the warm sauce over, toss gently until every piece is completely coated in sticky goodness
- Final touches:
- Arrange on your serving platter and shower with sesame seeds, those green onion slices, and any cilantro leaves youre feeling generous with
 Pin it
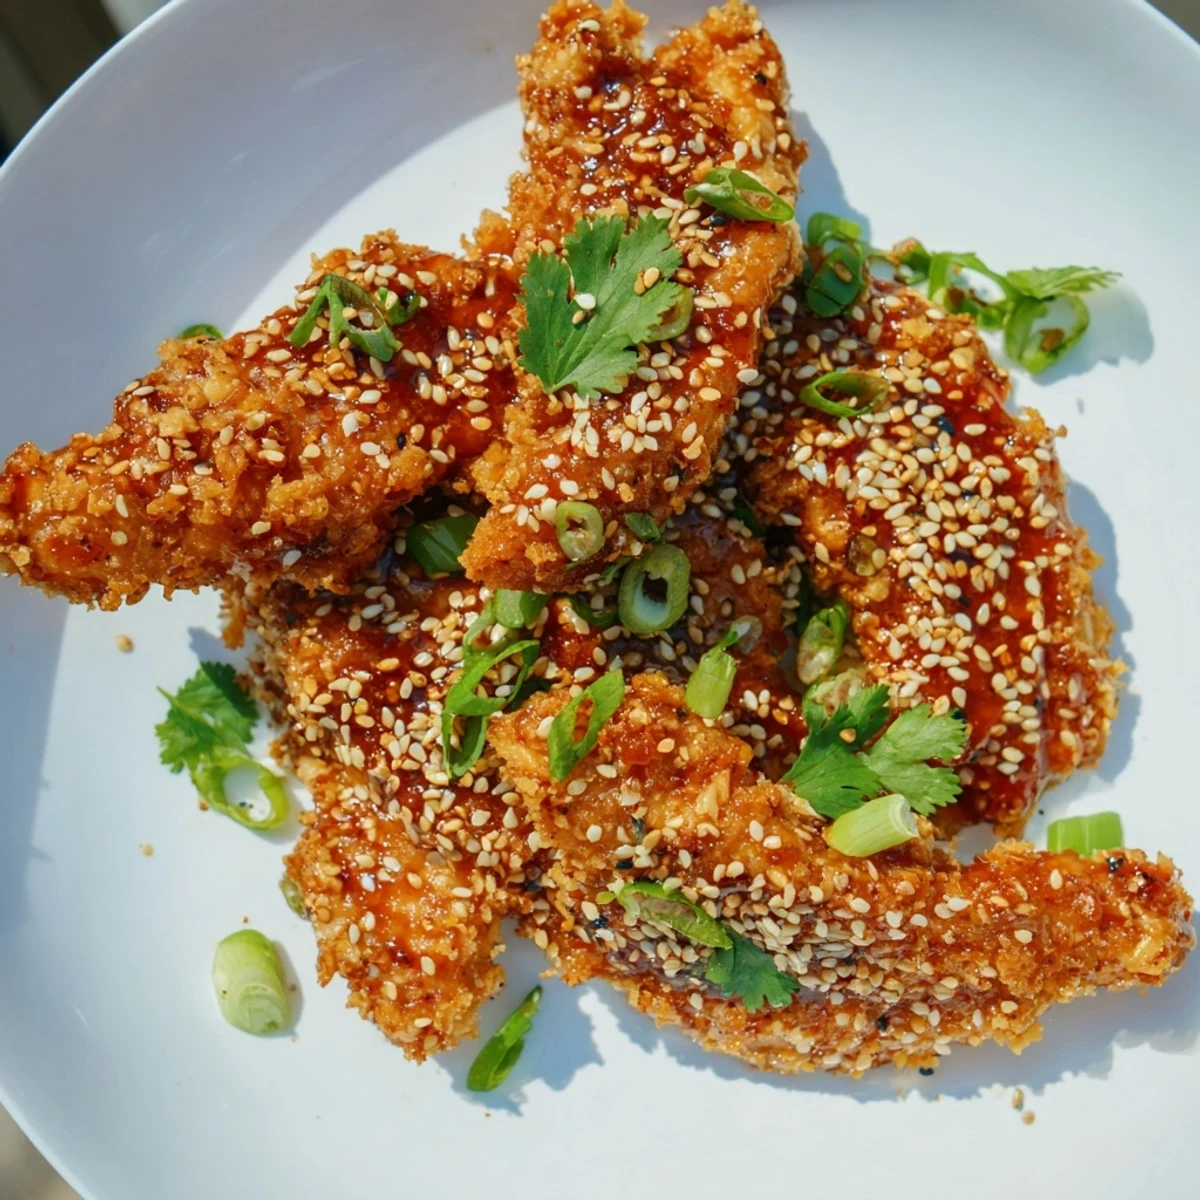
 These became my go-to bring-along dish because people genuinely light up when they see them arrive. Something about that glaze catching the light makes everyone gravitate toward the platter immediately.
Making Ahead Like a Pro
The chicken can be breaded and frozen raw on a baking sheet, then transferred to bags for future emergency appetizers. Just add 5 extra minutes to the baking time from frozen.
Sauce Chemistry Secrets
Honey is what makes this sauce lacquer-like instead of just coating the surface. Ive tried without it, and the difference in cling factor is genuinely night and day.
Getting That Restaurant Crunch
That final 2 minutes under the broiler creates this extra layer of texture that makes people think you deep-fried everything. Watch it like a hawk though, sugar in the sauce goes from perfect to burned in seconds.
- Press the panko coating firmly, dont just sprinkle it on
- Let the coated chicken sit for 10 minutes before baking, this prevents the coating from sliding off
- Serve immediately while the contrast between hot chicken and sticky sauce is at its peak
 Pin it
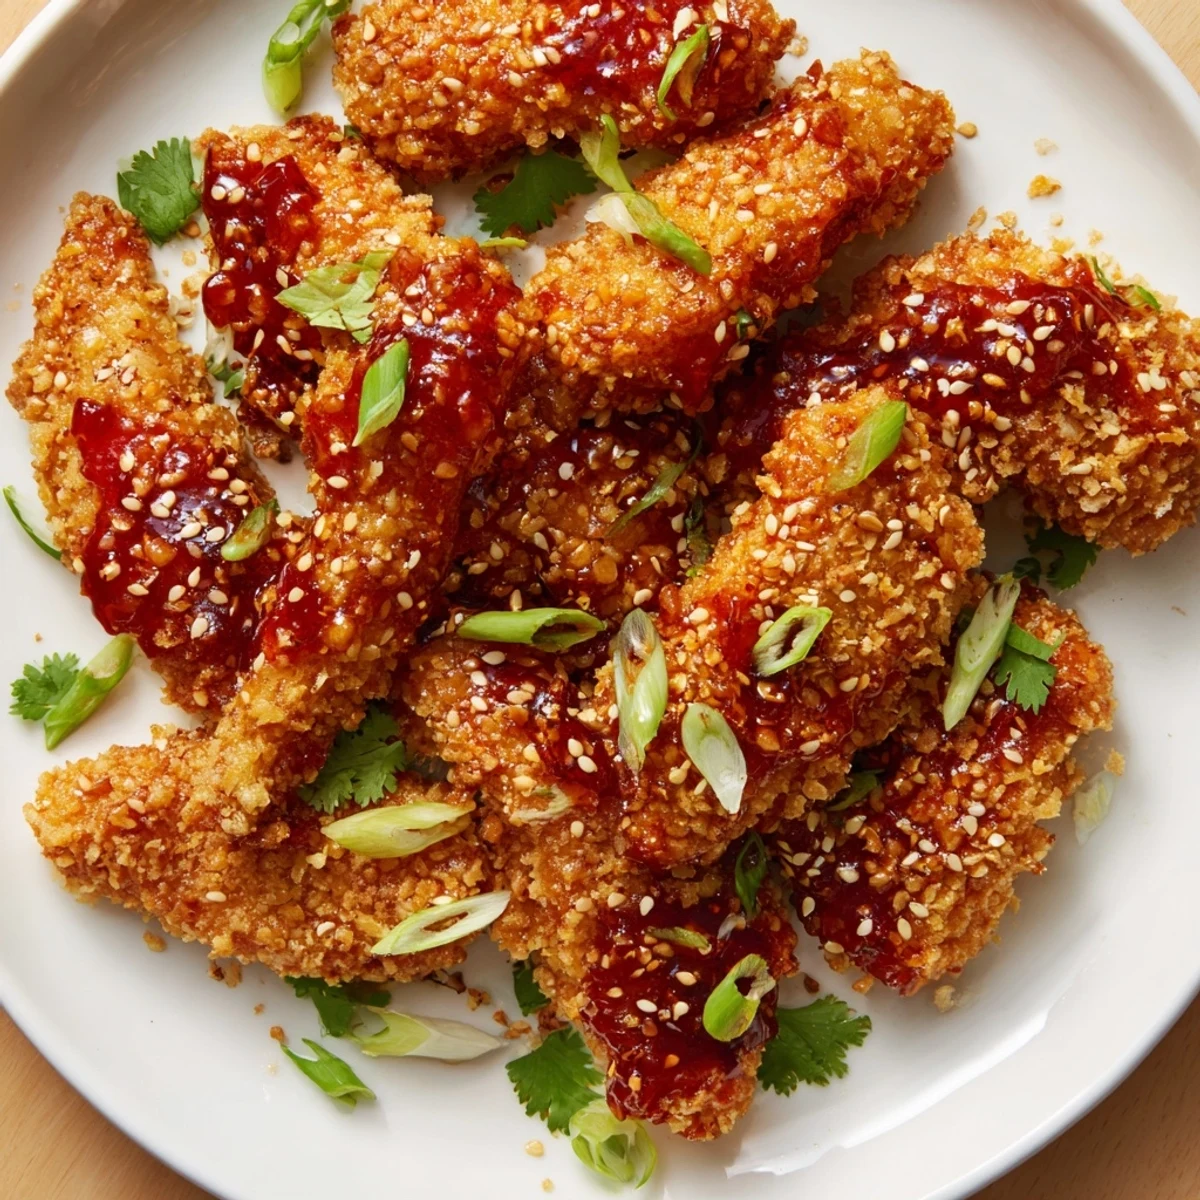
 Every time I serve these, someone inevitably asks if this is going to become a regular thing, and honestly, it probably should be.
Recipe FAQs
- → What makes the coating extra crispy?
-
The triple-layer coating of flour, egg, and panko breadcrumbs mixed with garlic powder creates a satisfying crunch. Panko's larger flakes crisp up beautifully in the oven without deep frying.
- → Can I adjust the spice level?
-
Absolutely. The sriracha in the sauce is optional—start with a small amount or omit it entirely for a milder version. You can also add more chili sauce or red pepper flakes to increase the heat.
- → What's the best way to reheat leftovers?
-
Reheat in a 200°C oven for 10-12 minutes to restore crispiness. Avoid microwaving as it makes the coating soggy. Alternatively, reheat in an air fryer at 180°C for 5-6 minutes.
- → Can I make these ahead of time?
-
You can bread the chicken strips up to 4 hours before baking and store them covered in the refrigerator. Make the sauce ahead too—it keeps well for up to 3 days in the fridge.
- → What dipping sauces pair well?
-
Extra sweet chili sauce, peanut sauce, or a cool cucumber raita balance the heat perfectly. A simple lime mayo also works beautifully with these sticky glazed strips.