 Pin it
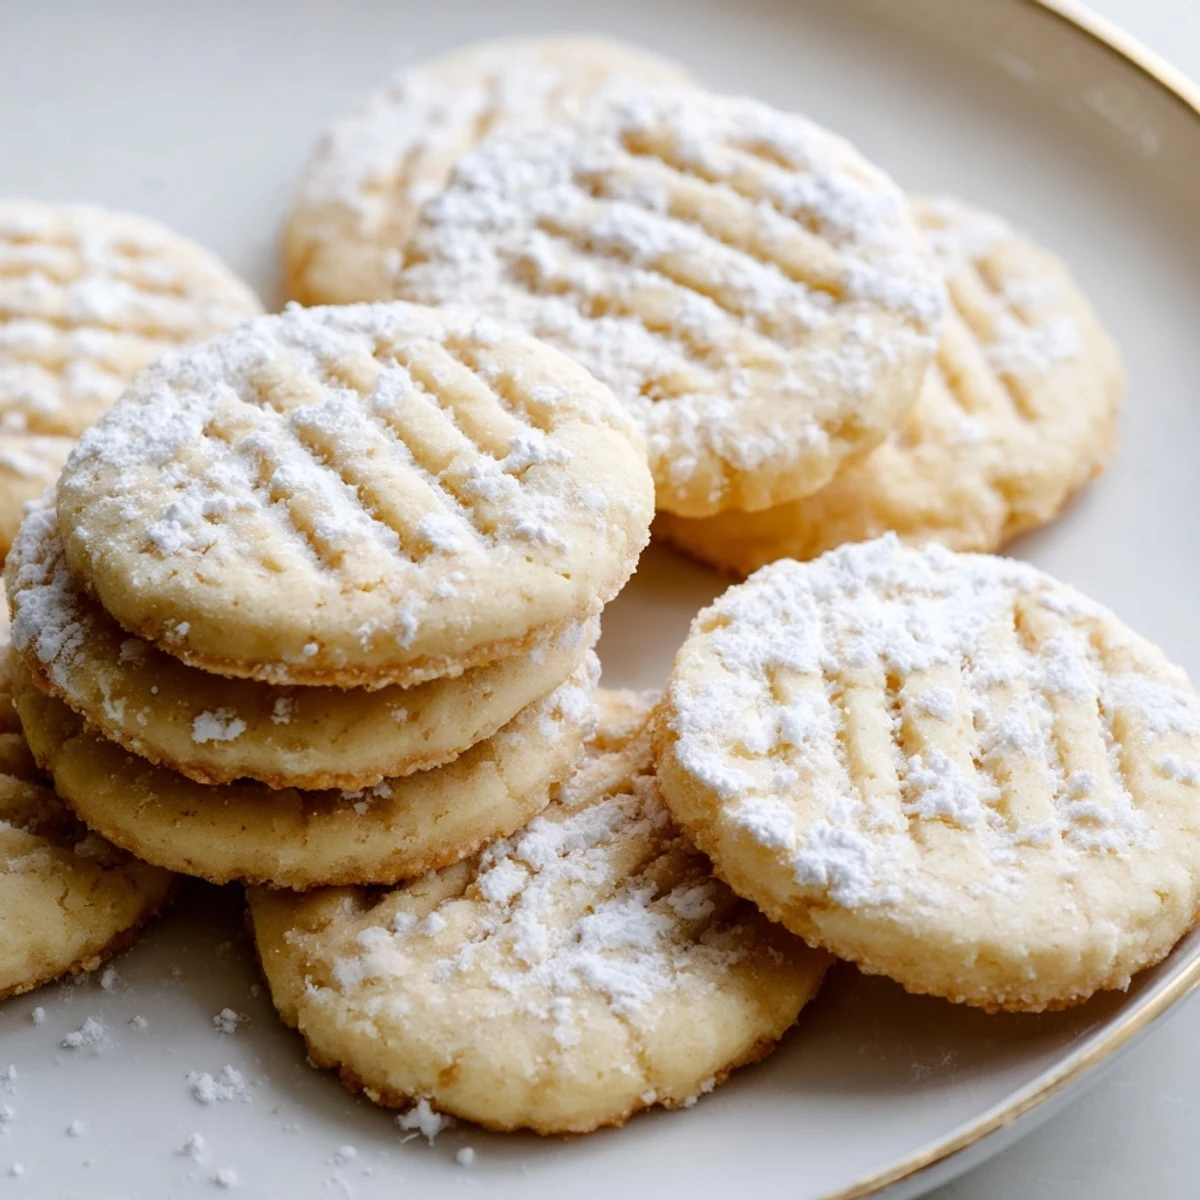
 These tender cookies deliver a rich buttery flavor with a delicate sweetness that creates the perfect tea-time companion. The dough comes together quickly with basic pantry staples, resulting in treats that practically dissolve on the tongue.
Baking requires just 10-12 minutes at 350°F, yielding golden edges while maintaining soft centers. The optional powdered sugar dusting adds an elegant finish, though the cookies shine on their own merits.
Store in an airtight container for up to a week, making these ideal for holiday gifting or weekend baking sessions. The simple technique—creaming butter and sugar until fluffy, incorporating egg yolk and vanilla, then gently folding in flour—produces consistent results every time.
The butter should always be soft enough to leave a slight fingerprint when pressed, but never so warm that it's greasy. I learned this the hard way after dozens of cookies that spread too thin in the oven. These particular cookies came from watching my grandmother work butter and sugar by hand until her arms ached, because that's what made them tender enough to dissolve on your tongue.
My youngest daughter helped me make a double batch last Christmas, her small hands covered in flour as she learned to press the fork patterns into each ball of dough. We ate so many warm from the oven that we had to start over, and nobody complained about that mistake.
Ingredients
- All-purpose flour: The protein structure here creates just enough backbone to hold everything together while still staying tender
- Sea salt: A half teaspoon might seem small, but it's what makes the butter taste like itself instead of just fat
- Unsalted butter: Room temperature butter whips into tiny air pockets that make these cookies lighter than you expect
- Granulated sugar: Creaming this thoroughly with butter is what creates the melt-in-your-mouth texture
- Egg yolk: Using only the yolk adds richness without making the cookie tough or cakey
- Pure vanilla extract: Don't skip this or substitute—the vanilla is what balances all that butter
- Powdered sugar: The dusting on top makes them look finished and adds a whisper of extra sweetness
Instructions
- Prep your oven and pans:
- Set your oven to 350°F (180°C) and line two baking sheets with parchment paper so nothing sticks and cleanup is effortless
- Mix the dry ingredients:
- Whisk the flour and salt together in a medium bowl until you can't see any white pockets of salt anymore
- Cream the butter and sugar:
- Beat the butter and granulated sugar together for about 3 minutes until the mixture turns pale and fluffy, scraping down the sides halfway through
- Add the yolk and vanilla:
- Mix in the egg yolk and vanilla extract just until everything disappears into the butter mixture
- Bring the dough together:
- Gradually add the flour mixture, mixing only until the dough forms—overworking here makes tough cookies
- Shape the cookies:
- Roll tablespoonfuls of dough into balls and space them 2 inches apart on your prepared baking sheets
- Create the classic pattern:
- Gently press each ball with fork tines or the bottom of a glass to flatten slightly and create those familiar ridges
- Bake until barely golden:
- Bake for 10-12 minutes, watching closely—the edges should just start turning color while centers still look soft
- Let them rest briefly:
- Cool the cookies on the baking sheet for 5 minutes so they set without falling apart
- Finish and cool completely:
- Transfer to a wire rack and dust with powdered sugar if you want that snowy look
 Pin it
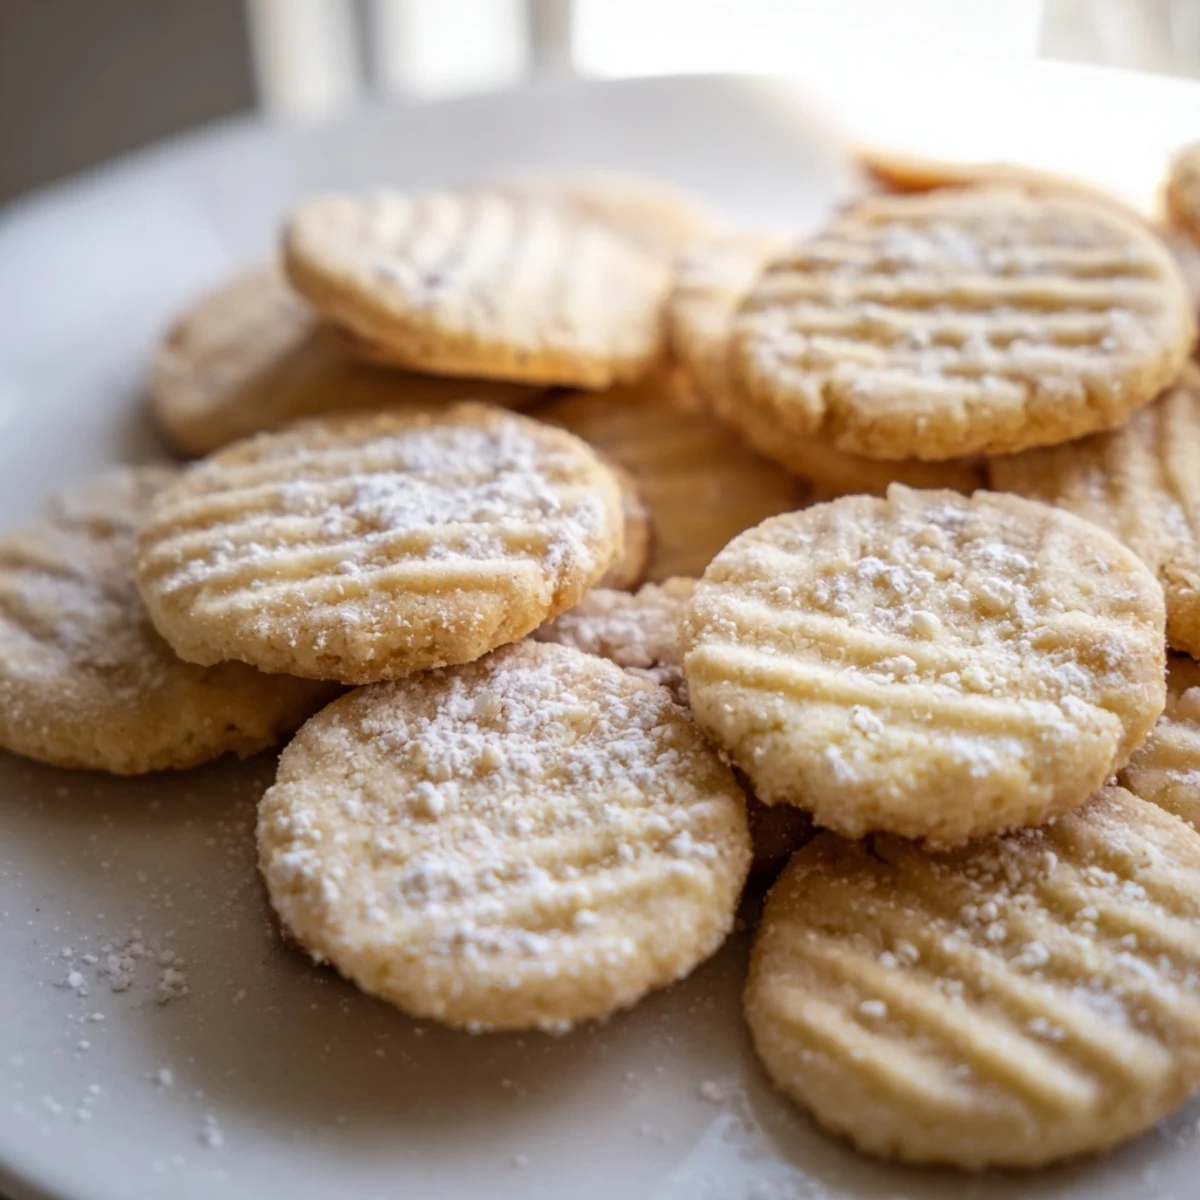
 My grandmother kept a tin of these on her counter year-round, and somehow they always tasted better after sitting for a day. Now I understand she probably baked them the day before anyone came over.
Getting The Texture Right
The secret is stopping the mixer as soon as the flour disappears. Any extra mixing at that point develops gluten, and suddenly you have cookies that snap instead of crumble.
Making Them Your Own
Swap the vanilla for almond extract and suddenly they taste entirely different. Dip half in melted chocolate and they become something you'd give as a gift.
Storage And Sharing
These cookies keep remarkably well in an airtight container for up to a week, which means you can bake ahead for holidays or unexpected guests.
- Layer them between wax paper if you're stacking more than two high
- They freeze beautifully for up to three months if wrapped tightly
- The powdered sugar works best applied right before serving
 Pin it
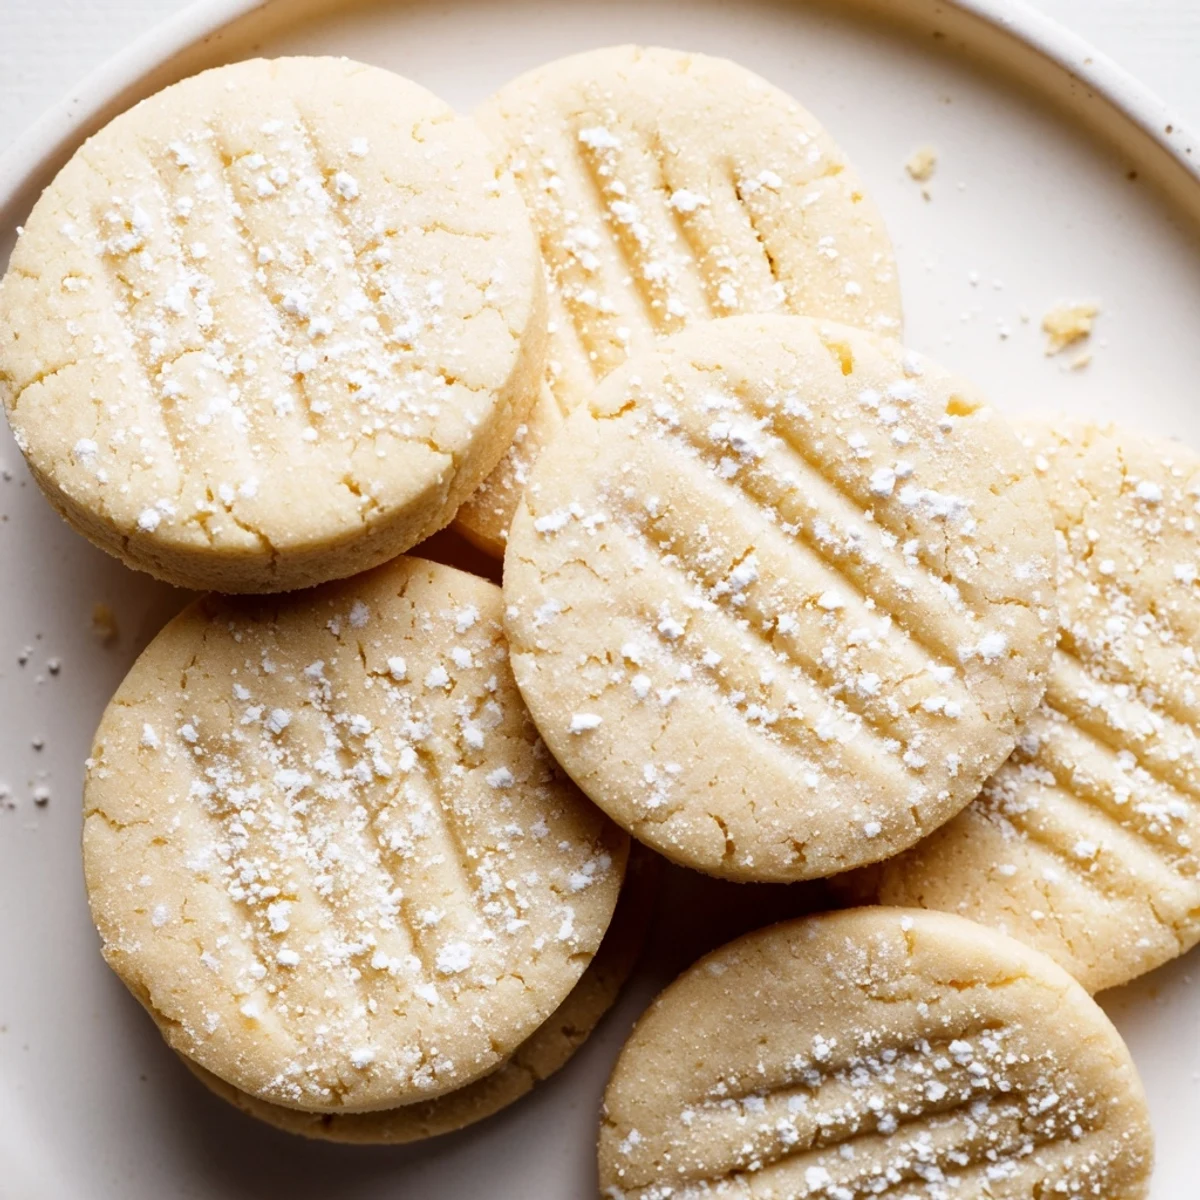
 Some recipes demand precision, but this one rewards instinct and attention. Trust your senses when the kitchen fills with that buttery vanilla aroma.
Recipe FAQs
- → What makes these cookies so tender?
-
The high butter content combined with the egg yolk creates a tender texture. The key is creaming the butter and sugar thoroughly until light and fluffy, which incorporates air pockets for that melt-in-your-mouth quality.
- → Can I chill the dough before baking?
-
Yes, chilling the dough for 30 minutes helps prevent spreading and produces thicker cookies. If your kitchen is warm or the butter feels soft, refrigeration is recommended before rolling into balls.
- → Why use only the egg yolk?
-
Egg yolks contain more fat than whites and less water, which contributes to the tender, rich texture. The yolk also adds a subtle richness and helps create that delicate crumb structure.
- → How do I know when they're done?
-
The edges should just begin turning golden while the centers remain pale. Removing them when the bottoms are lightly colored ensures they stay tender. They continue firming slightly during the 5-minute cooling period on the baking sheet.
- → Can I freeze these cookies?
-
Both baked cookies and dough freeze well. Baked cookies last up to 3 months in the freezer—thaw at room temperature. Dough balls can be frozen for up to 2 months; bake from frozen, adding 1-2 minutes to the baking time.
- → What's the best way to achieve consistent sizing?
-
Use a tablespoon or cookie scoop to portion the dough. This ensures even baking and uniform appearance. Weighing the dough (about 20 grams per cookie) provides the most consistent results.