 Pin it
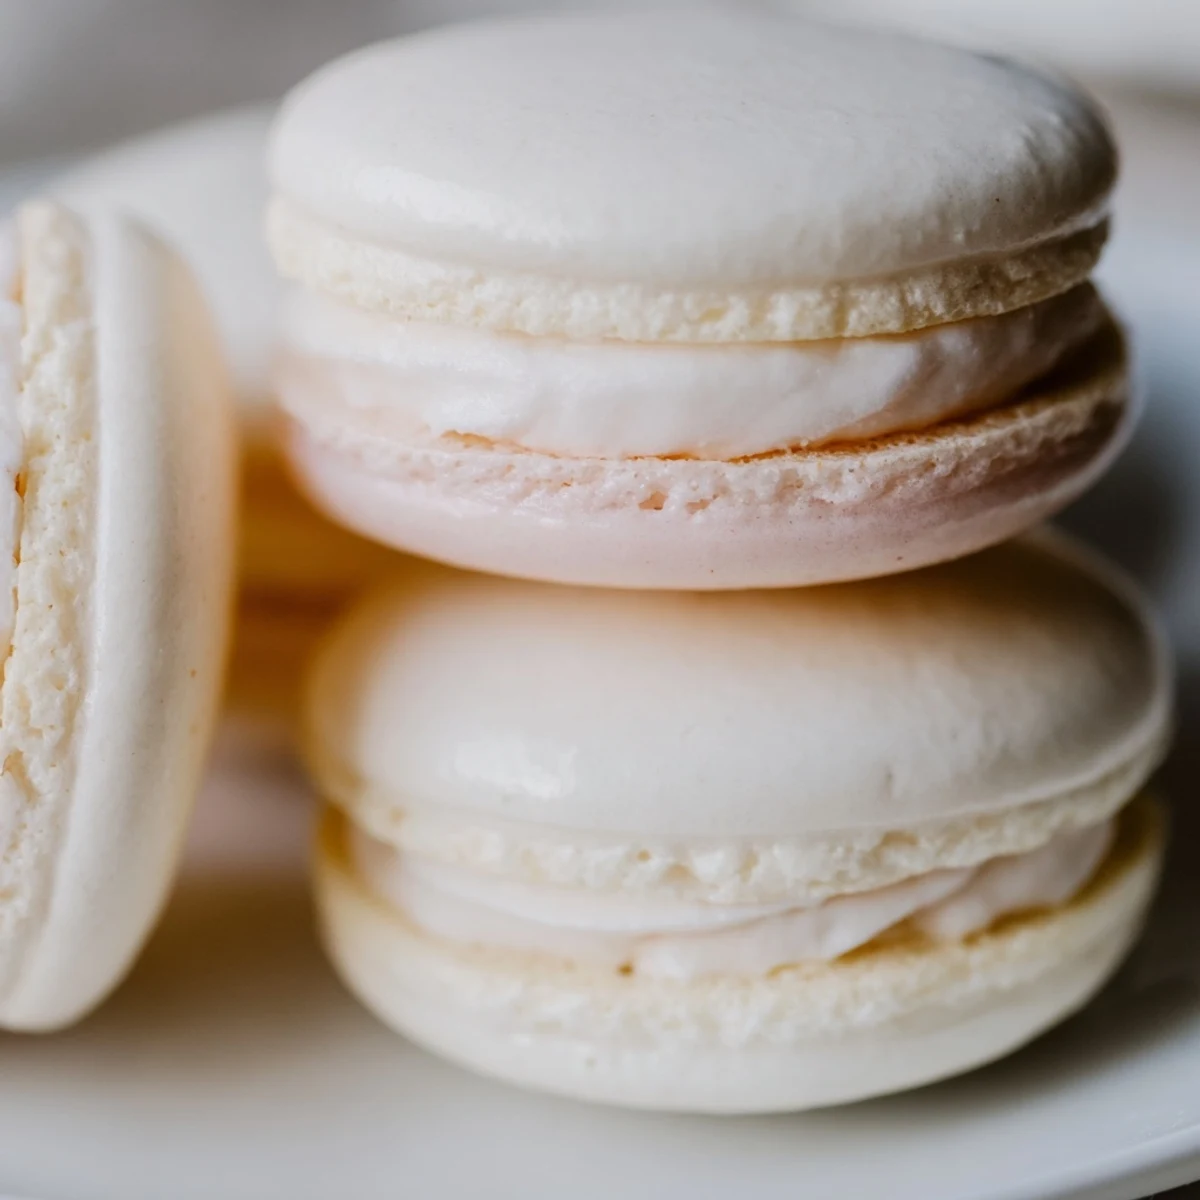
 Create bakery-worthy French macarons with this comprehensive technique guide. Achieve the signature crisp exterior, chewy interior, and delicate ruffled feet through proper macaronage—the art of folding almond flour and powdered sugar into glossy meringue until thick ribbons form. The resting period develops a skin essential for that smooth, crack-free surface, while careful temperature control ensures perfect rise.
Customize these naturally gluten-free confections with gel food coloring, flavored buttercream, ganache, or fruit preserves. Pair with champagne or light white wine for sophisticated entertaining. For optimal texture, mature assembled macarons in the refrigerator for 24 hours—this allows moisture to equalize between shells and filling, creating that coveted melt-in-your-mouth experience. Ideal humidity levels and aged egg whites contribute to consistent success.
The first time I attempted macarons, my kitchen looked like a crime scene of pink dust and broken dreams. Three batches later, I finally understood what French pâtissiers mean about patience and precision. Now these delicate almond cookies have become my go-to when I need to bake something that makes people gasp.
I made these for my sisters birthday last spring, and she still talks about how they tasted better than the ones we had in Paris. Thats when I knew this recipe was something special worth mastering.
Ingredients
- 120 g fine almond flour: Sift this thoroughly even though it feels tedious because any lumps will ruin your smooth shells
- 200 g powdered sugar: This creates that signature melt in your mouth texture
- 100 g egg whites aged overnight: Room temperature aged whites whip up beautifully and hold their structure
- 100 g granulated sugar: Add this gradually while beating for the most stable meringue
- 1/4 tsp cream of tartar: This is your insurance policy against deflated meringue
- Gel food coloring: Never use liquid coloring or it will throw off your batter consistency
- 100 g unsalted butter: Make sure this is properly softened for silky smooth buttercream
- 150 g powdered sugar: Sift this into the butter to avoid lumps in your filling
- 1 tsp pure vanilla extract: Use the good stuff because this flavor shines through
Instructions
- Prep your workspace:
- Line your baking sheets with silicone mats or parchment paper and fit your piping bag with a round tip before you start mixing
- Sift the dry ingredients:
- Combine almond flour and powdered sugar then sift them together twice because any lumps will create bumpy shells
- Whip the meringue:
- Beat those egg whites until foamy then add cream of tartar before slowly pouring in granulated sugar and whipping until glossy stiff peaks form
- Master the macaronage:
- Fold the dry mixture into your meringue in thirds using a spatula pressing the batter against the bowl until it flows like thick ribbon lava and can make a figure 8 without breaking
- Add color if you want:
- Gently fold in gel coloring now being careful not to overwork the batter
- Pipe perfect circles:
- Fill your piping bag and hold it perpendicular to the baking sheet piping consistent 4 cm circles with 3 cm of space between them
- Release the air bubbles:
- Firmly tap each sheet against the counter several times then use a toothpick to pop any stubborn bubbles on the surface
- Let them rest:
- Wait 30 to 60 minutes until you can lightly touch a shell without it sticking to your finger this skin is crucial for those famous feet
- Bake one tray at a time:
- Preheat your oven to 300°F then bake for 12 to 15 minutes rotating halfway until shells have formed feet and lift cleanly from the parchment
- Make the buttercream:
- Beat the butter until creamy then gradually add powdered sugar vanilla salt and just enough milk to make it smooth and pipeable
- Assemble your masterpiece:
- Pair up similarly sized shells pipe a dollop of buttercream onto half and gently press the remaining shells on top
- Wait before eating:
- Refrigerate them in an airtight container for 24 hours then bring to room temperature because this waiting period is non negotiable for perfect texture
 Pin it
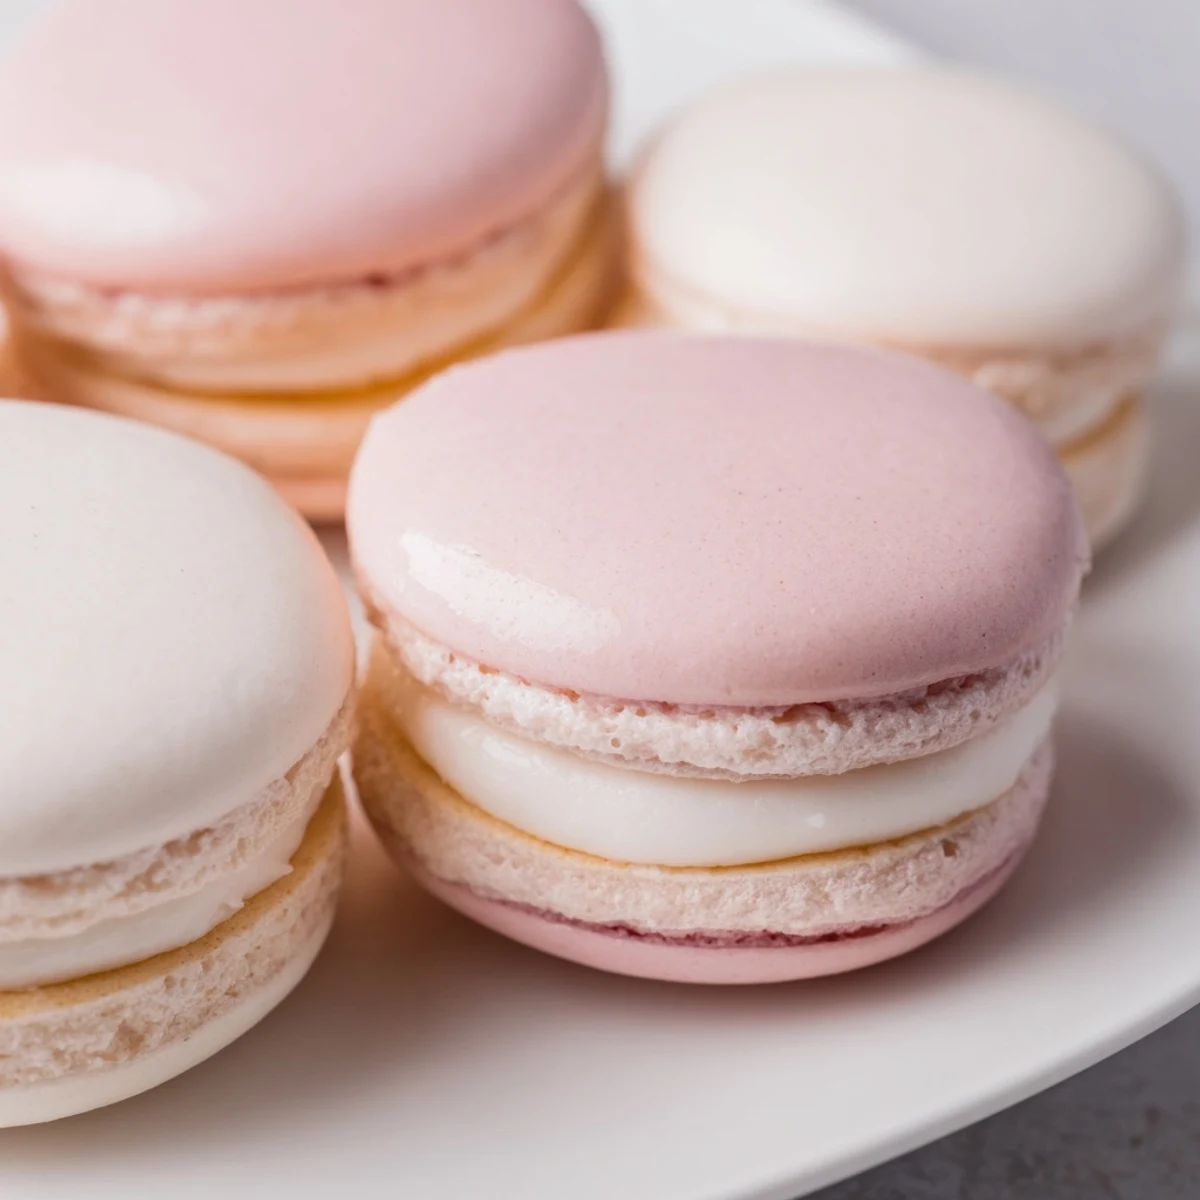
 These raspberry rose macarons were the first dessert my daughter asked to learn to make and now she makes them better than I do. There is something so satisfying about seeing those little feet rise in the oven knowing you got everything right.
Understanding Macaron Feet
Those ruffled little feet that form during baking are the hallmark of a successful macaron. They happen because the skin you formed during resting traps steam inside forcing the batter to rise upward. Underbaked macarons wont have proper feet and overbaked ones will be too crisp.
Customizing Your Shells
Once you master the basic shell the flavor possibilities are endless. Add lemon zest for bright summer macarons or fold in cocoa powder for chocolate shells or mix in freeze dried raspberry powder for natural color and flavor.
Troubleshooting Common Issues
Every macaron baker has faced hollow shells cracked tops or feet that never appeared. Most problems come down to batter consistency oven temperature or resting time so keep detailed notes about each batch.
- Invest in an oven thermometer because temperature accuracy matters
- Weigh your ingredients in grams for consistent results every time
- Practice your piping technique on parchment first if you are nervous
 Pin it
 There is nothing quite like biting into a perfectly made macaron and experiencing that crisp shell giving way to chewy perfection. These cookies might take patience but the result is worth every minute.
Recipe FAQs
- → What is the secret to preventing hollow macarons?
-
Proper macaronage technique is crucial—under-mixing leaves air pockets causing hollows, while over-mixing creates flat shells. The batter should flow in thick ribbons and dissolve back into itself within 30 seconds when making a figure 8. Baking at the correct temperature (150°C/300°F) and allowing adequate resting time for skin formation also prevents hollow shells.
- → Why must macarons rest before baking?
-
Resting allows a skin to form on the surface, which traps steam during baking and creates the signature feet. The resting period (30-60 minutes) lets the surface dry completely—when lightly touched, no batter should stick to your finger. This skin ensures even rising and prevents cracking during baking.
- → Can I make macarons on humid days?
-
Macarons are notoriously sensitive to humidity. High moisture prevents proper skin formation during resting and can cause shells to stick or become hollow. Choose dry days for best results, or run a dehumidifier and air conditioning. Some bakers have success letting shells rest longer in humidity, but extreme moisture often leads to disappointing results.
- → What causes macarons to crack on top?
-
Cracking typically results from inadequate resting time (skin didn't form properly), oven temperature that's too high causing rapid expansion, or under-mixed batter that contains too much air. Ensure shells are completely dry to the touch before baking, use an oven thermometer to verify temperature accuracy, and master the proper batter consistency.
- → How do I know when macarons are done baking?
-
Properly baked macarons will have developed visible feet and should lift cleanly off the parchment paper without sticking. Gently touch the top—it should feel firm and not jiggle. If shells stick or feel soft, return them to the oven for 2-3 minute increments. Avoid overbaking, which creates dry, crunchy shells instead of the desired crisp-chewy texture.
- → Why age egg whites for macarons?
-
Aged egg whites (left at room temperature for 24 hours) lose some moisture, resulting in more stable meringue with stronger structure. This leads to better volume and reduces risk of collapse. The aging process also breaks down proteins slightly, making them easier to beat to stiff, glossy peaks essential for successful macaron shells.