 Pin it
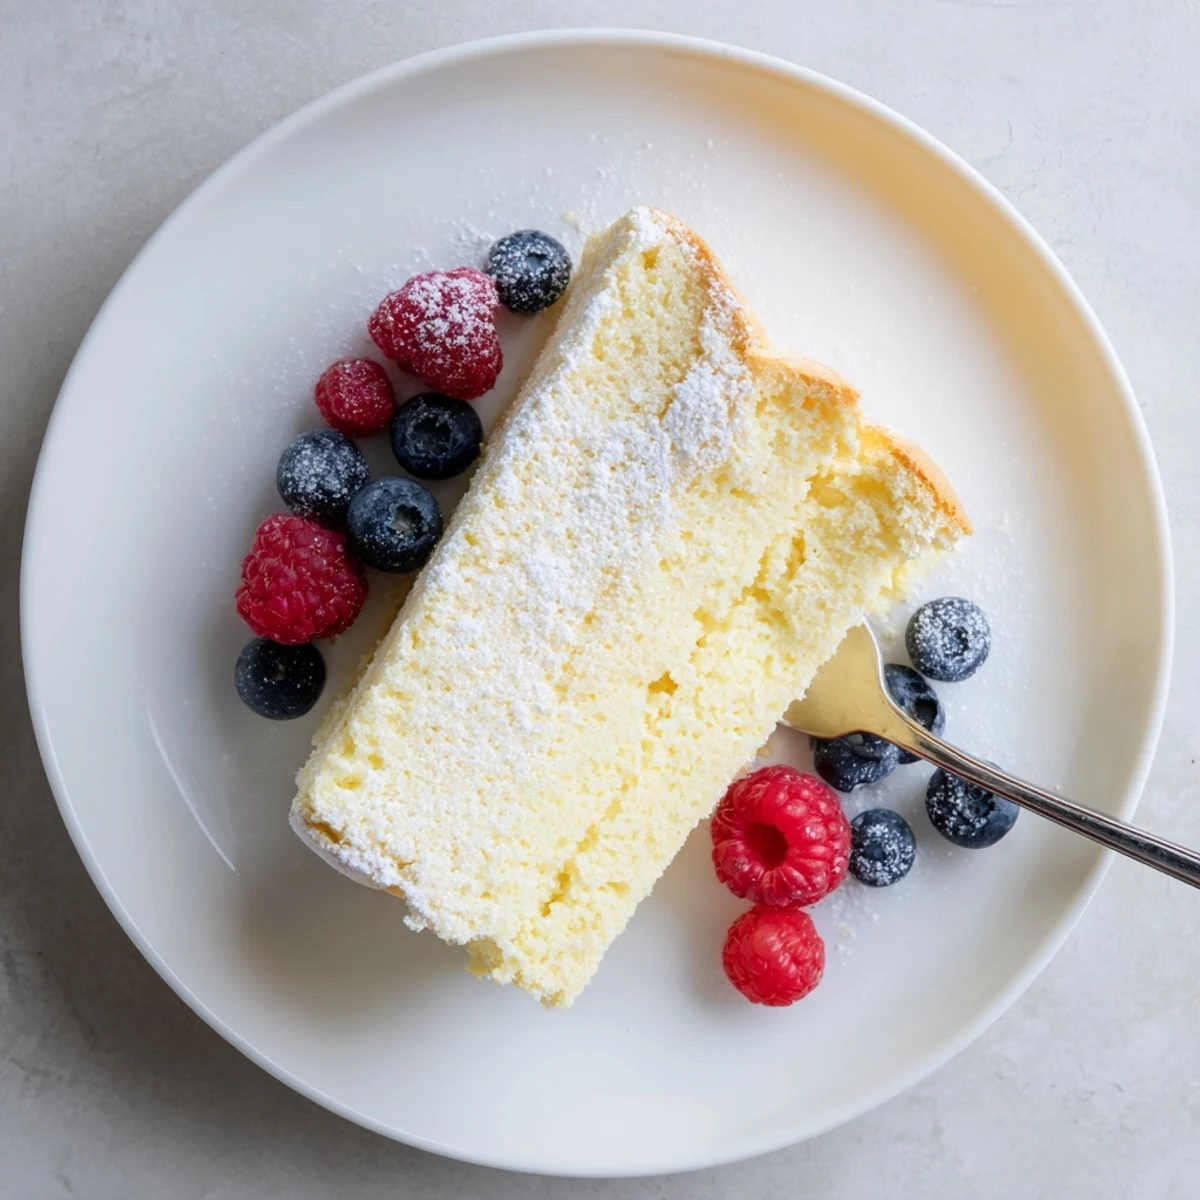
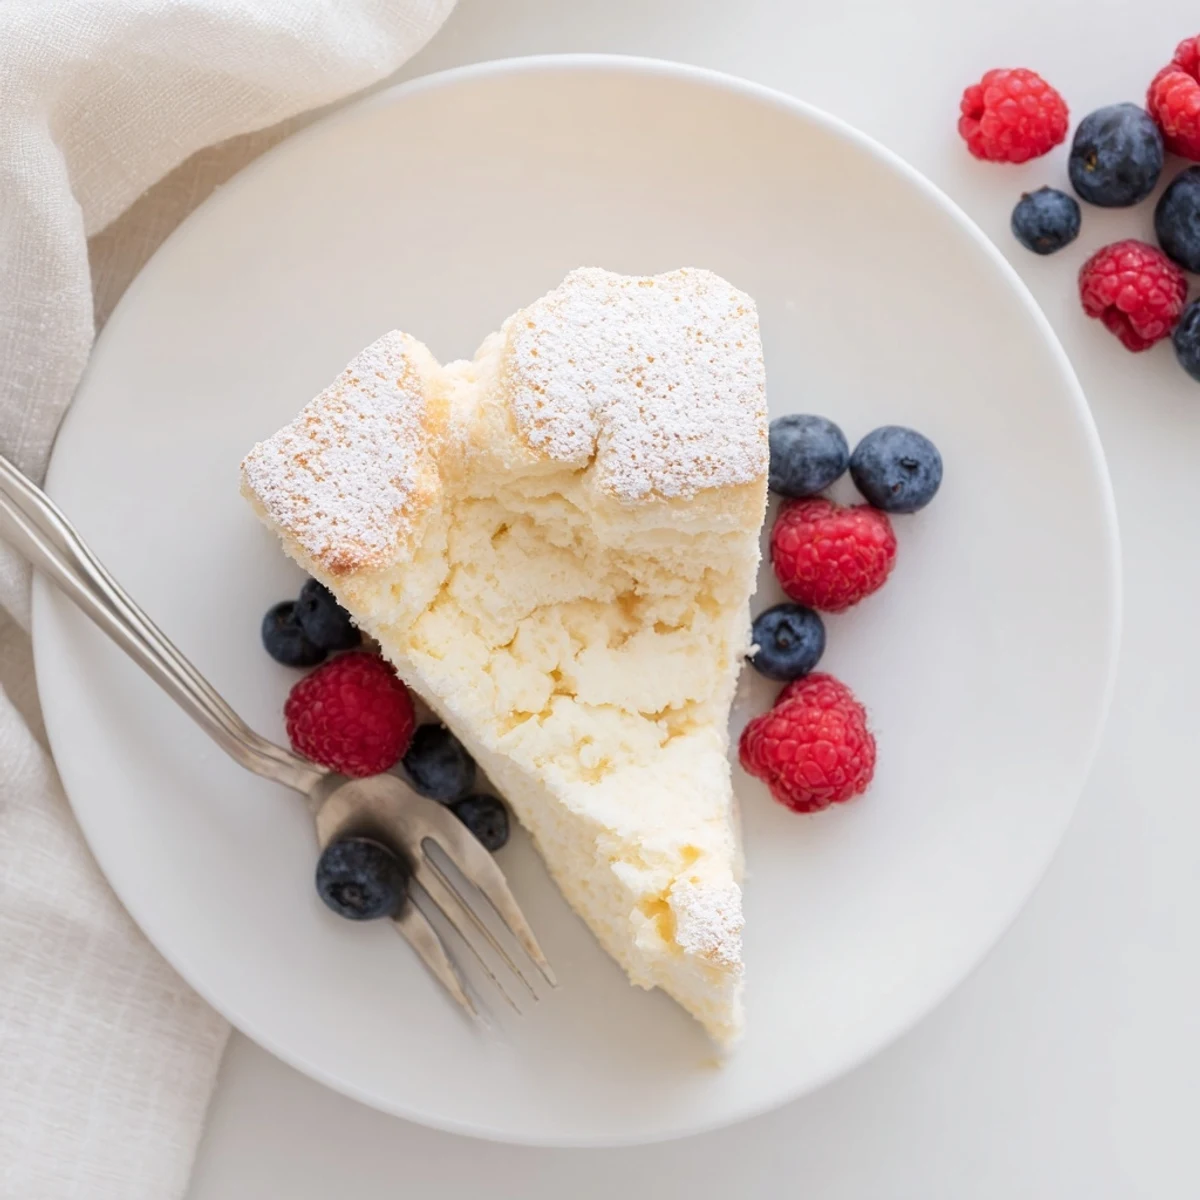
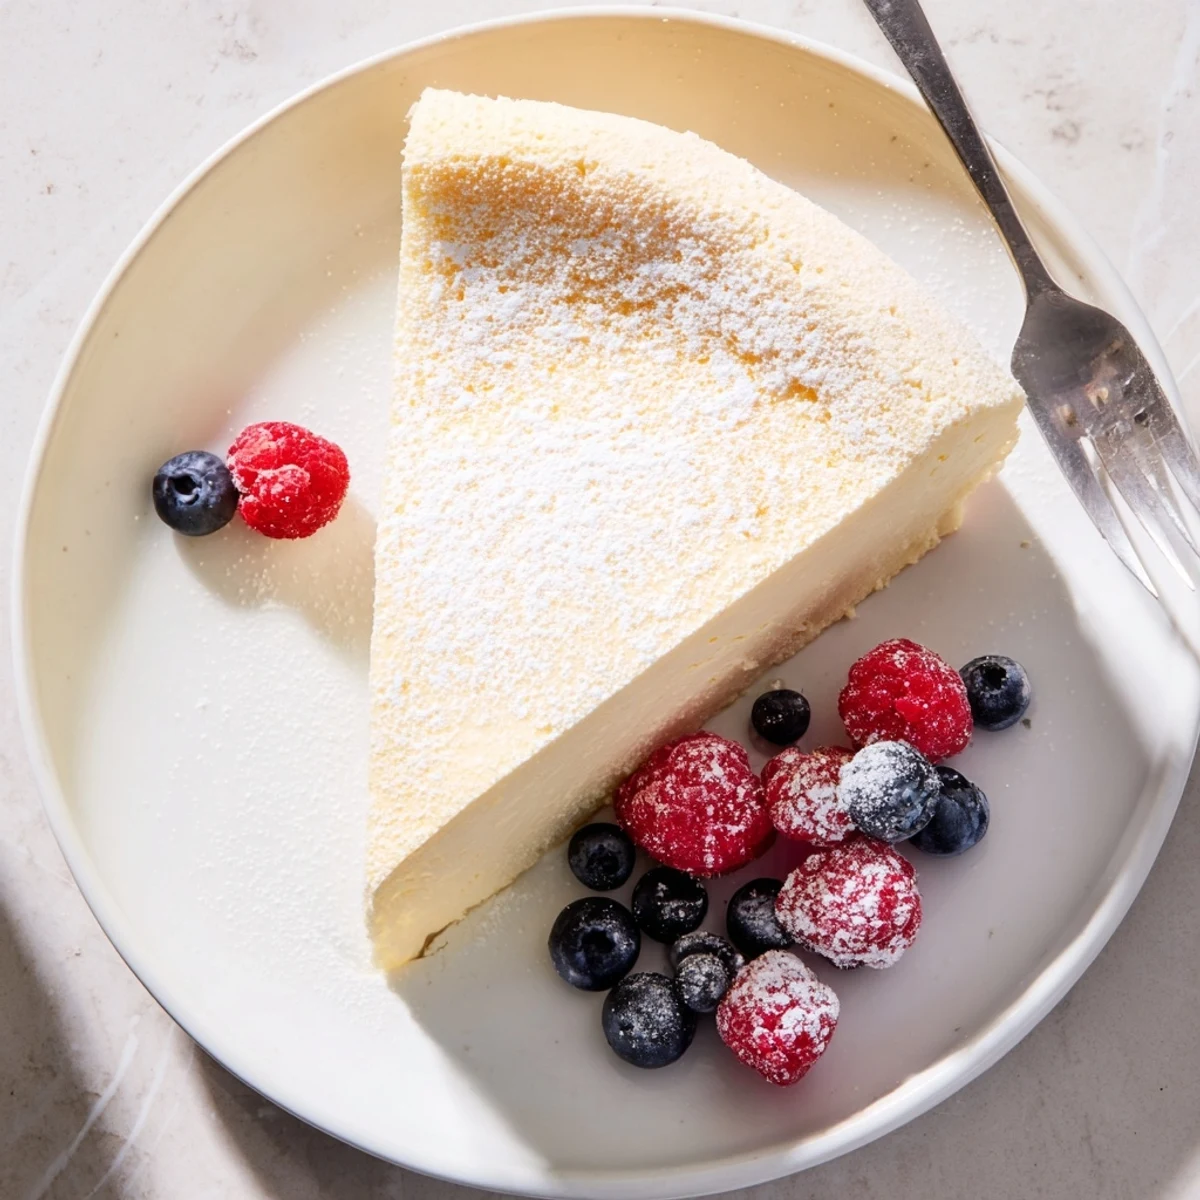
 Create an ethereal dessert that combines the creamy richness of traditional cheesecake with the weightless texture of a soufflé. This Japanese-style conquest achieves its signature cloudlike consistency through careful egg white whipping and gentle folding techniques.
The water bath method ensures moisture retention while preventing cracks, resulting in a golden, velvety slice that delivers pure indulgence without overwhelming sweetness. Perfect with fresh berries and a dusting of powdered sugar.
The first time I saw a Japanese cheesecake wobbling on a plate like a miraculous soufflé that had somehow decided to become cake, I couldn't believe it was real. My grandmother had taken one bite at our local Asian bakery and immediately demanded we figure out how to recreate that cloudlike magic at home. We spent three weekends testing different methods, and I can still remember her gasping when our fifth attempt finally rose to those glorious heights without collapsing.
I brought this to a dinner party where the host had just returned from Tokyo and was raving about the cheesecakes there. Watching his face when he took that first bite, recognizing the exact flavor and texture he'd been describing all evening, was one of those kitchen moments that make all the experimentation worth it. Now it's the only dessert my friends specifically request for their birthdays.
Ingredients
- Cream Cheese: Must be truly room temperature or you'll get lumps that stubbornly refuse to disappear into your silky batter
- Unsalted Butter: European-style butter has a higher fat content which creates that melt-in-your-mouth quality we're chasing
- Cake Flour: Absolutely non-negotiable, all-purpose flour will make your cloud turn into something dense and sad
- Cornstarch: The secret partner to cake flour that gives structure without weight
- Egg Whites: The volume kings of this recipe, beaten until they hold those dramatic stiff peaks that do all the heavy lifting
- Lemon Juice: Cuts through the richness just enough to keep each bite feeling light and fresh
- Vanilla Extract: Use the good stuff because there are so few ingredients, each one shines through
Instructions
- Prep Your Water Bath Setup:
- Rub a little butter on your cake pan before lining it with parchment, then wrap the exterior like you're protecting a precious gift from the rain. This foil shield is what keeps the water bath water from sneaking in and turning your masterpiece soggy.
- Melt the Base:
- Set up your double boiler and watch the cream cheese, butter, and milk surrender into each other, stirring until you've got something that looks like glossy white satin. Patience here pays off, any lumps at this stage will still be lumps in the final cake.
- Build the Foundation:
- Sift your dry ingredients directly into the warm cream cheese mixture and whisk like you mean it, then add those yolks and flavorings until everything moves as one smooth, golden unit. This base should be thick and creamy, ready to receive those clouds of meringue.
- Create the Clouds:
- In a scrupulously clean bowl, beat those egg whites until they're foamy, then rain in that first portion of sugar and watch the transformation begin. Continue adding sugar gradually and keep beating until you can flip the bowl upside down and those glossy peaks don't budge an inch.
- Marriage of Light and Rich:
- Fold in one third of your meringue first, using long, gentle strokes to lighten the heavy cream cheese base without deflating your precious air pockets. Add the remaining meringue in two more installments, folding with the grace of someone handling a sleeping kitten.
- The Patient Bake:
- Pour that beautiful batter into your prepared pan, give it a few confident taps on the counter to release trapped air bubbles, then lower it into its hot water bath. Let it bake undisturbed until it's golden and set, knowing the water bath is working its gentle magic to keep everything tender and crack-free.
- The Gentle Exit:
- Turn off the oven but leave the door cracked open like you're telling a secret, letting your cheesecake cool gradually for fifteen minutes in that fading warmth. This temperature transition is what prevents that heartbreaking middle crack we've all experienced.
 Pin it
 My sister served this at her wedding reception instead of traditional cake, and watching guests approach it skeptically, then return for slice after slice, was incredibly satisfying. Something about that gentle wobble on the plate makes people smile before they even take a bite.
The Water Bath Secret
The bain-marie technique creates a humid oven environment that gently coaxes the cheesecake into setting without developing a tough exterior or those dreaded cracks. I've tried skipping it during busy weekends when I was feeling lazy, and every single shortcut version came out with a texture that made me immediately regret my impatience.
Folding Without Fear
The folding step intimidates everyone the first time they make this, but I promise you'll develop a feel for it after your second or third batch. Watch how the batter gradually lightens in color and texture with each addition of meringue, and trust your instincts more than your timer.
Making It Your Own
Once you've mastered the classic version, the flavor variations are endless and each one teaches you something new about how this unique cake structure responds to different ingredients. Matcha powder creates a stunning green version that's become my go-to for spring gatherings, while a dusting of cocoa powder folded into just a portion of the batter makes for beautiful marbling.
- Add 2 teaspoons of matcha powder to the flour mixture for a vibrant green tea version
- Swap lemon juice for orange juice and add orange blossom water for a floral twist
- Fold in fresh raspberries gently after the final meringue addition for pockets of tart sweetness
 Pin it
 Every time I pull a perfect Japanese cheesecake from the oven, I still get that little thrill of disbelief that eggs and cream cheese can create something so miraculously light. Hope this recipe brings as much joy to your kitchen as it has to mine.
Recipe FAQs
- → What makes Japanese cheesecake different from regular cheesecake?
-
Japanese cheesecake incorporates whipped egg whites, creating a soufflé-like texture that's lighter and airier than dense American varieties. The result is a cloudlike confection that practically melts on your tongue.
- → Why is a water bath necessary for baking?
-
The water bath, or bain-marie, provides gentle, moist heat that prevents the cheesecake from drying out or cracking. This crucial technique ensures the delicate texture remains consistent throughout baking.
- → Can I substitute cake flour with all-purpose flour?
-
Cake flour is essential for achieving the desired lightness. Its lower protein content creates a tender crumb, whereas all-purpose flour would result in a denser, heavier texture that compromises the signature fluffy quality.
- → Why must I leave the oven door ajar after baking?
-
Gradual cooling prevents sudden temperature changes that cause cracks. Leaving the door slightly ajar allows the cheesecake to adjust slowly, maintaining its smooth surface while setting properly.
- → How long should I chill before serving?
-
Refrigerate for at least 2 hours to allow flavors to meld and the texture to fully set. This resting period is crucial for achieving the perfect consistency and makes slicing much cleaner.
- → What toppings complement this dessert?
-
Fresh berries like strawberries, raspberries, or blueberries provide bright acidity that balances the subtle sweetness. A light dusting of powdered sugar adds elegance without overwhelming the delicate flavors.