 Pin it
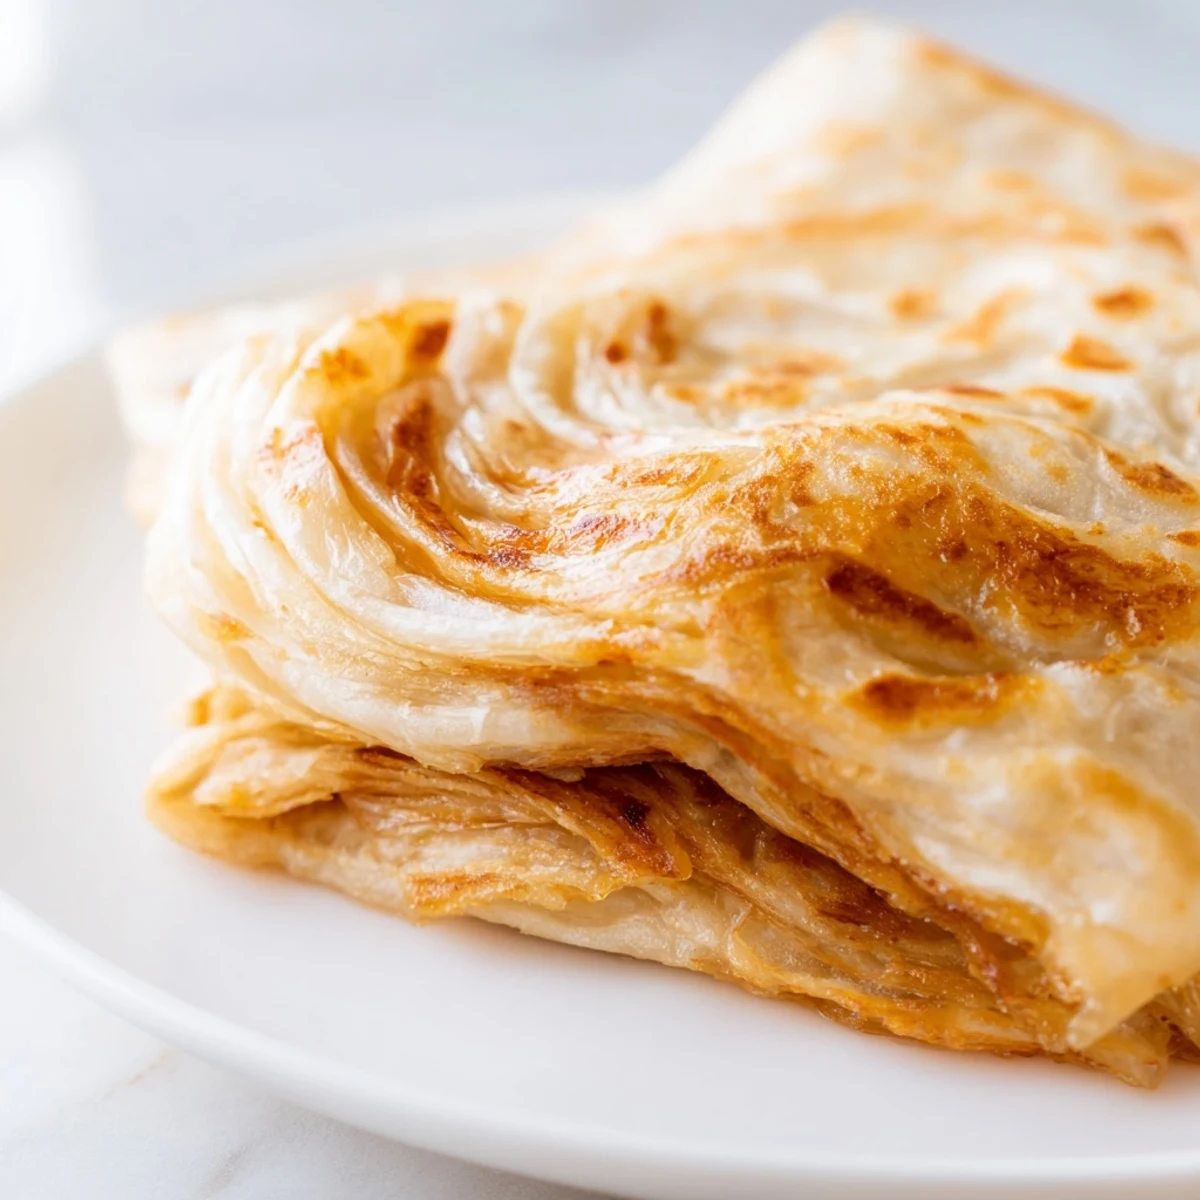
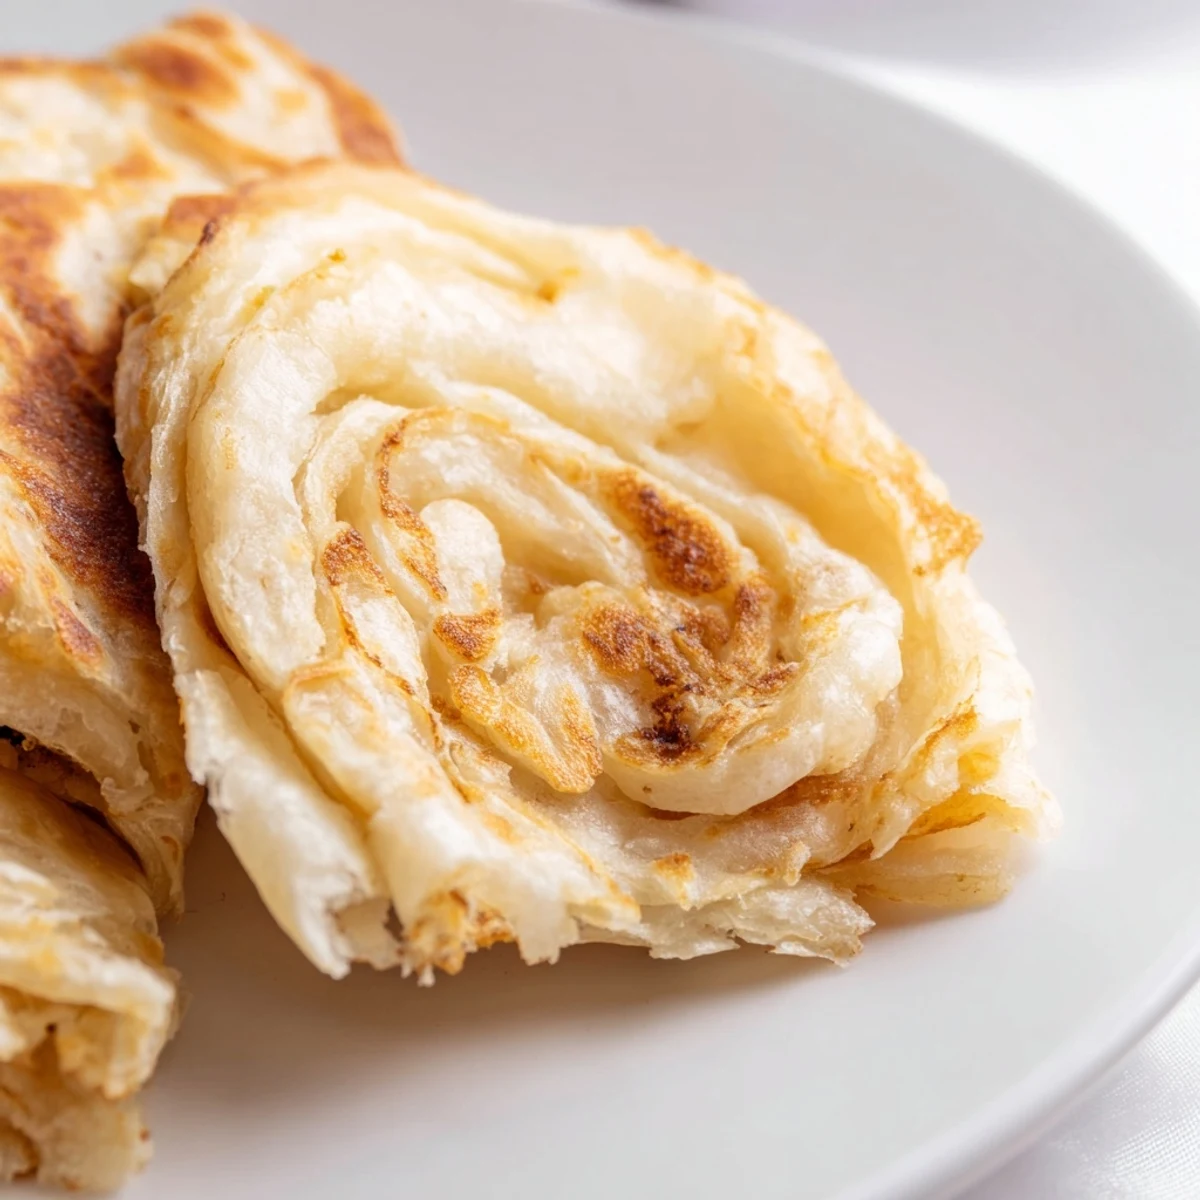
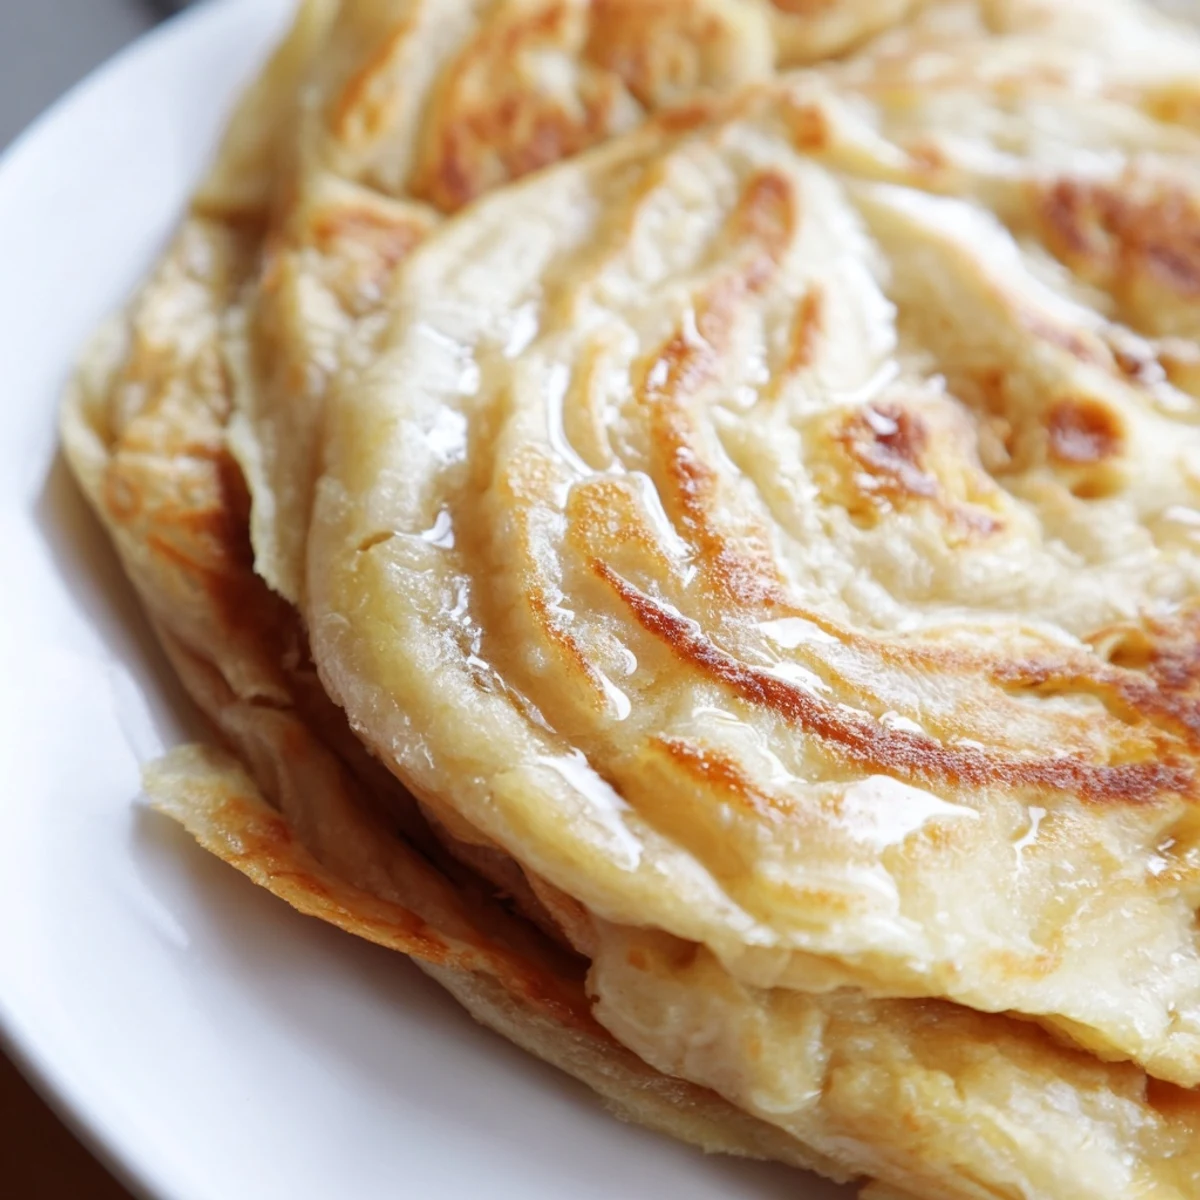
 Create authentic Malaysian flatbread with irresistibly flaky, golden layers and a tender, chewy center. This traditional technique requires a two-hour resting period for optimal stretchability, allowing you to pull the dough into paper-thin translucent sheets before folding and coiling.
The magic happens during the unique stretching and folding process—flatten, pull, fold inward like a letter, roll into a log, then coil into a spiral. Each step builds those signature buttery layers that separate beautifully when cooked on a hot griddle.
Serve these piping hot alongside rich dhal or aromatic chicken curry. For a sweet variation, sprinkle with sugar or drizzle with condensed milk. The gentle clapping technique between hands after cooking ensures maximum fluffiness.
The first time I watched a roti canai maker at a Malaysian street stall, I was mesmerized by how effortlessly he spun that dough until it became paper-thin, practically see-through. I went home determined to recreate those flaky layers, though my kitchen ceiling ended up wearing more flour than my countertop. After countless attempts and some truly hilarious failures, I finally learned that patience matters more than technique. These rotis now taste like late-night markets and steam rising into tropical air.
My roommate walked in while I was stretching dough one evening, probably wondering why I was seemingly playing with pastry like a pizza chef. She ended up staying for dinner, and we ate them hot from the pan, pulling apart the layers with our fingers and dipping them into whatever curry we had in the fridge. Now whenever I make these, I remember that impromptu feast and how simple flatbread can turn an ordinary Tuesday into something special.
Ingredients
- All-purpose flour: Forms the foundation of the dough, creating structure while remaining tender after cooking
- Salt: Essential for enhancing flavor and strengthening the gluten network
- Sugar: Balances the savory notes and helps achieve that golden brown color
- Condensed milk: The secret ingredient that makes Malaysian roti exceptionally soft and slightly sweet
- Melted ghee or butter: Adds richness and contributes to those signature flaky layers
- Warm water: Brings everything together, activating the flour for proper gluten development
- Additional ghee or oil: Keeps dough balls from drying out and helps achieve crispy edges during cooking
Instructions
- Mix the foundation:
- Combine flour, salt, and sugar in a large bowl, then add melted ghee and condensed milk. Pour in warm water gradually while mixing until you have a soft, slightly sticky dough that feels alive in your hands.
- Work the dough:
- Knead for 8 to 10 minutes until smooth and elastic, letting the gluten develop so the dough can stretch without tearing later.
- Portion and rest:
- Divide into 6 equal balls, coat each lightly with ghee, and arrange on a greased tray. Cover and let rest for at least 2 hours, during which the dough will relax and become cooperative.
- Stretch thin:
- Grease your work surface and hands generously. Flatten one dough ball and gently stretch it into a thin, almost translucent sheet, working from the center outward until you can nearly see through it.
- Create layers:
- Fold the sides inward to form a rectangle, roll it up like a Swiss roll, then coil into a spiral. Tuck the end underneath and repeat with remaining portions.
- Prepare the pan:
- Heat a non-stick skillet over medium heat and brush lightly with ghee, listening for that gentle sizzle that tells you the temperature is right.
- Flatten and cook:
- Press one spiral portion into a 6 to 7 inch round and cook for 2 to 3 minutes per side. Watch for golden spots forming and the layers beginning to separate.
- The final touch:
- Remove from heat and clap the roti between your hands like you are warming them on a cold day. This step literally fluffs up the layers.
 Pin it
 These rotis have become my go-to when friends come over, because there is something communal about pulling apart layers of bread still warm from the pan. We gather around the stove, watching each one cook and debating which side looks more golden, until someone inevitably grabs the first one and breaks the spell. The kitchen fills with the smell of ghee and we eat standing up, because waiting for a proper table setting seems ridiculous when something this delicious is ready right now.
Getting The Right Texture
The dough should feel sticky and soft when you first make it, almost too soft to handle. Do not be tempted to add more flour, because that resistance you feel is exactly what will give you those ethereal layers after resting. Trust the process.
The Stretching Technique
Work on a well-oiled surface rather than floured one, and let the weight of the dough do most of the work. If you feel it starting to resist, just pause for a moment and let it relax before continuing.
Perfect Pairings
These rotis shine alongside anything with sauce, but they are also surprisingly wonderful torn into pieces and dipped in hot milky tea for a simple breakfast.
- Try them with dhal curry for a vegetarian dinner that feels complete
- Sprinkle sugar over them fresh from the pan for a sweet version
- Keep cooked rotis warm in a clean kitchen towel while you finish the batch
 Pin it
 There is something deeply satisfying about making flatbread that relies on just a few simple ingredients yet creates something extraordinary. Pulling apart those warm, flaky layers feels like unwrapping a small present you made yourself.
Recipe FAQs
- → Why is the resting period essential?
-
The two-hour rest allows gluten strands to relax, making the dough pliable enough to stretch into thin translucent sheets without tearing. This relaxation period is crucial for achieving those signature flaky layers.
- → Can I make the dough ahead of time?
-
Yes, prepare the dough portions and refrigerate overnight in a greased container. Bring to room temperature for 30 minutes before shaping and cooking. The extended resting actually improves texture and stretchability.
- → What makes the layers flaky?
-
The combination of ghee coating, proper folding technique, and high-heat cooking creates steam between thin dough layers. The traditional Swiss-roll folding method followed by spiral shaping builds multiple layers that separate beautifully during cooking.
- → Why clap the roti after cooking?
-
Gently clapping the cooked flatbread between your hands separates the layers immediately after cooking, creating that signature airy, flaky texture. It's a traditional technique that maximizes the interior puffiness while maintaining crisp exterior.
- → What should I serve with Roti Canai?
-
Traditionally served with dhal curry or chicken curry for dipping. The flatbread also pairs beautifully with fish curry, sambal, or for a sweet version, sprinkle with sugar or drizzle with sweetened condensed milk. Perfect for breakfast or dinner.
- → My dough tears when stretching—what went wrong?
-
This usually means insufficient resting time or working with dough that's too cold. Ensure full two-hour rest at room temperature. Oil your hands and work surface generously. Start with smaller portions until you master the stretching technique.