 Pin it
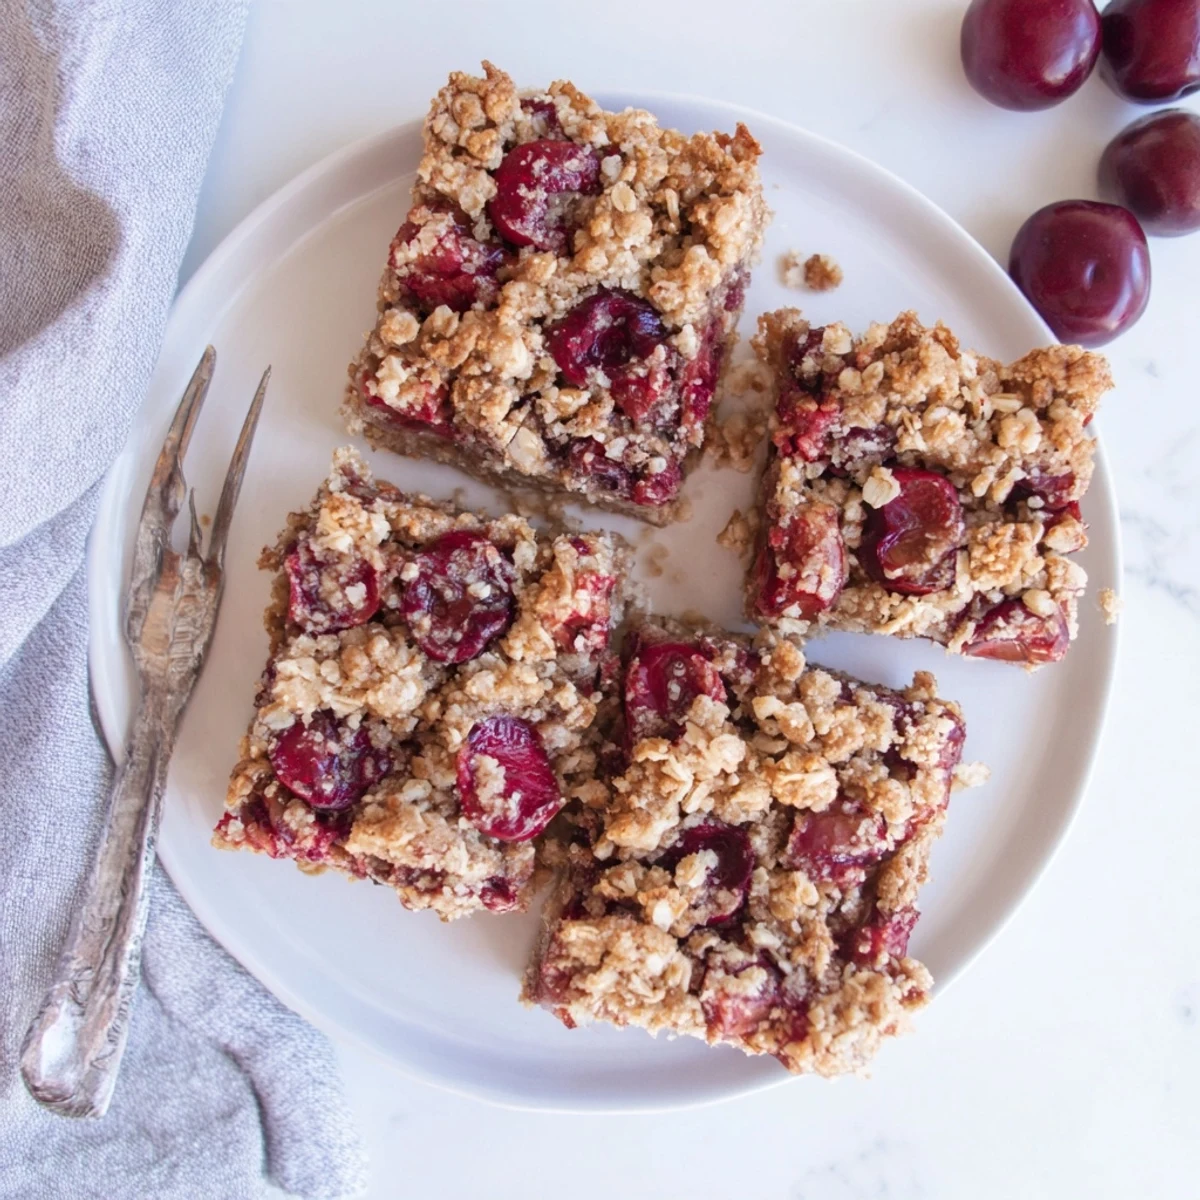
 These cherry crumble bars combine a tender oat crust with a sweet, juicy cherry filling and buttery crumble topping. The bars come together quickly with pantry staples and fresh or frozen cherries. Simply mix the crumble, press half into the pan, layer with cherries, and top with remaining crumbs. After baking until golden and bubbly, cool completely before cutting into neat squares. The result is a portable dessert that captures all the comfort of cherry crumble with none of the fuss.
The smell of butter and oats toasting in the oven always pulls me back to my grandmother's kitchen on rainy Sunday afternoons. She'd have these bars cooling on the counter, the cherry filling still slightly warm and bubbling around the edges. Now I understand why she made them so often—they're impossibly simple but make the whole house feel cozy. My kids now wait by the oven timer just like I did.
Last summer I brought a batch to a potluck and watched them disappear in under ten minutes. My friend Sarah actually asked if I'd consider selling them which made me laugh but also sort of proud. There's something about that combination of tart cherries and sweet crumbly topping that makes people reach for seconds without thinking.
Ingredients
- 1 ½ cups all-purpose flour: Forms the structure of both crust and crumble giving these bars their satisfying bite
- 1 ½ cups old-fashioned rolled oats: Use these not quick oats for better texture and that classic crumble flavor
- ¾ cup granulated sugar: Sweetens the crust and balances the tart cherries perfectly
- ½ cup packed light brown sugar: Adds a subtle caramel depth and keeps the crumble tender
- 1 tsp baking powder: Helps the crust rise slightly so it's not too dense
- ½ tsp salt: Essential for balancing all that sweetness and highlighting the oat flavor
- 1 cup unsalted butter melted: The foundation of that irresistible buttery taste and crumbly texture
- 1 tsp vanilla extract: Rounds out the flavors and adds warmth
- 3 cups fresh or frozen pitted cherries halved: The star of the show with their deep ruby color and tart juiciness
- ⅓ cup granulated sugar: Just enough to sweeten the cherries without masking their natural flavor
- 2 tbsp cornstarch: Thickens the cherry juices so you get pockets of jammy filling not a soggy mess
- 1 tbsp lemon juice: Brightens the cherry flavor and helps the cornstarch work its magic
- ½ tsp almond extract optional: Enhances the cherry flavor beautifully if you love that almond note
Instructions
- Preheat and prep your pan:
- Set your oven to 350°F (175°C) and line a 9x13-inch baking pan with parchment paper letting it hang over the edges like little handles. This makes lifting the bars out so much easier later.
- Mix the dry ingredients:
- In a large bowl combine flour oats both sugars baking powder and salt. Whisk them together so everything is evenly distributed before adding the butter.
- Add the butter and vanilla:
- Pour in the melted butter and vanilla extract then stir until the mixture looks like damp sand with some larger crumbles. It should hold together when you squeeze it but still look crumbly.
- Reserve some crumble:
- Measure out about 1 ½ cups of this mixture and set it aside for the topping. Press the rest firmly and evenly into the bottom of your prepared pan.
- Prepare the cherry filling:
- In a separate bowl toss the cherries with sugar cornstarch lemon juice and almond extract if using. Stir until every cherry is coated and the cornstarch has dissolved into the fruit juices.
- Layer the cherries:
- Spread the cherry mixture evenly over the crust. Try to distribute them in a single layer so every bar gets a good amount of fruit.
- Add the topping:
- Sprinkle the reserved crumble mixture over the cherries. Don't press it down—you want those nice crumbly bits on top that get golden and crisp.
- Bake until golden:
- Bake for 35 to 40 minutes until the top is lightly golden and you see the cherry filling bubbling up around the edges. The aroma filling your kitchen will be incredible.
- Cool completely:
- This is the hard part—let the bars cool completely in the pan. Using the parchment overhang lift them out then cut into squares. Warm bars are delicious but they'll be neater if you wait.
 Pin it
 My husband who rarely eats dessert went back for thirds the first time I made these. Now whenever cherries are in season he casually asks if I'm planning to bake anything which is his not so subtle hint. These bars have become our family's official welcome to the neighborhood gift.
Make Ahead Magic
I've learned that these bars actually taste better the next day once the flavors have had time to meld. You can make them up to two days in advance and store them at room temperature tightly covered. The crust softens slightly but in the best way possible.
Freezing Tips
These freeze beautifully which is dangerous because I always end up with a stash in the freezer for emergencies. Wrap individual bars in plastic wrap then freeze in a container. They thaw in about an hour at room temperature.
Serving Suggestions
While these are perfect on their own a scoop of vanilla ice cream transforms them into something dinner party worthy. The warm cherry filling and melting ice cream create this incredible sauce that people will want to spoon up.
- Sprinkle a little coarse sugar on top before baking for extra crunch
- Try swapping half the cherries for blueberries when both are in season
- These travel well for picnics but pack them flat so the crumble doesn't get crushed
 Pin it
 There's something deeply satisfying about serving a dessert that looks impressive but comes together with such ease. Hope these become a staple in your kitchen like they have in mine.
Recipe FAQs
- → Can I use frozen cherries instead of fresh?
-
Yes, frozen cherries work perfectly in these bars. No need to thaw them first—just toss with the sugar and cornstarch mixture as directed. Add about 5 minutes to the baking time to account for the frozen fruit.
- → How should I store these cherry bars?
-
Store the cooled bars in an airtight container at room temperature for up to 3 days. For longer storage, refrigerate for up to a week. They also freeze well—wrap individually and freeze for up to 3 months.
- → Can I make these bars gluten-free?
-
Substitute the all-purpose flour with a 1:1 gluten-free flour blend. Ensure your oats are certified gluten-free, as regular oats may be processed in facilities with wheat.
- → Why do I need to cool the bars completely before cutting?
-
The filling needs time to set as it cools. Cutting while warm will cause the cherry layer to ooze out and the bars to lose their shape. For clean cuts, refrigerate the cooled pan for about 30 minutes before slicing.
- → What other fruits can I use?
-
These bars work beautifully with other stone fruits like peaches, plums, or apricots. Berries such as blueberries, raspberries, or mixed berries are also delicious. Adjust the sugar slightly based on the fruit's natural sweetness.