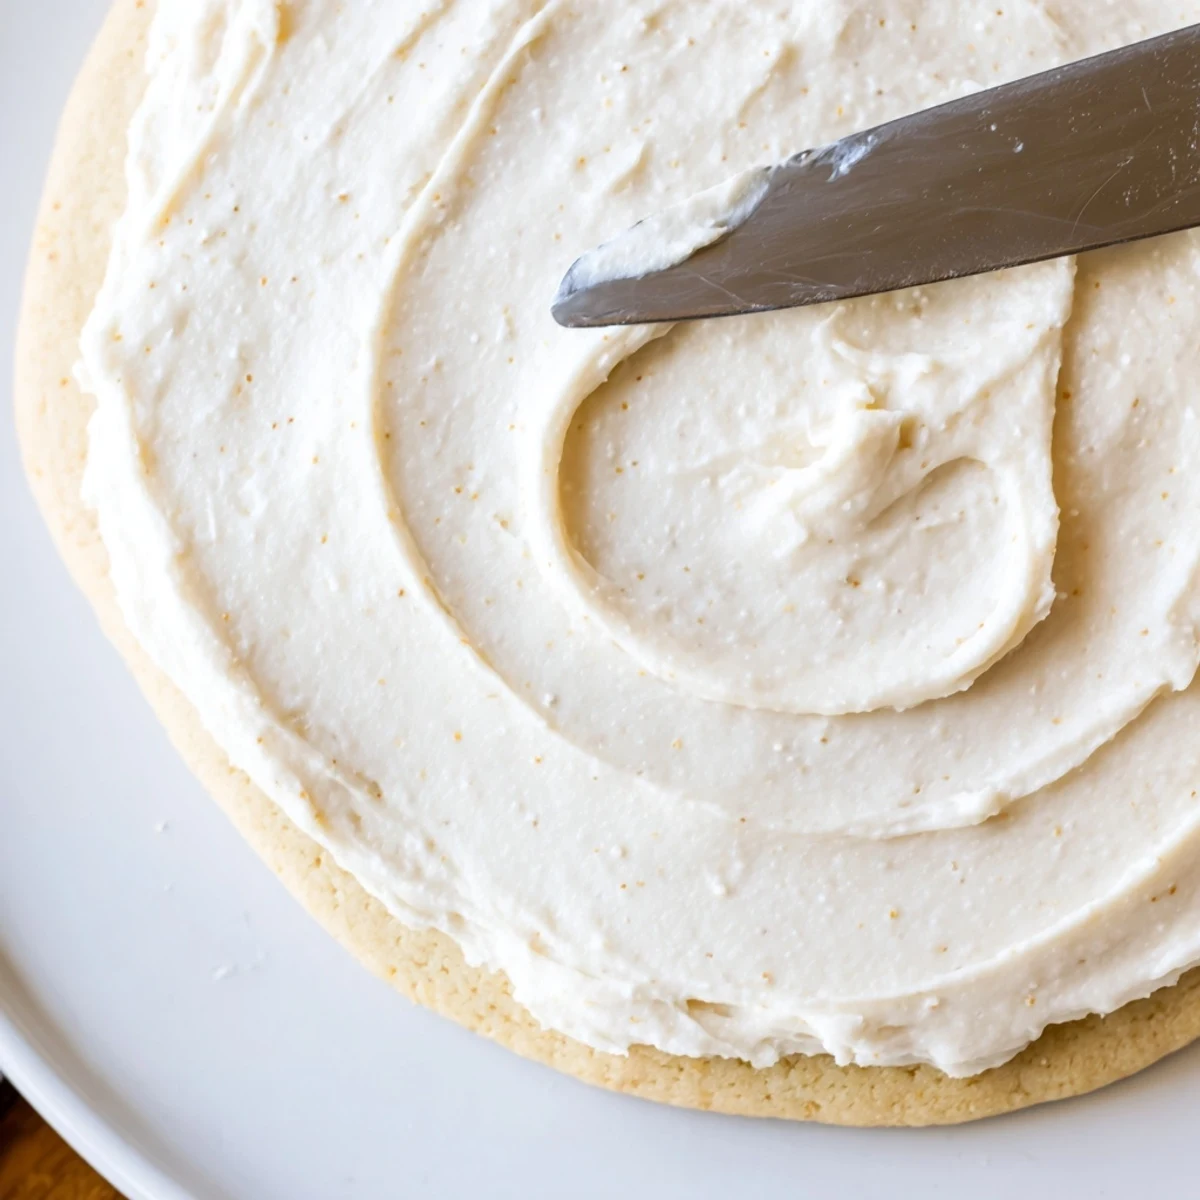
 Pin it
 This vanilla buttercream frosting whips up in just 10 minutes, creating a perfectly creamy and fluffy topping for sugar cookies. The combination of softened butter, powdered sugar, whole milk, and pure vanilla extract produces a smooth consistency that spreads beautifully and develops a slight crust as it sets—ideal for detailed decorating work.
Adjust the texture easily by adding more milk for thinner spreading or extra powdered sugar for stiffer designs. The versatile topping works equally well on cupcakes, cakes, and brownies, and keeps for up to a week in the refrigerator.
The first time I made buttercream, I thought frosting was just supposed to be sweet and messy. Then I watched my grandmother swirl it onto sugar cookies with this confident wrist motion, creating little clouds that held their shape perfectly. She told me the secret was patience—beating the butter until it practically sang. Now I understand why she took such pride in every batch.
Last Christmas, my daughter insisted we make cookie decorating a full-blown event with every color imaginable. We made three batches of this frosting, turning the kitchen into a rainbow workspace with speckles of color everywhere. The best part wasnt how beautiful the cookies looked—it was how she kept licking the spatula and declaring this the best frosting she had ever tasted.
Ingredients
- Unsalted butter: Softened to room temperature makes all the difference—I learned the hard way that partially melted butter creates grainy frosting that never quite smooths out
- Powdered sugar: Sifting feels like an extra step but prevents those tiny lumps that catch you off guard when you are expecting pure silk
- Whole milk: Start with two tablespoons, but keep a teaspoon nearby because humidity changes everything
- Pure vanilla extract: The real stuff creates that bakery flavor everyone tries to identify
- Pinch of salt: Sounds unnecessary until you taste it without salt and realize something is missing
Instructions
- Whip the butter:
- Beat that softened butter for a full minute until it looks like pale yellow clouds—trust me, this foundation matters more than you think
- Add the sugar gradually:
- Pour in the powdered sugar slowly on low speed or you will create a snowstorm all over your counter, then scrape the bowl to incorporate every bit
- Bring it together:
- Pour in the milk, vanilla, and salt, then beat on medium-high for those crucial minutes until the frosting suddenly lightens and turns impossibly fluffy
- Adjust the consistency:
- Thinner frosting spreads like a dream while thicker holds its shape for piping—add milk or sugar one teaspoon at a time until it feels right for your project
- Frost and set:
- Spread generously on completely cooled cookies and walk away for two hours while it develops that perfect slight crust
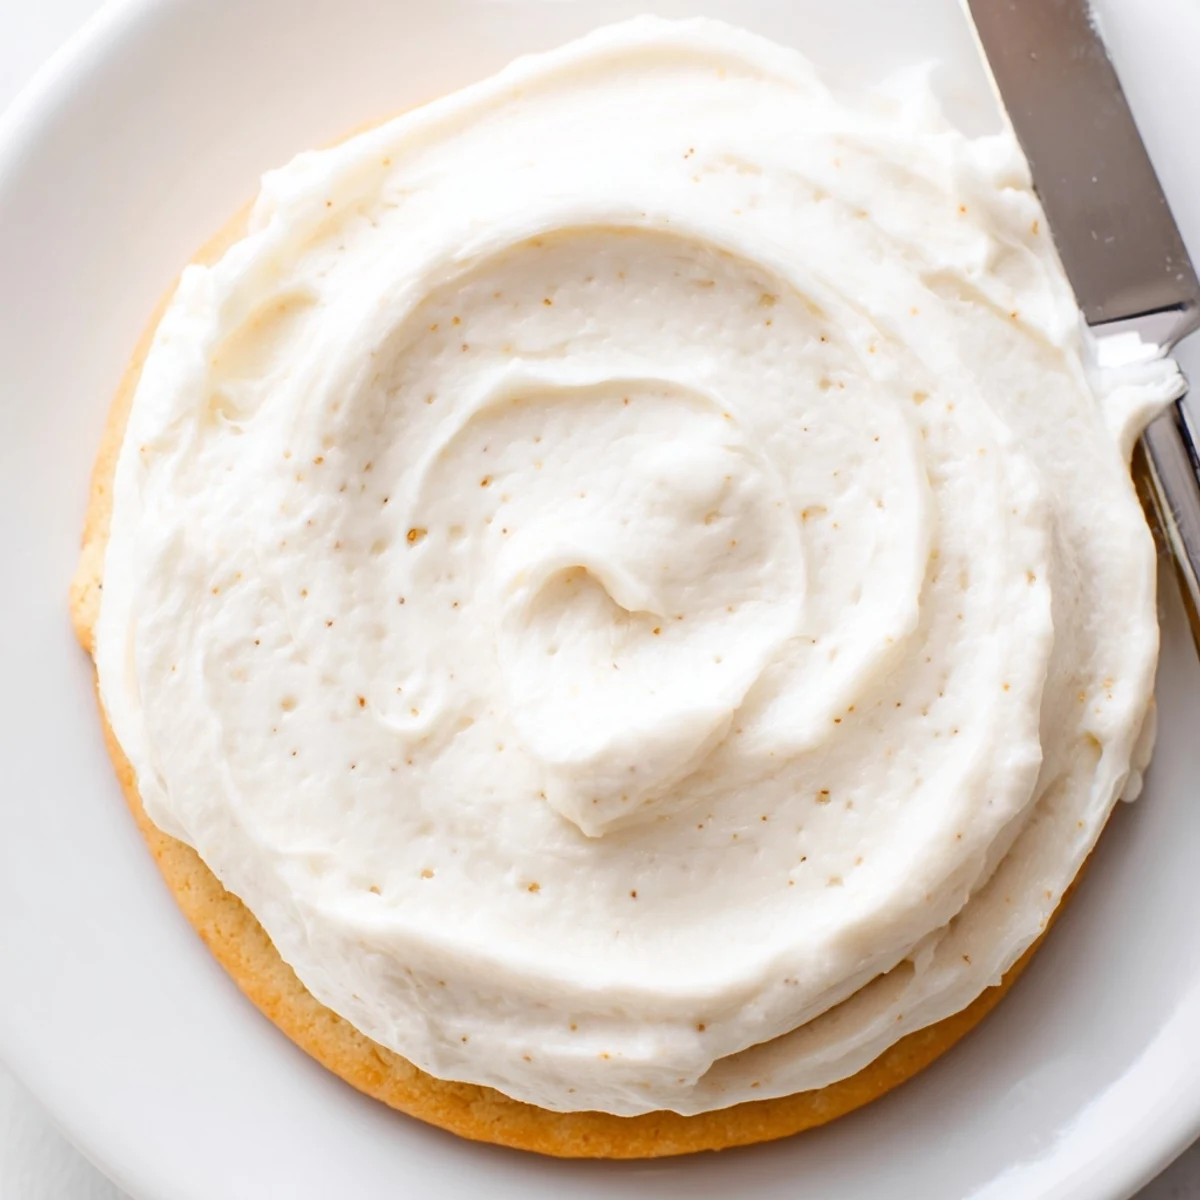 Pin it
 My friend asked me to teach her frosting technique, and I watched her face light up when the buttercream suddenly transformed from grainy to glossy. She said it felt like watching a flower bloom in fast motion. That is exactly how it feels every single time.
Making It Your Own
This base recipe takes beautifully to different flavorings—almond extract creates something nostalgic while lemon zest brightens everything up for spring cookies. My personal favorite is adding a tablespoon of cocoa powder for a chocolate variation that my chocolate-loving nephew claims is better than the original.
The Coloring Secret
Gel food coloring changed my decorating game completely. Those tiny little pots concentrate color so effectively that a toothpick amount creates the most vibrant shades without turning your frosting into soup. The difference between my past watery attempts and current professional-looking colors is honestly night and day.
Frosting Consistency
Thin consistency spreads beautifully across large surfaces while stiff frosting holds those fancy piped shapes and borders. I keep a small bowl of extra powdered sugar and a teaspoon of milk nearby while I work, tweaking as I go. The perfect consistency for spreading cookies is that sweet spot where a knife passes through leaving soft ripples that slowly settle back into place.
- Add food coloring before adjusting consistency so you can account for any moisture from the gel
- Frosting sets at room temperature but never gets rock hard like royal icing
- This recipe doubles perfectly if you are tackling a big batch of holiday cookies
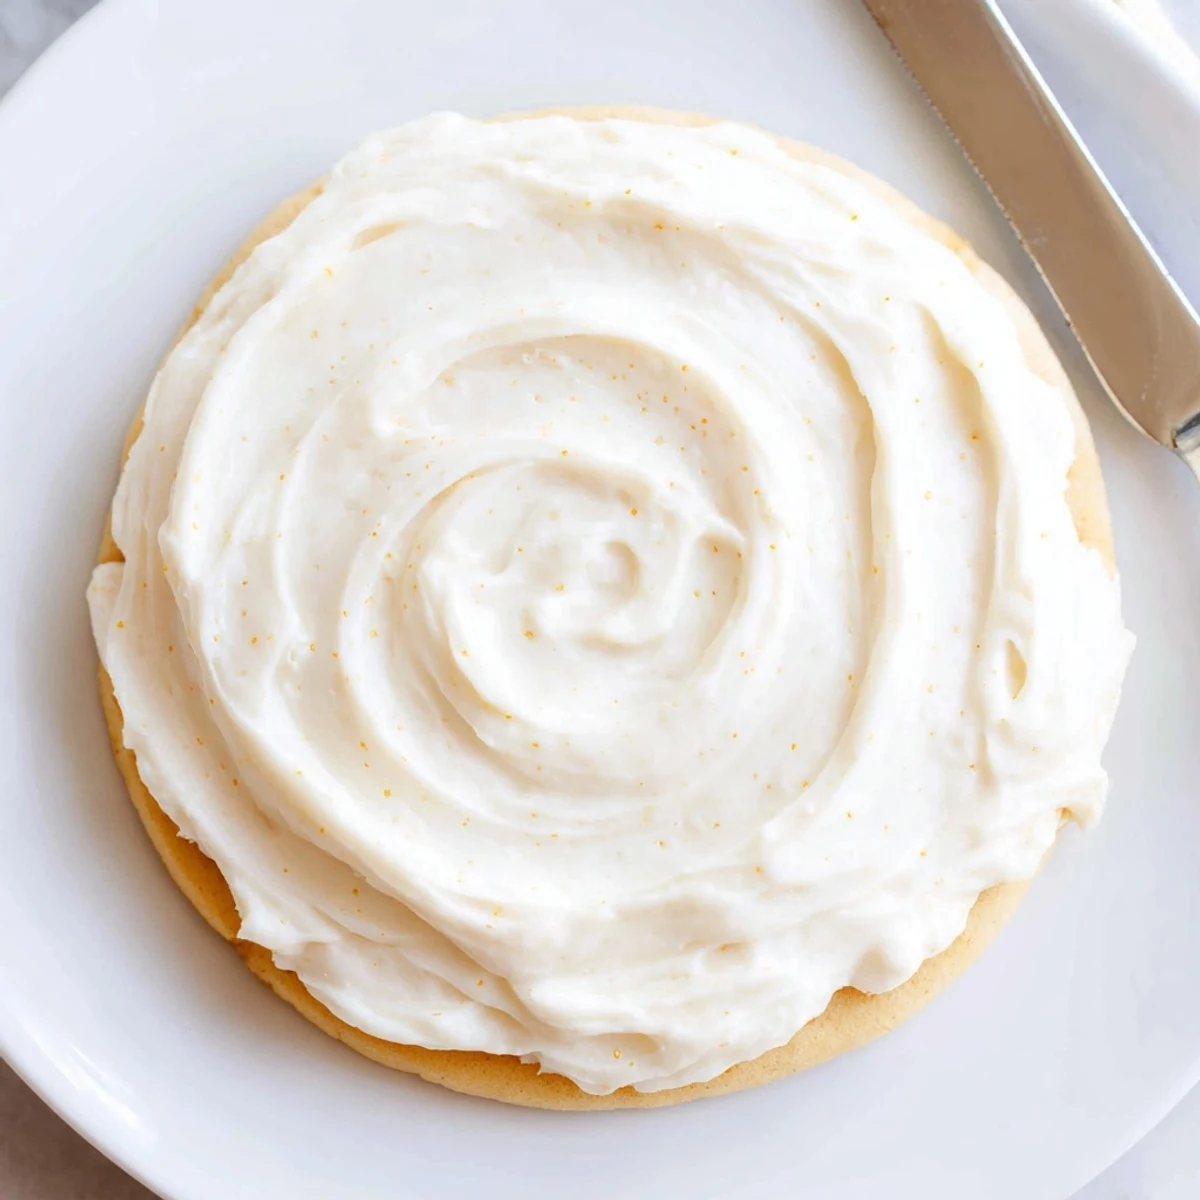 Pin it
 Some recipes are just vehicles for sugar, but this frosting makes cookies feel like something special. That is the kind of kitchen magic worth sharing.
Recipe FAQs
- → How long does the frosting take to set?
-
Allow the frosted cookies to sit at room temperature for 1–2 hours to develop a slight crust. This makes them stackable and prevents smudging when stored or transported.
- → Can I make this frosting ahead of time?
-
Yes, store unused frosting in an airtight container in the refrigerator for up to 1 week. Bring to room temperature and re-whip with an electric mixer before using to restore the fluffy texture.
- → How do I color the frosting?
-
Add gel food coloring drop by drop after step 3, mixing thoroughly between additions until you reach the desired shade. Gel coloring works best as it won't thin the consistency like liquid food dye.
- → Why is my frosting too thick or thin?
-
If too thick, add milk 1 teaspoon at a time until spreadable. If too thin, gradually incorporate more sifted powdered sugar until you reach the desired consistency for piping or spreading.
- → Can I use salted butter instead of unsalted?
-
You can substitute salted butter, but omit the pinch of salt called for in the ingredients. This prevents the final topping from becoming overly salty.
- → How many cookies does this batch cover?
-
This quantity provides enough to frost approximately 24 standard-sized sugar cookies with a moderate layer. Adjust quantities accordingly if decorating larger or smaller batches.