 Pin it
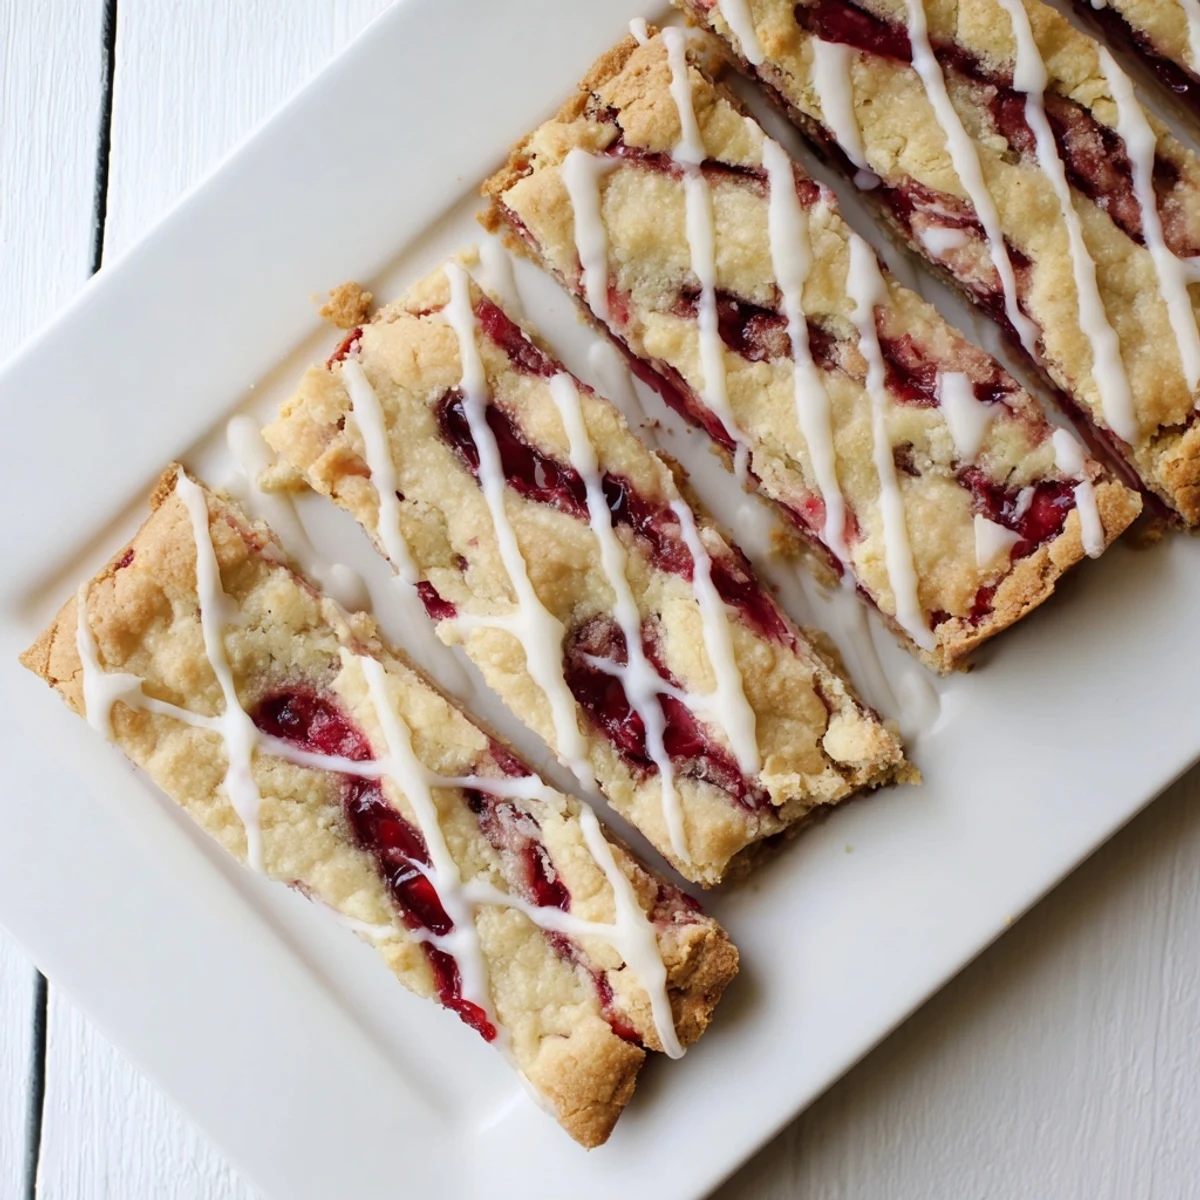
 These tender, buttery bars feature a luscious layer of sweet cherry pie filling nestled between soft vanilla dough. The simple preparation comes together in just 15 minutes of active time, then bakes until golden. A quick vanilla glaze adds the perfect finishing touch.
My grandmother kept cherry pie filling in her pantry like it was a secret weapon. Rainy afternoons, shed pull out a can and somehow transform it into something that made the whole house smell like comfort. These bars capture that same magic without the fuss of rolling out pie crust. The buttery dough hugs those cherries like an old friend.
Last summer I made these for a backyard barbecue and watched them disappear in record time. My neighbor asked for the recipe before shed even finished her first bar, powdered sugar dusting her upper lip. Theres something about cherries that makes people nostalgic, even if theyre from a can.
Ingredients
- Unsalted butter: Softened to room temperature so it creams beautifully with the sugar into something light and airy
- Granulated sugar: Sweetens the dough and helps create that tender texture we want in a bar cookie
- Large eggs: Bind everything together while adding richness and structure to the dough
- Vanilla and almond extract: The almond is optional but it pairs so beautifully with cherries, deepening their flavor
- All purpose flour: The foundation of our buttery base, giving the bars enough structure to hold the filling
- Salt: Just a pinch balances all that sweetness and wakes up the other flavors
- Cherry pie filling: The star of the show, bringing that bright ruby color and sweet tart fruitiness
- Powdered sugar: Creates a smooth drizzle that makes these bars look as good as they taste
- Milk: Thins the glaze just enough so it cascades over the bars beautifully
Instructions
- Preheat your oven and prepare your pan:
- Heat that oven to 350°F and give your 9x13 inch pan a good coat of butter or line it with parchment paper for easy cleanup later
- Cream the butter and sugar:
- Beat that softened butter and granulated sugar together until its light and fluffy, like a cloud you could sink a spoon into
- Add the eggs and extracts:
- Crack in those eggs one at a time, letting each one disappear completely before adding the next, then pour in both extracts
- Combine the dry ingredients:
- Whisk the flour and salt together in another bowl, then gradually add it to your buttery mixture just until everything comes together
- Layer the dough and filling:
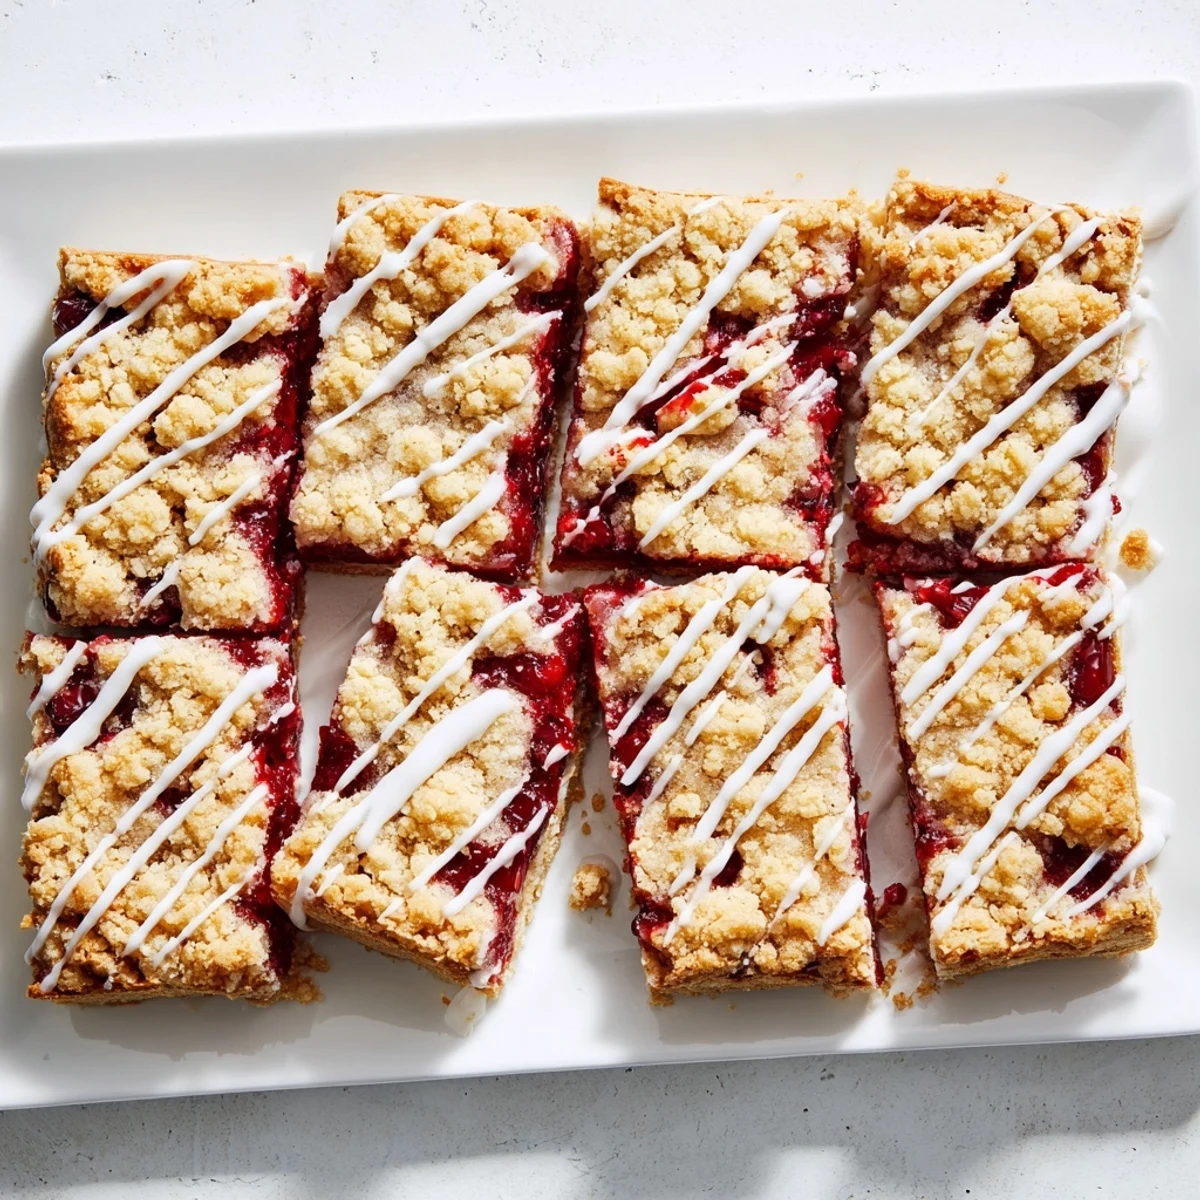
- Press about two thirds of that dough into the bottom of your pan, spread the cherry filling over it, then drop little clumps of remaining dough on top
- Bake until golden:
- Slide the pan into the oven for 30 to 35 minutes until the top is lightly golden and the edges look set and firm
- Cool completely:
- Let the bars cool completely on a wire rack because that glaze will slide right off anything warm
- Make the vanilla glaze:
- Whisk powdered sugar with just enough milk and vanilla to make something smooth and pourable, then drizzle it all over
- Let the glaze set:
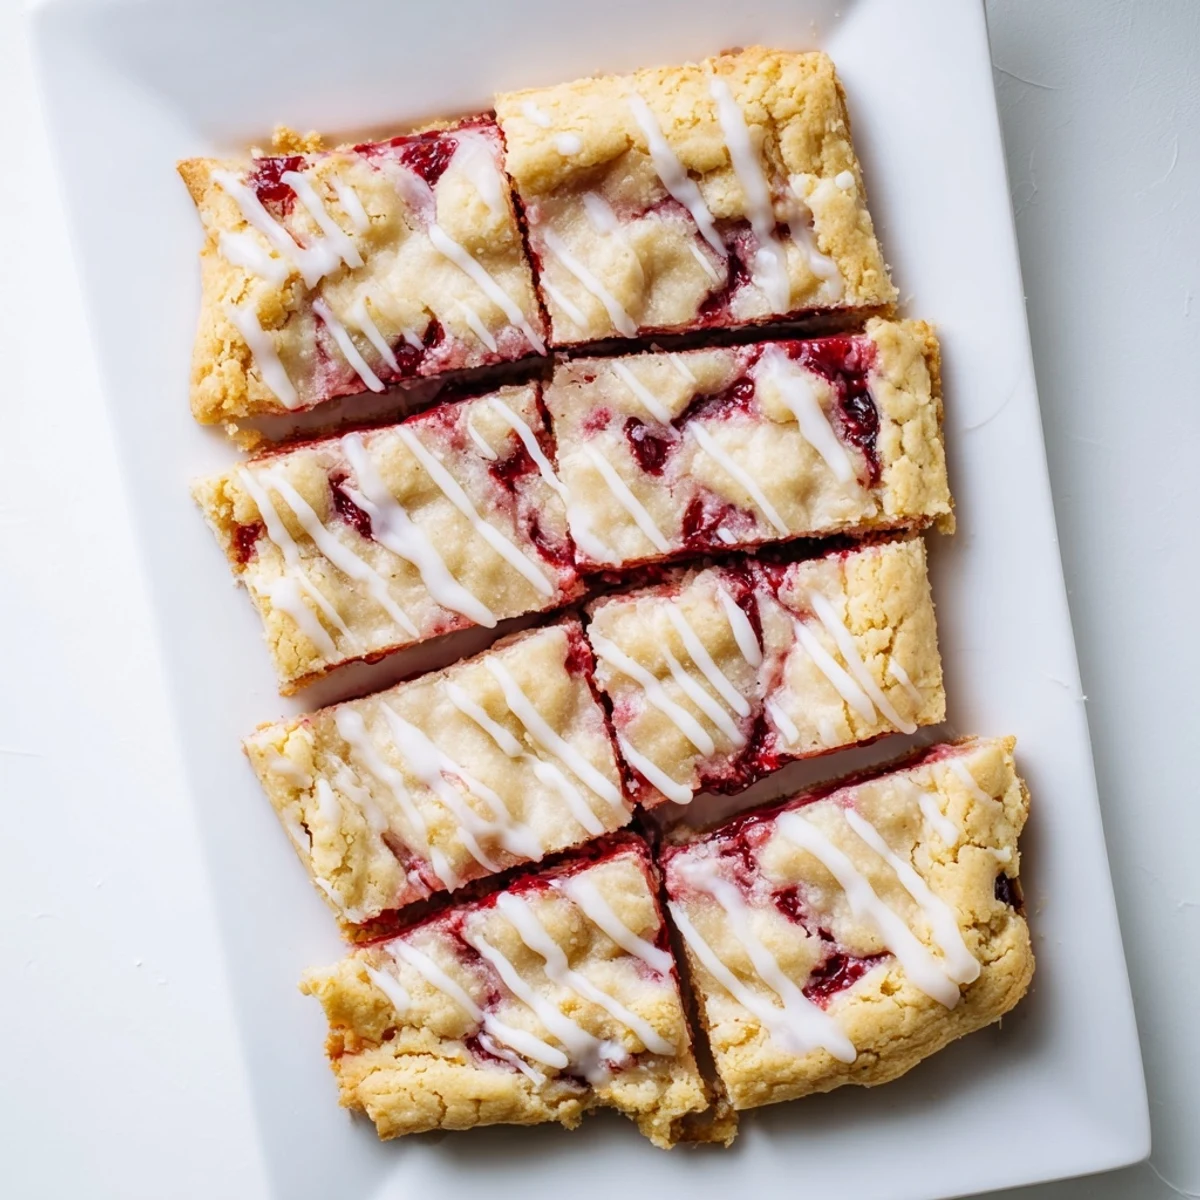
- Wait for that glaze to firm up a bit before cutting into squares, or youll have a delicious mess on your hands
 Pin it
 My daughter now requests these for every birthday, declaring them better than cake. Watching her carefully lick the glaze off her fingers takes me right back to my own grandmothers kitchen. Some recipes are just meant to be passed down through sticky sweet moments.
Making Them Your Own
Sometimes I switch out the cherry filling for blueberry when I want something different, or add a handful of chopped pecans to the topping dough for crunch. The almond extract is purely personal but it really makes the cherry flavor sing.
Storage and Sharing
These bars keep beautifully for a few days at room temperature, though honestly they rarely last that long in my house. The buttery dough actually softens slightly overnight, making them even more tender.
Serving Suggestions
A warm bar with vanilla ice cream melting over the top is pretty much heaven on a plate. They also travel well stacked in a container with parchment between layers.
- Cut them small for potlucks because theyre rich and sweet
- Sprinkle a little sea salt over the glaze before it sets
- Room temperature is best for serving so the buttery flavor shines
 Pin it
 There is something deeply satisfying about a dessert that looks impressive but comes together with such humble ingredients. Hope these cherry pie bars become a staple in your kitchen too.
Recipe FAQs
- → Can I use fresh cherries instead of canned filling?
-
Fresh cherries can be used, but you'll need to cook them down with sugar and cornstarch to create a thick filling similar to canned pie filling.
- → How should I store these bars?
-
Store in an airtight container at room temperature for up to 3 days, or refrigerate for up to a week. The bars also freeze well for up to 3 months.
- → Can I make these ahead of time?
-
Yes, bake the bars a day in advance and add the glaze before serving. The flavors actually develop better after sitting overnight.
- → What other fruit fillings work well?
-
Blueberry, apple, strawberry, or peach pie filling all work beautifully in this versatile bar recipe.
- → Why is my dough too sticky to handle?
-
If the dough feels too sticky, chill it for 15-20 minutes before spreading. You can also lightly flour your hands or offset spatula.