 Pin it
 This homemade yogurt requires only two ingredients: whole milk and a small amount of plain yogurt with active cultures. Gently heat the milk to 85°C, cool it to around 43°C, mix in the starter, and let it incubate in a warm spot for 8–12 hours.
The result is a creamy, tangy yogurt that's perfect for breakfast bowls, snacks, or as a versatile base for dips and sauces. You can thicken it further by straining through cheesecloth, and even save a portion to use as starter for your next batch.
The hum of the oven light at two in the morning became my unlikely companion during a phase when sleep refused to come and I needed something to do with my hands. Homemade yogurt sounded almost absurdly simple, yet the transformation from plain milk to something velvety and alive felt like a small act of daily magic I could not stop repeating. That first spoonful, still warm from incubation and wobbly as custard, convinced me I would never go back to store bought.
My neighbor Clara caught wind of my yogurt obsession when I showed up at her door with a jar still warm, wrapped in a kitchen towel like a newborn. She stood there in her slippers, dipped a finger in, and declared it better than anything from the farmers market. We have been trading batches ever since, each of us quietly competing for the thickest, tangiest result.
Ingredients
- 1 liter whole milk: Whole milk gives you that luxurious, coat the spoon texture, though low fat works if you prefer a lighter result.
- 2 tablespoons plain yogurt with active cultures: This is your starter, so check the label for live cultures and avoid anything with added flavors or gums, which can interfere with setting.
Instructions
- Heat the milk gently:
- Pour the milk into a saucepan and set it over medium heat, stirring now and then so a skin does not form on the surface. Bring it to 85 degrees Celsius without letting it boil, which would scald the flavor and change the texture.
- Cool to the sweet spot:
- Take the pan off the heat and wait for the temperature to drop to about 43 to 45 degrees Celsius, which feels like warm bath water on your wrist.
- Temper the starter:
- Scoop a few tablespoons of the cooled milk into a small bowl and whisk in the yogurt starter until perfectly smooth, eliminating any lumps before you introduce it to the full batch.
- Combine everything:
- Pour the starter mixture back into the saucepan and stir with a gentle hand so the cultures distribute evenly throughout the milk.
- Transfer to containers:
- Divide the mixture into clean jars or a single container, cover loosely to allow a tiny bit of airflow, and arrange them in your chosen incubation spot.
- Incubate undisturbed:
- Find a warm, draft free location such as an oven with just the interior light switched on or a dedicated yogurt maker, and let the cultures work for 8 to 12 hours without jostling or peeking too often.
- Chill thoroughly:
- Once set to your liking, move the containers to the refrigerator for at least two hours so the yogurt firms up and the flavor rounds out beautifully.
 Pin it
 There is a particular quiet pride in opening the refrigerator and seeing rows of your own yogurt lined up like little edible promises. It became a ritual, saving a spoonful from each batch to seed the next one, an unbroken chain of breakfasts stretching back months.
Getting the Texture You Want
Thickness depends almost entirely on how long you incubate and whether you strain afterward. If you crave Greek style density, line a colander with cheesecloth, pour in the finished yogurt, and let it drain in the fridge for several hours until it reaches the richness you are after.
Serving Without Boredom
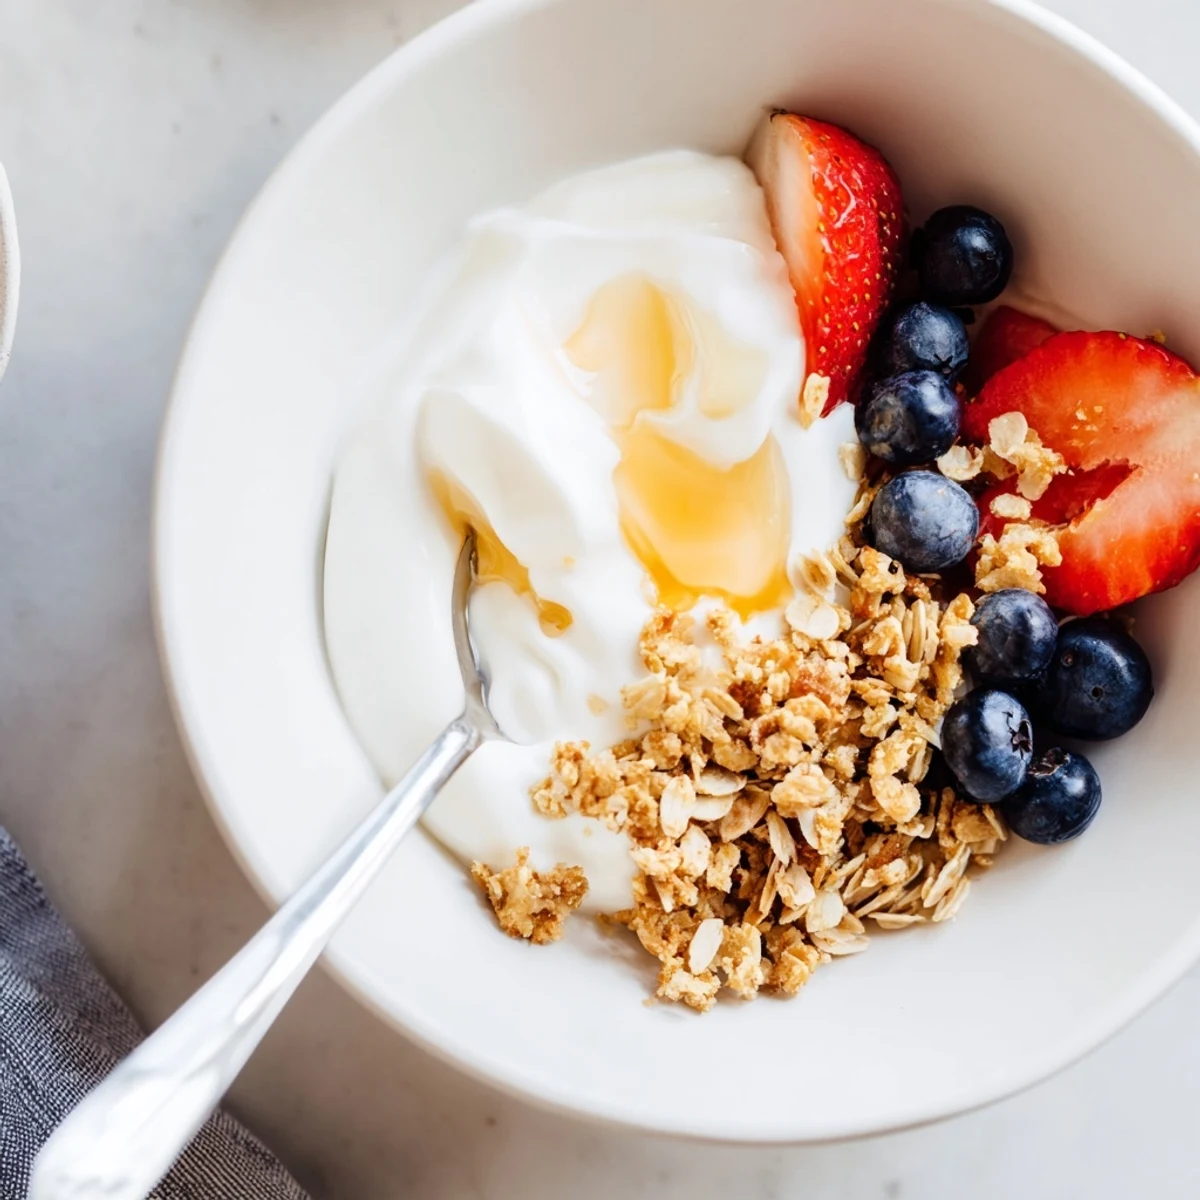
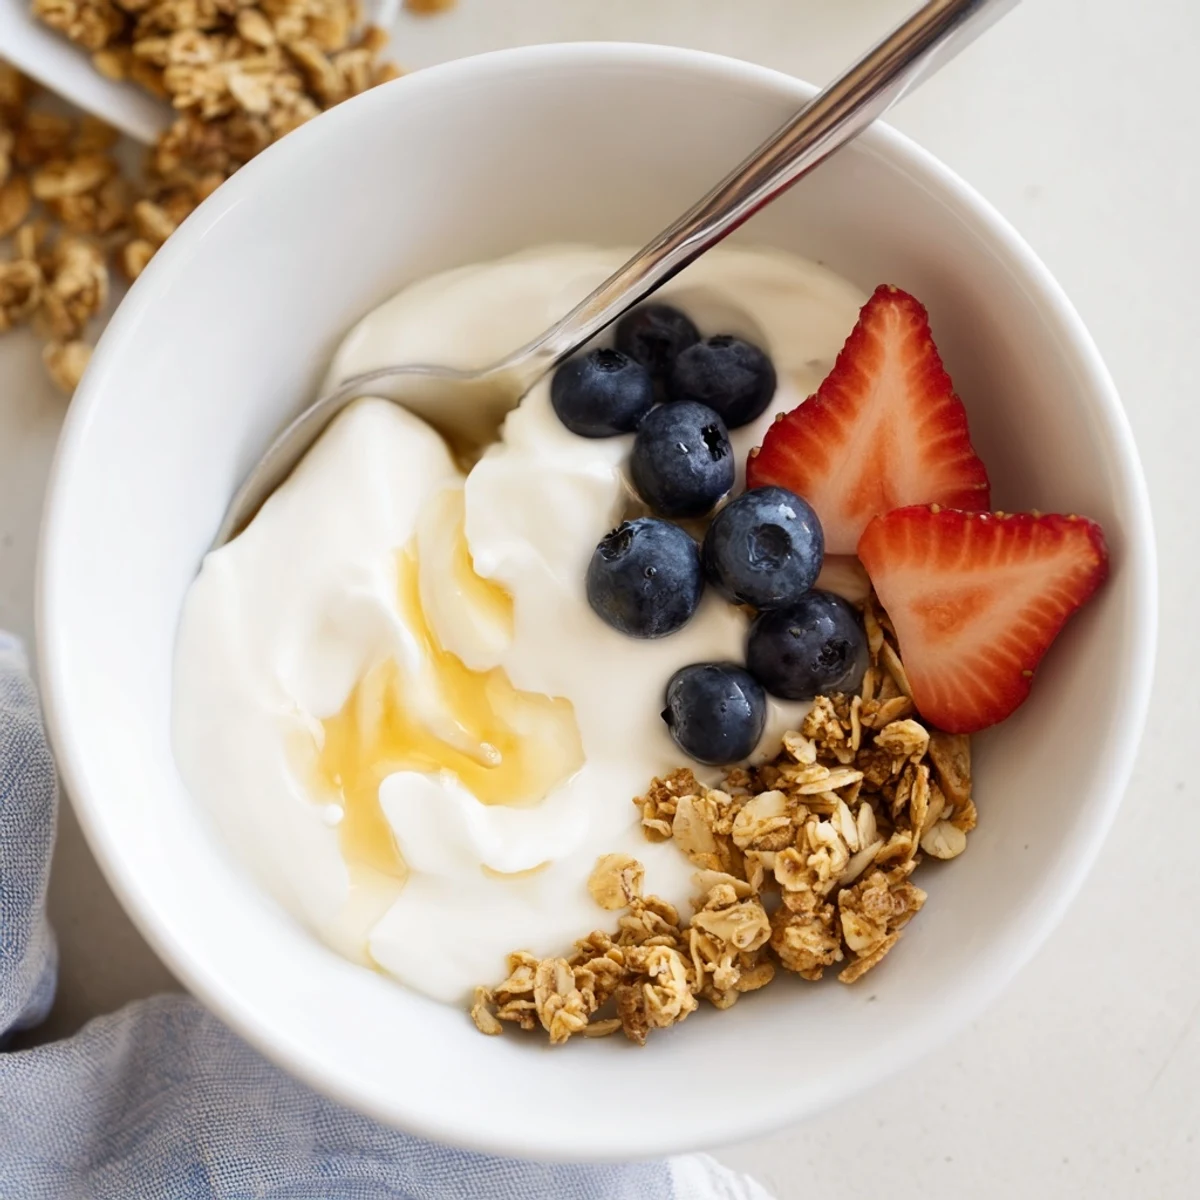
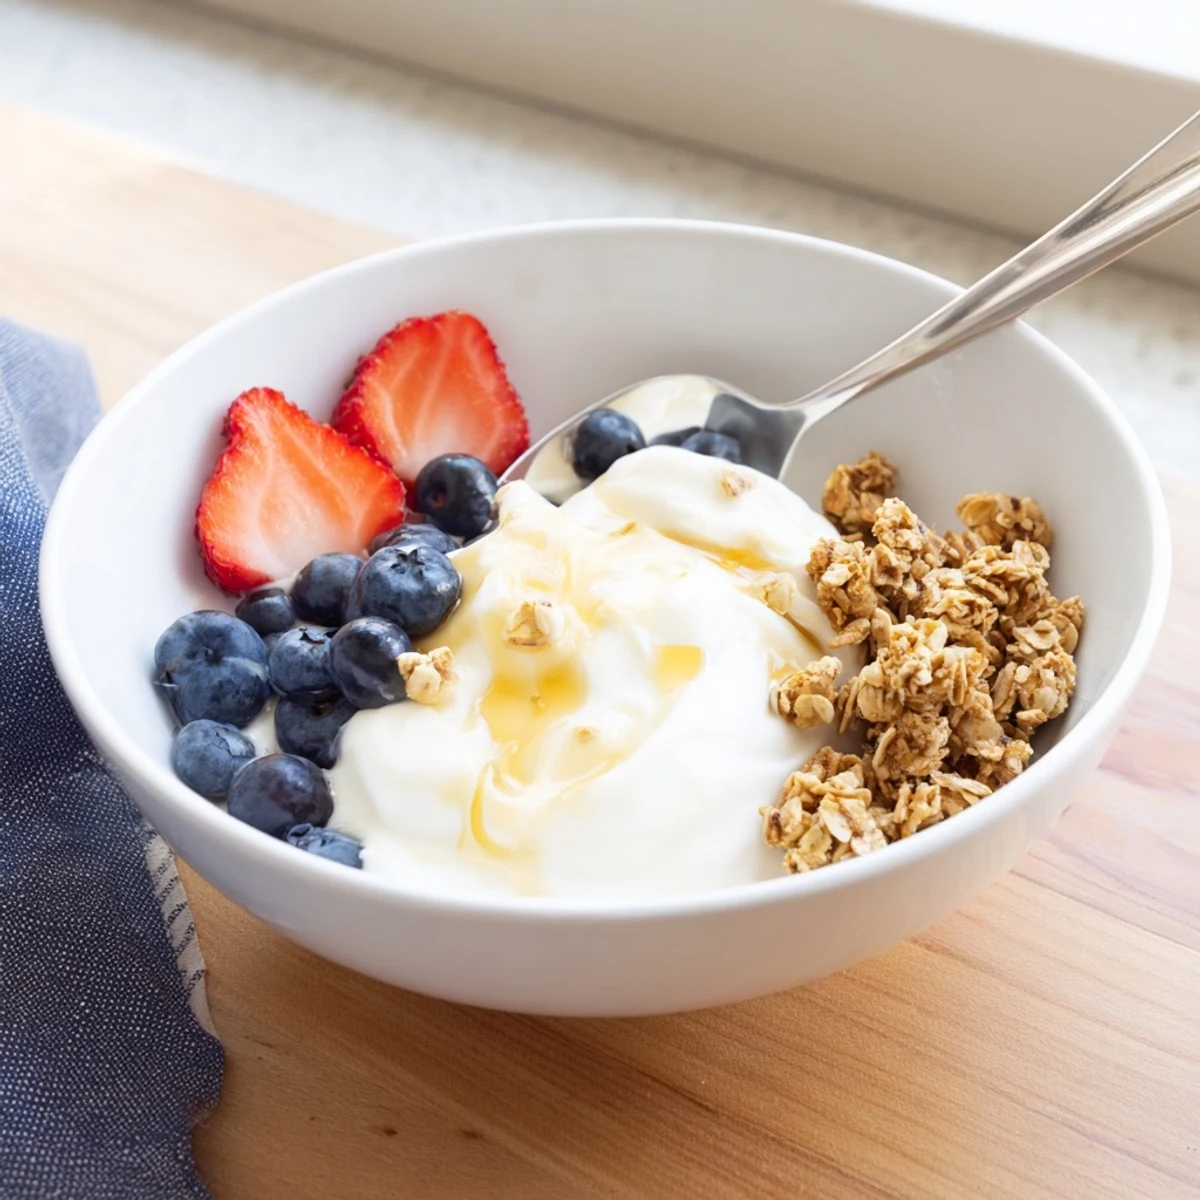
A drizzle of honey and a handful of toasted granola turned a weekday breakfast into something worth waking up for. Fresh berries in summer, roasted persimmons in winter, a swirl of tahini when I felt adventurous, each bowl became a tiny canvas.
Keeping Your Yogurt Alive
Treat your yogurt like the living thing it is and it will reward you indefinitely. Always save a portion from each batch to use as starter for the next one, ideally within a week when the cultures are still vigorous.
- Label your jar with the date you made it so you never lose track of freshness.
- Keep the starter spoon separate and uncontaminated to avoid introducing unwanted bacteria.
- After three or four generations of reusing the same culture, start fresh with a new store bought starter to keep the flavor clean.
 Pin it
 Homemade yogurt asks for almost nothing, just a bit of patience and a warm corner to call its own. Once you experience that first scoop of something you nurtured into existence, the grocery store version will never quite measure up again.
Recipe FAQs
- → What type of milk works best for making yogurt?
-
Whole milk produces the thickest, creamiest yogurt due to its higher fat content. Low-fat milk also works but will yield a thinner consistency. Avoid ultra-pasteurized milk if possible, as it can affect fermentation.
- → How do I know when the yogurt has finished incubating?
-
The yogurt is ready when it has set to a consistency similar to store-bought yogurt and pulls away cleanly from the side of the container when tilted. A longer incubation produces tangier, firmer yogurt.
- → Can I reuse my homemade yogurt as a starter?
-
Yes, save a few tablespoons of your homemade yogurt to use as the starter for your next batch. For best results, use it within a week. After several rounds, you may want to refresh with a new commercial starter to maintain strong active cultures.
- → Why did my yogurt turn out runny?
-
Runny yogurt can result from insufficient incubation time, temperature dropping too low during incubation, or using low-fat milk. Try incubating longer, ensuring a consistently warm environment, or straining the finished yogurt through cheesecloth to thicken it.
- → What temperature should the milk be before adding the starter?
-
The milk should cool to between 43°C and 45°C (110–113°F). If the milk is too hot, it will kill the active cultures. If too cool, the bacteria won't ferment properly. A kitchen thermometer is essential for getting this step right.
- → Can I make dairy-free yogurt using this method?
-
Yes, you can use plant-based milk such as soy, almond, or coconut milk. You'll need a vegan yogurt starter or a store-bought dairy-free yogurt with active cultures, since regular dairy starter won't work well with plant milks.