Pin it
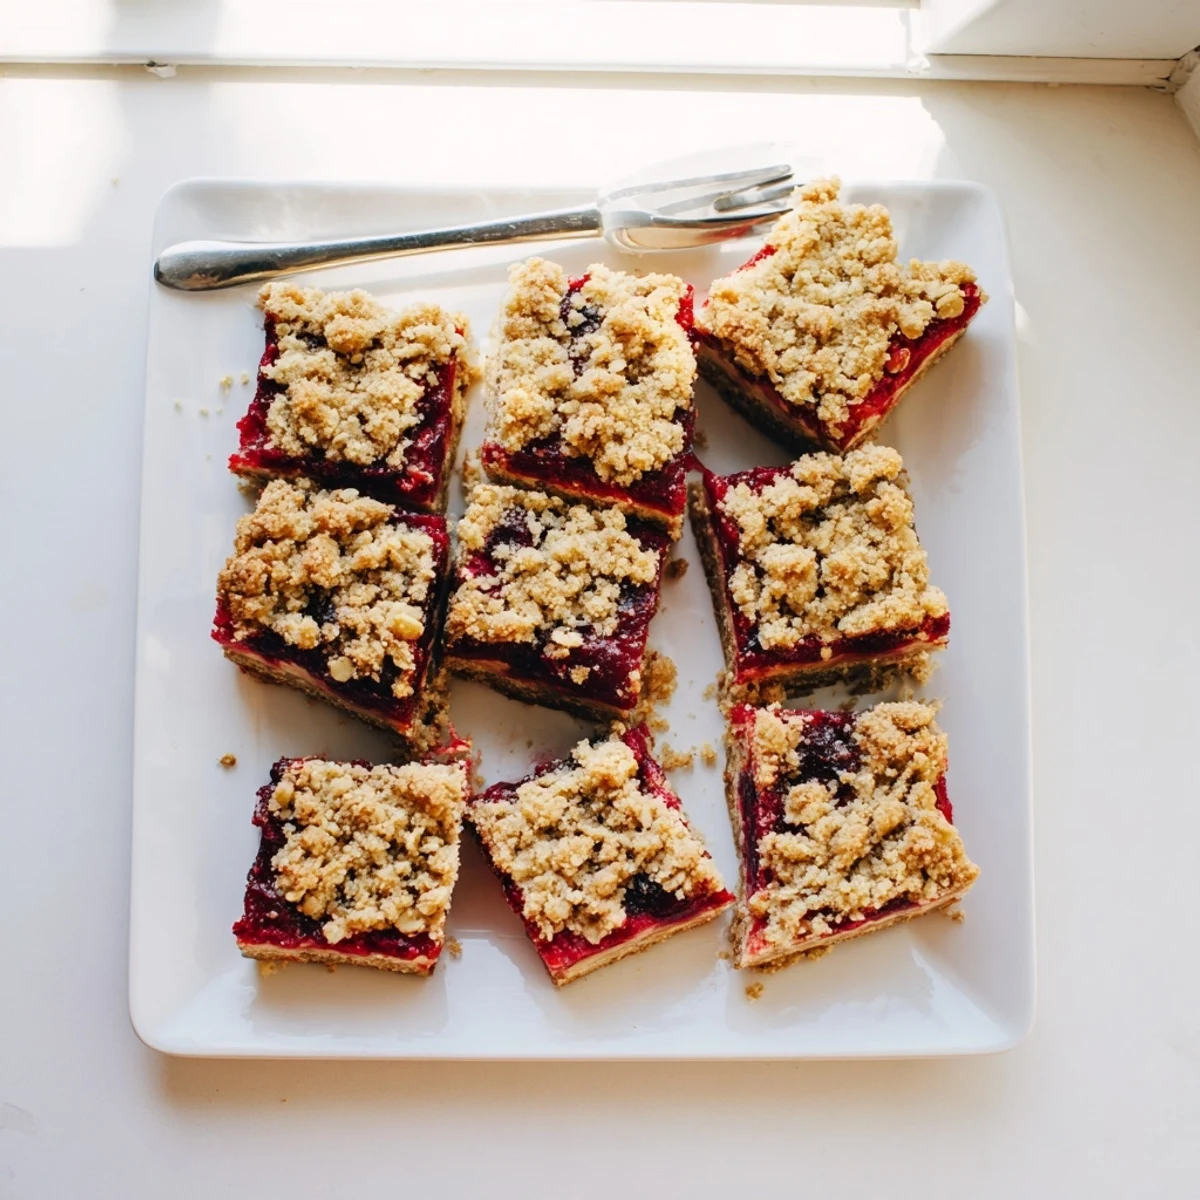
 These cherry crumble bars feature a buttery, cinnamon-spiced crumb base and topping that sandwiches a luscious sweet-tart cherry filling. The fresh or frozen cherries are tossed with sugar and cornstarch, creating a thick, jam-like layer that bubbles up beautifully as it bakes. With just 20 minutes of prep time, these bars come together quickly and make 16 generous portions. The texture is wonderfully crisp on top, tender underneath, and the cherry filling strikes the perfect balance between sweet and tart.
The scent of buttery cinnamon wafting through the kitchen takes me back to summer afternoons when my neighbor would bring over buckets of cherries from her tree. We'd sit at her counter, pitting cherries until our fingers stained purple, laughing about how we'd probably never get all the juice out of our clothes. Those cherry-stained days became the inspiration for these bars, though I've since learned the hard way that wearing an apron isn't optional.
Last summer, I made these for a potluck and watched them disappear in under ten minutes. Someone asked if I'd spent hours on them, which I found hilarious considering the most demanding part is waiting for them to cool. My friend Sarah actually hid two bars in her purse to take home, claiming she needed to conduct further taste testing.
Ingredients
- 2 cups all-purpose flour: Forms the structure of both crust and topping, creating that tender crumble texture
- 1 cup granulated sugar: Sweetens just enough to balance the cherries without becoming cloying
- 1/2 teaspoon baking powder: Helps the crust rise slightly for a lighter, less dense texture
- 1/4 teaspoon salt: Enhances all the flavors and keeps sweetness in check
- 1/2 teaspoon ground cinnamon: Adds warmth that pairs beautifully with the tart cherries
- 1 cup unsalted butter, cold and diced: Cold butter creates those coveted pockets of flaky tenderness in the crumble
- 1 large egg: Binds the crust together while adding richness
- 3 cups pitted fresh or frozen cherries, halved: The star of the show, bringing juicy bursts of tart sweetness
- 1/2 cup granulated sugar: Coats the cherries to create a luscious filling as they bake
- 2 tablespoons cornstarch: Thickens the cherry juices into a perfect jammy consistency
- 1 tablespoon lemon juice: Brightens the cherry flavor and prevents the filling from becoming too sweet
- 1/2 teaspoon vanilla extract: Rounds out the filling with its warm, comforting notes
Instructions
- Prepare your workspace:
- Preheat the oven to 350°F and line a 9x9-inch pan with parchment paper, leaving those overhangs like little handles for later.
- Mix the dry base:
- Whisk together flour, sugar, baking powder, salt, and cinnamon until everything's evenly distributed.
- Build the crumble:
- Add cold butter and egg, working them in with a pastry cutter until you have coarse, pebble-sized crumbs throughout the bowl.
- Form the foundation:
- Press about two-thirds of the mixture firmly into your prepared pan, creating an even base layer.
- Prepare the cherry filling:
- Toss halved cherries with sugar, cornstarch, lemon juice, and vanilla until every piece is lightly coated.
- Layer and top:
- Spread cherries evenly over the crust, then sprinkle the remaining crumble across the top like sweet edible confetti.
- Bake to golden perfection:
- Slide into the oven for 38 to 42 minutes, watching for that gorgeous golden brown top and bubbly cherry filling.
- Exercise patience:
- Cool completely in the pan before lifting out with the parchment and cutting into squares.
 Pin it
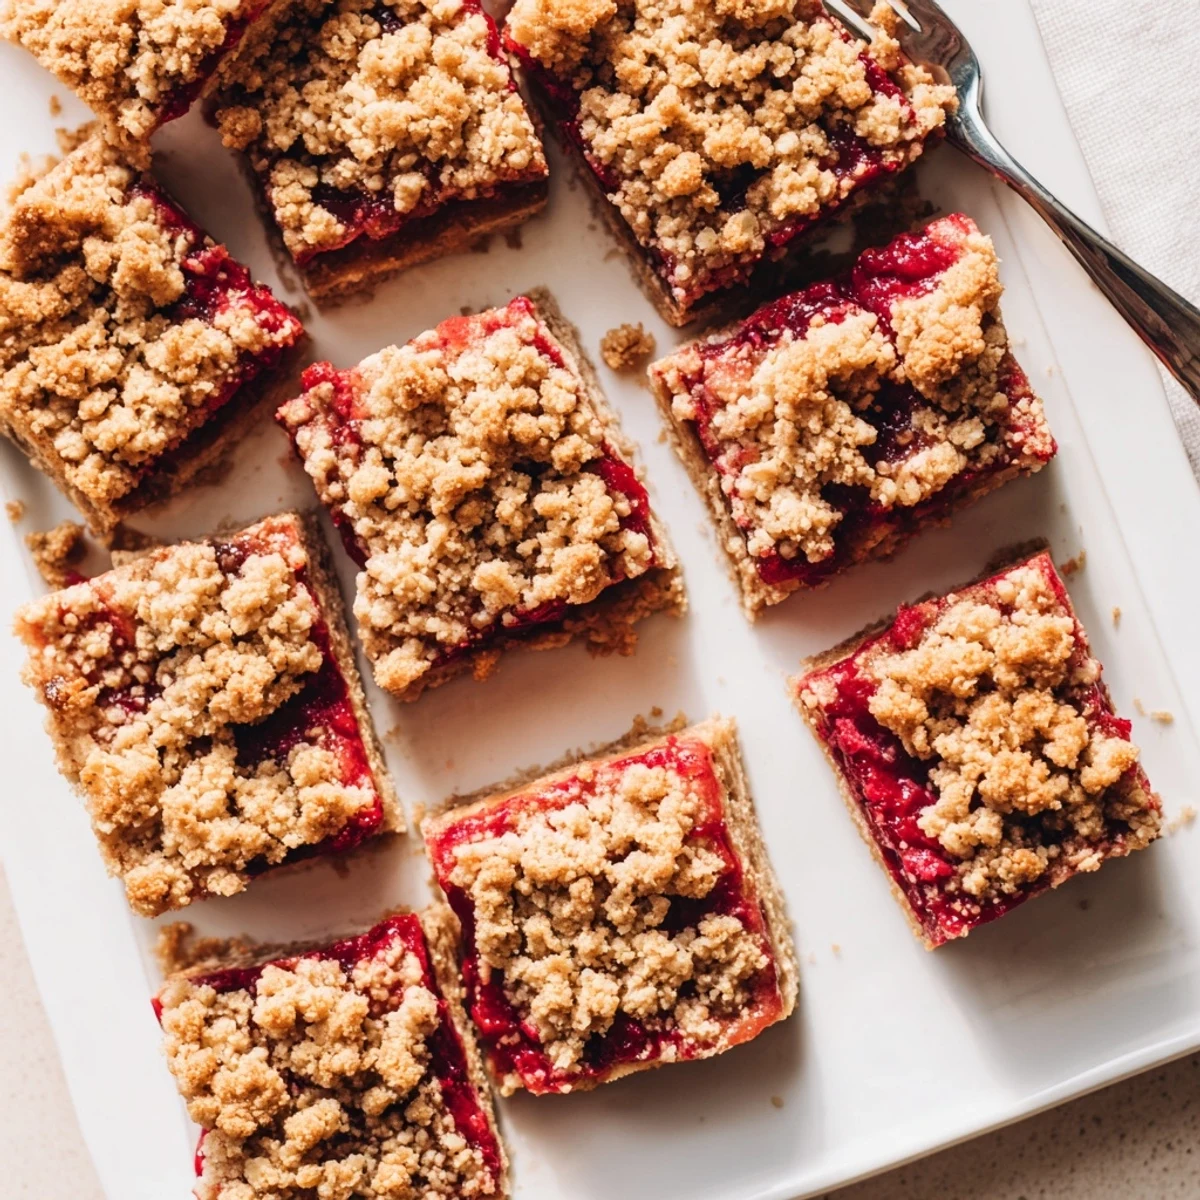
 My dad now requests these for every family gathering, claiming they're better than any bakery version he's tried. Watching him sneak a second bar while everyone else is still on their first has become its own kind of tradition.
Getting The Texture Right
The temperature of your butter makes or breaks these bars. I learned this after attempting to make them with softened butter once, ending up with a sad, flat crust that never crisped up. Cold butter creates those distinct, tender crumbs you want in a good crumble.
Fruit Variations To Try
While cherries hold a special place in my heart, I've experimented with all sorts of fruits through the seasons. Peaches work beautifully in late summer, and I've even used frozen mixed berries during winter months. Each fruit brings its own personality to the bars.
Serving And Storage
These bars have this magical quality of tasting incredible at room temperature but becoming absolutely next-level when warmed slightly. I've been known to eat one for breakfast with coffee and call it balanced. Store them in an airtight container and they'll happily last three to four days, assuming they don't get eaten first.
- Try serving with a dollop of Greek yogurt for breakfast
- A scoop of vanilla ice cream transforms them into dessert
- They freeze beautifully if you want to stash some for later
 Pin it
 There's something deeply satisfying about a recipe that looks impressive but comes together with such honest simplicity. These bars have become my go-to for bringing a little homemade joy to any table.
Recipe FAQs
- → Can I use frozen cherries instead of fresh?
-
Yes, frozen cherries work perfectly in these bars. Use them straight from the freezer—no need to thaw first. The baking time may need an extra 2-3 minutes to ensure the filling bubbles throughout.
- → How should I store these crumble bars?
-
Store cooled bars in an airtight container at room temperature for up to 3 days. For longer storage, refrigerate for up to a week or freeze individually wrapped portions for up to 3 months.
- → Can I substitute other fruits for the cherries?
-
Absolutely. Mixed berries, blueberries, sliced peaches, or apples all work wonderfully. Adjust the sugar slightly based on the fruit's natural sweetness—reduce sugar for very ripe fruits, increase for tart varieties.
- → Why did my crumble topping turn out soggy?
-
Soggy topping usually results from underbaking or not letting the bars cool completely. The filling needs to bubble vigorously and the top should be golden brown. Cooling allows the filling to set properly, giving you clean cuts.
- → What's the best way to get clean, even bars?
-
Let the bars cool completely in the pan—at least 2 hours. Use the parchment paper overhang to lift the entire slab onto a cutting board. Use a sharp knife wiped clean between cuts for the neatest edges.
- → Can I make these gluten-free?
-
Yes, simply substitute the all-purpose flour with a 1:1 gluten-free baking blend that contains xanthan gum. The texture and taste remain virtually identical to the original version.