 Pin it
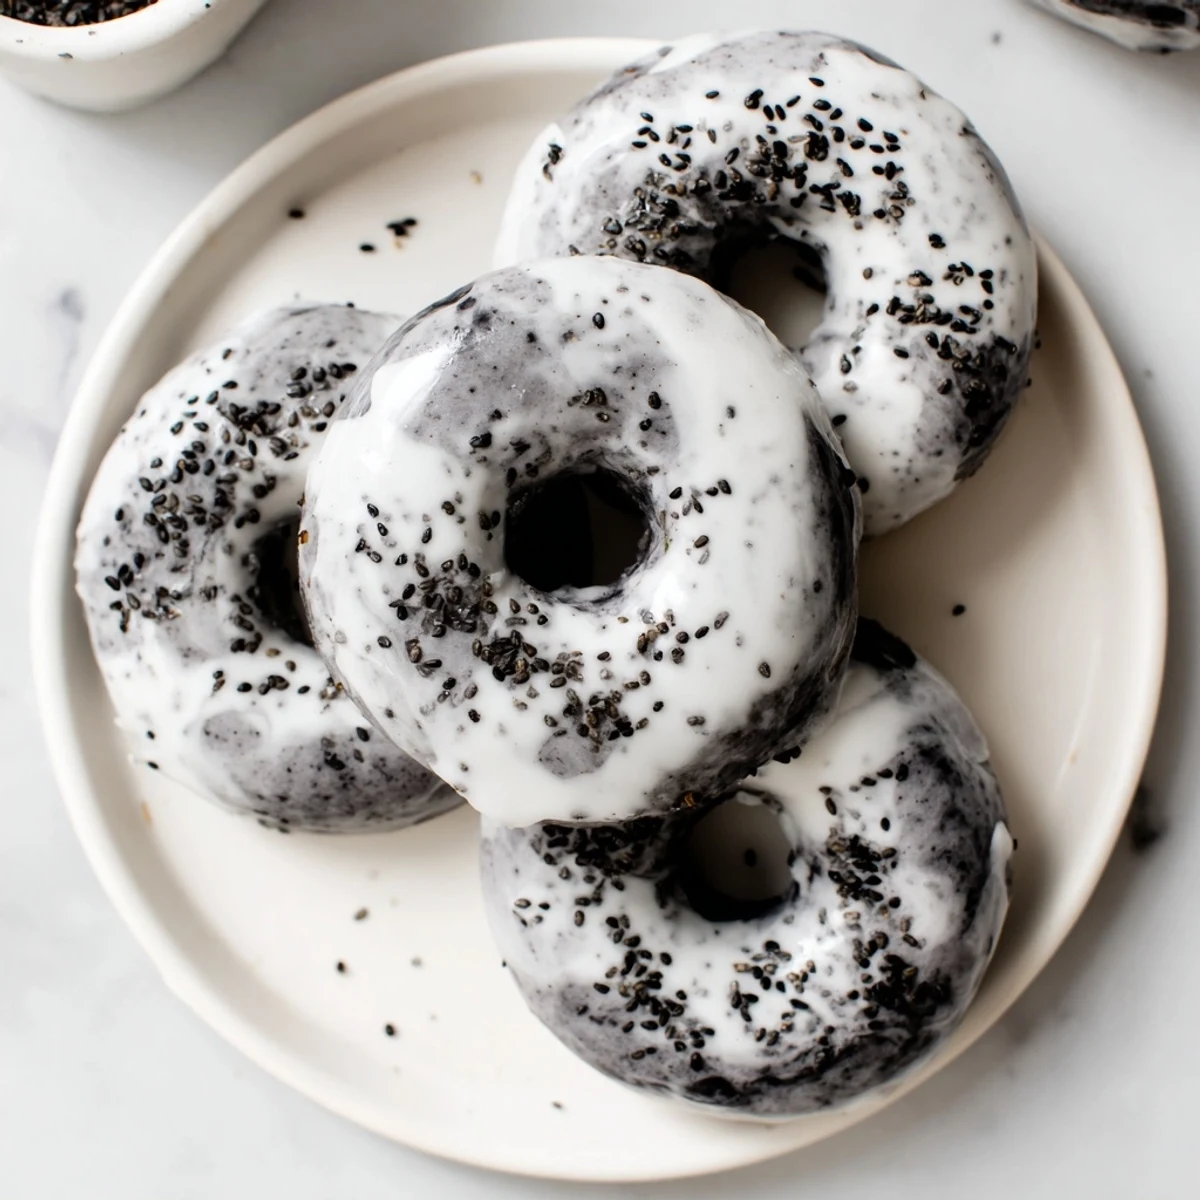
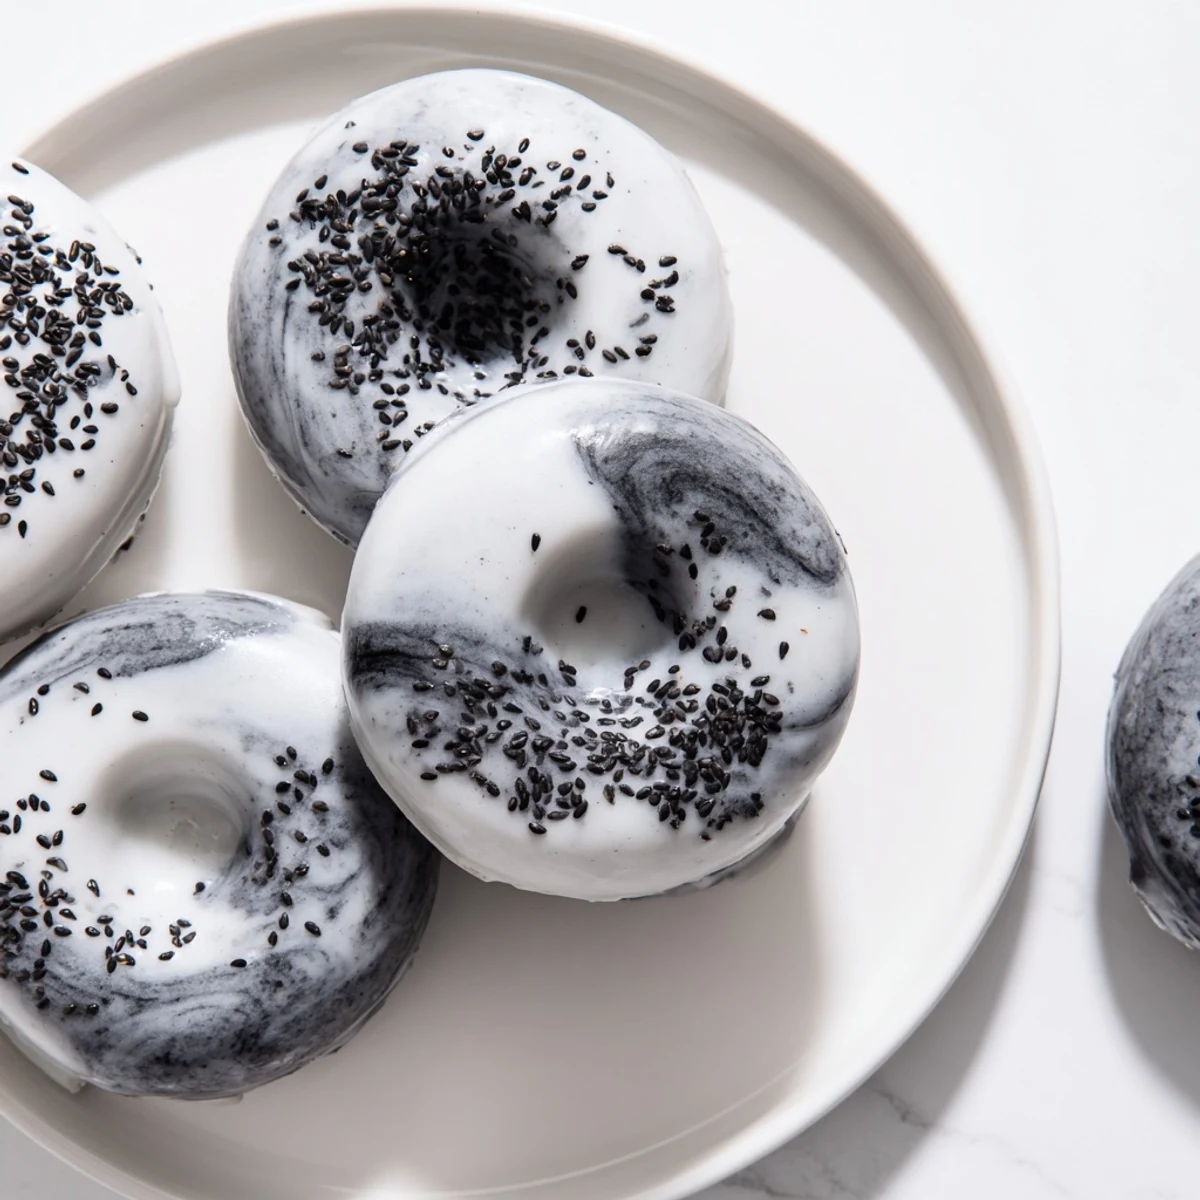
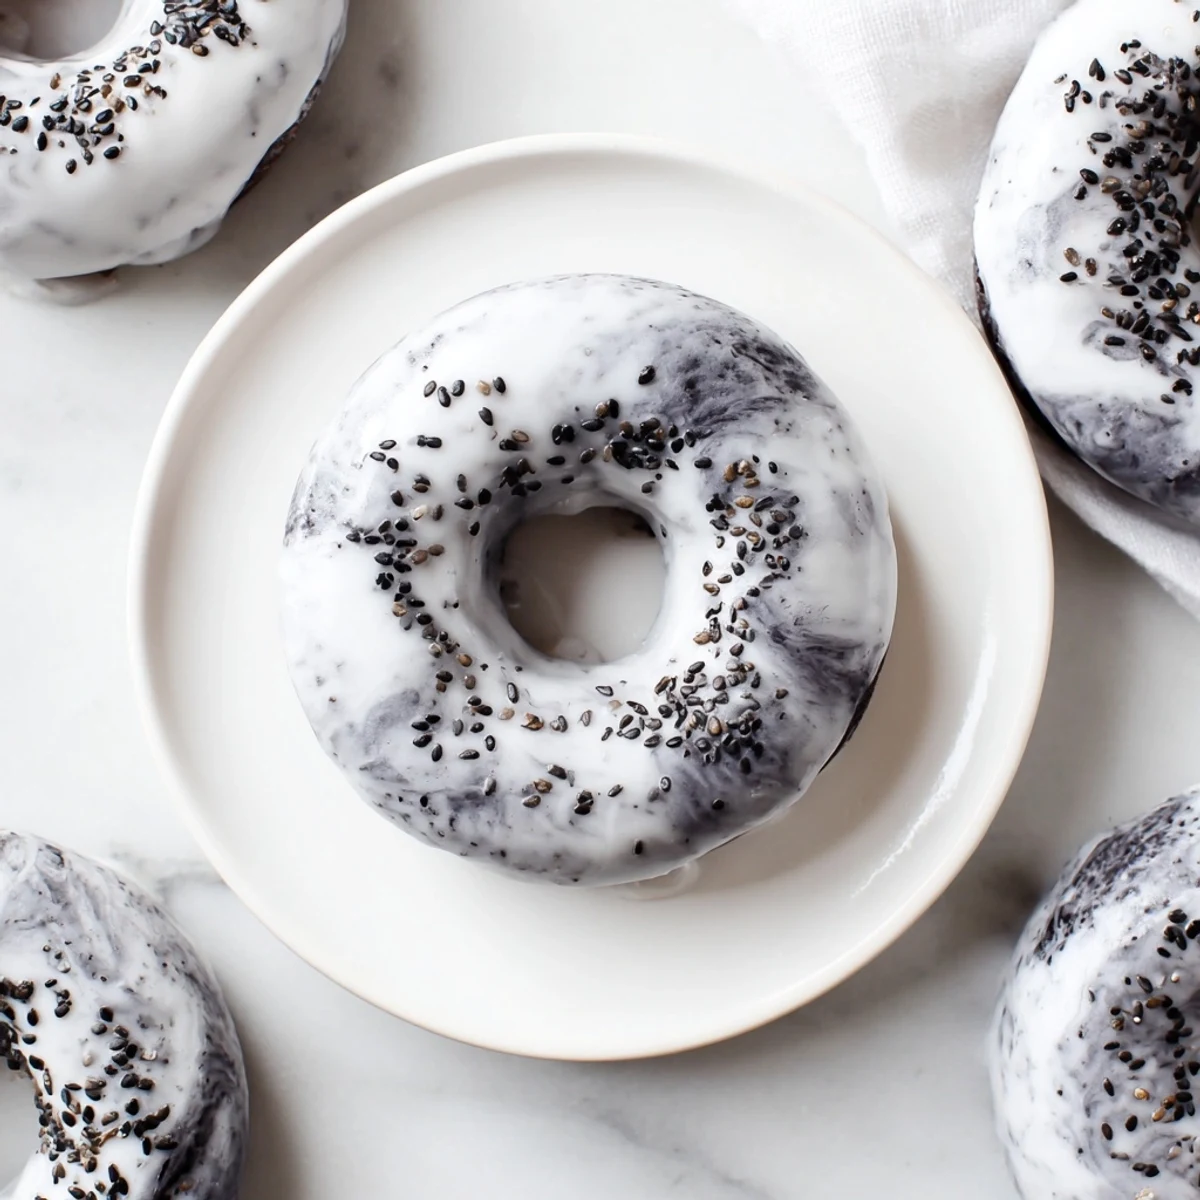
 These unique donuts combine the chewy texture of Japanese mochi with rich, nutty black sesame flavor. Made with sweet rice flour, they're naturally gluten-free with a satisfyingly crisp exterior and tender interior. The preparation involves whisking together dry ingredients including ground black sesame seeds, then combining with eggs, milk, and butter. After baking until golden, the donuts are dipped in a creamy black sesame glaze for extra flavor and visual appeal. Best enjoyed fresh while maintaining their signature chewy consistency.
The first time I made these, my kitchen filled with this incredible toasted nutty aroma that made me stop everything. Black sesame has this way of being both sophisticated and comforting at the same time, like something you'd find in a tiny Japanese bakery but also totally approachable for a Tuesday afternoon. These donuts became an instant favorite because they're somehow lighter than regular donuts but more satisfying.
I brought a batch to a potluck last spring and watched my friend Sarah take one bite, her eyes go wide, and immediately ask for the recipe. She said they reminded her of this mochi shop she visited in Tokyo years ago, which was honestly the best compliment I could have hoped for. Now they're my go-to when I want to bring something that feels special but doesn't require me to spend all day in the kitchen.
Ingredients
- Sweet rice flour: This is the magic ingredient that gives the donuts their signature chewy texture and mochi like consistency
- Black sesame seeds: Toast these briefly before grinding to unlock their full nutty potential and deepen the flavor
- Granulated sugar: Provides just enough sweetness to balance the earthy sesame without overpowering it
- Baking powder: Helps the donuts rise and develop that perfect tender crumb structure
- Salt: A small amount enhances all the flavors and keeps the donuts from tasting flat
- Eggs: Adds structure and richness while binding everything together beautifully
- Whole milk: Creates moisture and tenderness in the crumb for that perfect bite
- Unsalted butter: Contributes richness and helps create that crisp exterior we love
- Vanilla extract: Rounds out the flavors and adds a familiar comforting note
- Powdered sugar: Forms the base of the glaze and dissolves perfectly for a smooth finish
- Milk for glaze: Adjust the amount to reach your ideal dipping consistency
- Black sesame paste: This concentrated paste packs a punch of sesame flavor in every bite
Instructions
- Prepare your oven and pan:
- Preheat your oven to 350°F and generously grease your mini donut pan to ensure easy release later.
- Mix the dry ingredients:
- Whisk together sweet rice flour, ground black sesame seeds, sugar, baking powder, and salt in a large bowl until well combined.
- Combine the wet ingredients:
- In a separate bowl, beat the eggs, then whisk in milk, melted butter, and vanilla extract until smooth.
- Make the batter:
- Pour the wet mixture into the dry ingredients and stir until you have a thick, smooth batter with no lumps remaining.
- Fill the donut pan:
- Spoon or pipe the batter into each donut cavity, filling them about three quarters full for the perfect rise.
- Bake to perfection:
- Bake for 15 to 18 minutes until the donuts spring back when touched and a toothpick comes out clean.
- Cool the donuts:
- Let them rest in the pan for 5 minutes before moving to a wire rack to cool completely before glazing.
- Prepare the glaze:
- Whisk powdered sugar with 1 tablespoon milk and black sesame paste, adding more milk until smooth and dippable.
- Glaze and finish:
- Dip each cooled donut into the glaze and sprinkle with extra black sesame seeds if you like, then let the glaze set.
 Pin it
 My daughter now requests these for her birthday instead of cake, which says everything about how special they've become in our house. There's something about that combination of chewy, nutty, and sweet that feels like a hug in food form.
Making The Perfect Batter
The key here is not overmixing once you combine the wet and dry ingredients, just stir until everything comes together. I've found that using a piping bag makes filling the donut cavities so much easier and less messy than trying to spoon the thick batter in.
Getting That Glaze Right
Start with less milk than you think you need, because you can always add more but you cannot take it back. The glaze should be thick enough to coat the donut generously but thin enough to dip smoothly without tearing the delicate surface.
Storage And Serving
Store any leftovers in an airtight container at room temperature and enjoy within 24 hours for the best texture. If you need to make them ahead, you can freeze the unglazed donuts and glaze them after thawing for a fresh treat.
- Place a piece of parchment paper between stacked donuts to prevent sticking
- Warm glazed donuts in the microwave for about 10 seconds to refresh the texture
- Serve with a cup of green tea for a truly authentic flavor pairing
 Pin it
 Every time I pull these from the oven, that incredible black sesame aroma fills the kitchen and reminds me why simple ingredients treated with care can create something magical. Hope these bring as much joy to your table as they have to mine.
Recipe FAQs
- → What makes these donuts chewy?
-
The chewy texture comes from sweet rice flour (mochiko), which creates the signature mochi consistency that's tender and elastic rather than cakey.
- → Can I make these vegan?
-
Yes, substitute the eggs with flax eggs, use plant-based milk, and replace butter with coconut oil or vegan butter alternatives.
- → How should I store these donuts?
-
Store in an airtight container at room temperature for up to 2 days. They're best enjoyed fresh as the texture may become firmer over time.
- → What's the best way to grind black sesame seeds?
-
Use a coffee grinder or spice grinder for fine consistency. For deeper flavor, lightly toast the seeds in a dry pan before grinding.
- → Can I use regular donut pans?
-
Yes, but adjust baking time accordingly—standard-sized pans may require 18-22 minutes, while mini pans need 15-18 minutes.
- → Why do these donuts need to cool completely?
-
Allowing them to cool ensures the glaze adheres properly and prevents it from melting off the warm surface.