 Pin it
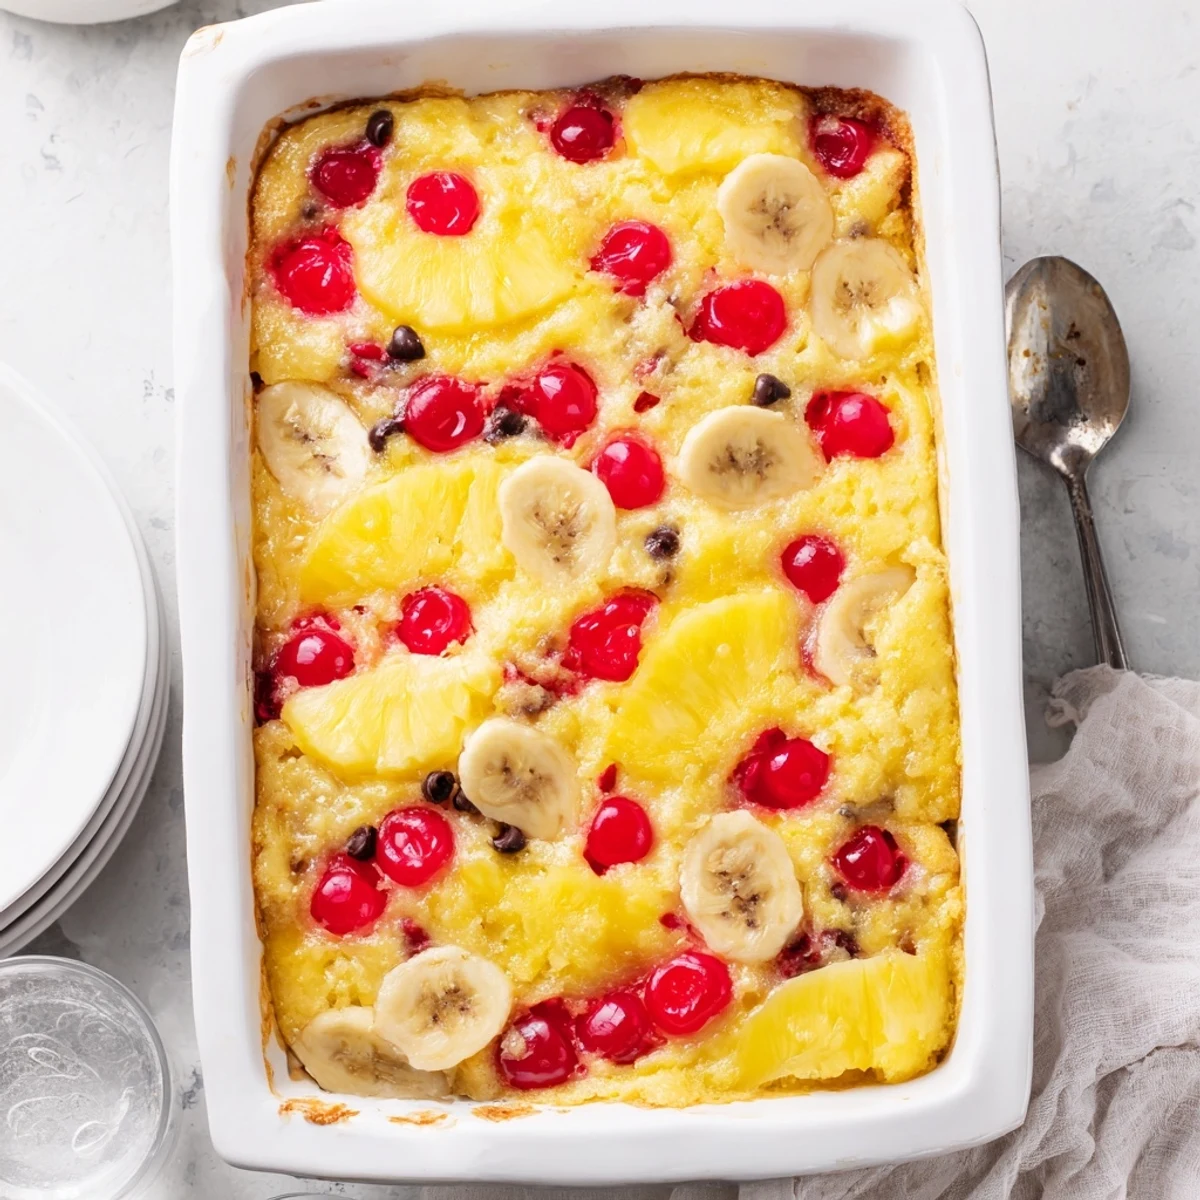
 This indulgent dessert transforms classic banana split flavors into an easy baked treat. Slices of ripe bananas form the base, topped with sweet crushed pineapple, tart maraschino cherries, and rich mini chocolate chips. A simple yellow cake mix creates a tender, buttery topping that bakes into golden perfection while the fruit filling becomes bubbly and luscious.
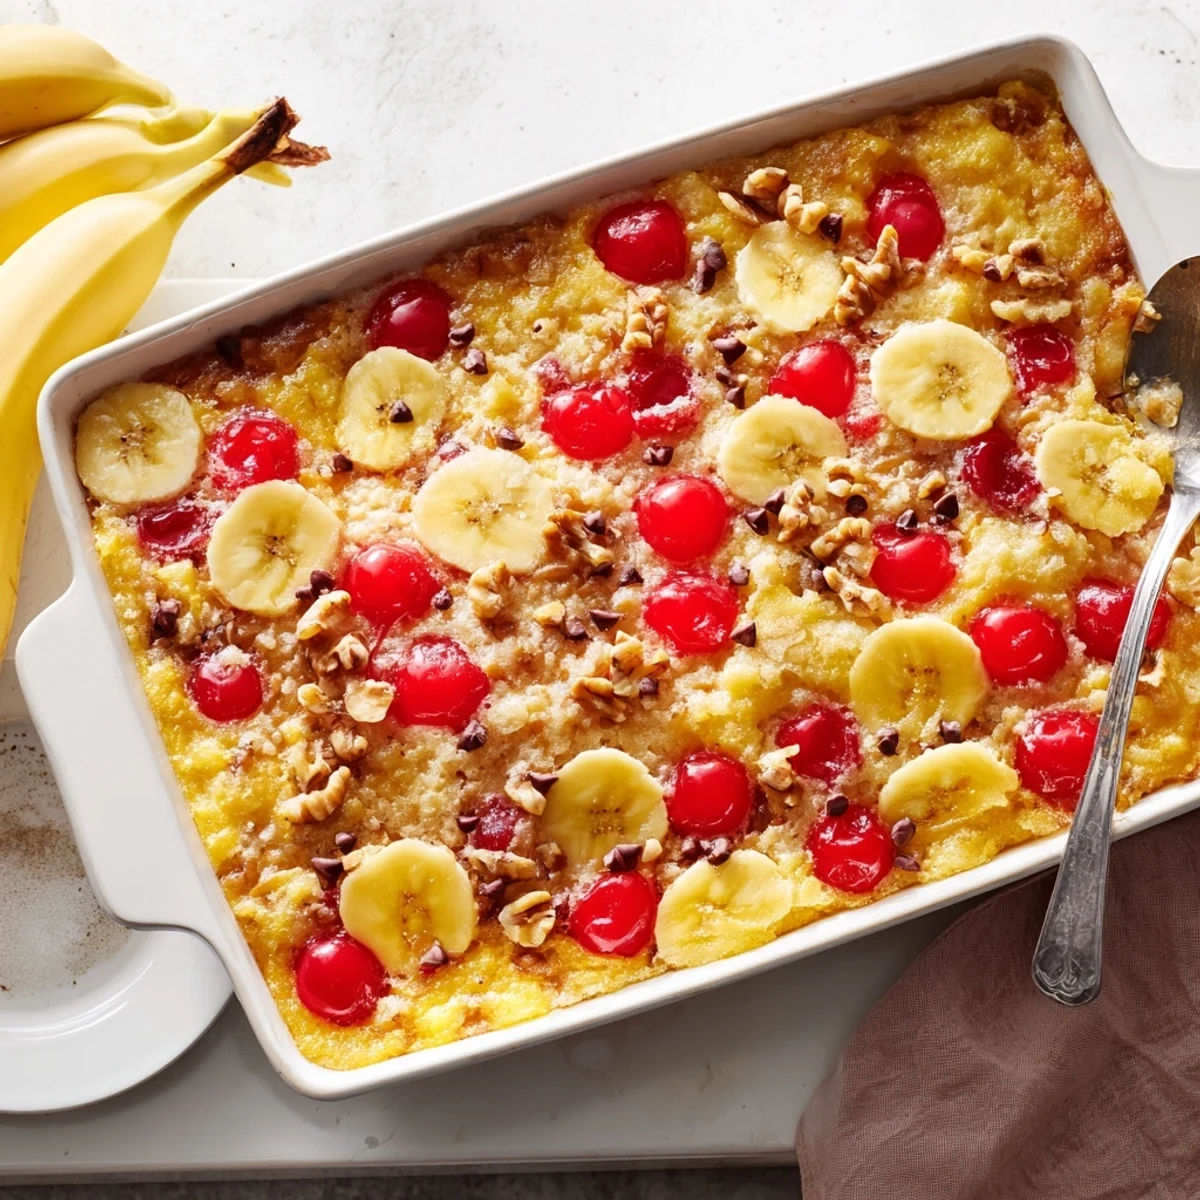
The preparation couldn't be simpler—just layer the ingredients, pour melted butter over the top, and let the oven do the work. In about an hour, you'll have a warm, gooey dessert that feeds a crowd. Optional chopped walnuts or pecans add satisfying crunch, while whipped cream and chocolate syrup make for an impressive presentation.
This versatile dessert works equally well for weeknight treats or potluck gatherings. For chocolate lovers, swap the yellow cake mix for chocolate cake mix. Serve warm with vanilla ice cream for the ultimate comfort dessert experience.
Last summer my sister called at 9 pm desperate for a birthday cake she could assemble without waking the baby. I suggested this dump cake and she texted back a photo of her husband eating it straight from the pan with a spoon at midnight.
I brought this to a neighborhood potluck when three different families showed up with store bought desserts. Mine was the only empty pan and someone actually asked for the recipe before they finished their first bite.
Ingredients
- 2 large ripe bananas sliced: Slightly spotted bananas work best here they add natural sweetness and hold their shape better during baking
- 1 can (540 ml/19 oz) crushed pineapple drained: Really press out the excess liquid or your cake will be soggy in spots
- 1 cup maraschino cherries halved: These little gems provide that classic banana split pop of color and sweetness
- 1/2 cup mini chocolate chips: They melt into pockets of chocolate throughout the cake
- 1 box (about 425 g/15 oz) yellow cake mix: The butter soaks through creating this incredible buttery crust on top
- 1/2 cup (115 g) unsalted butter melted: Pour slowly and evenly to cover every inch of the dry mix
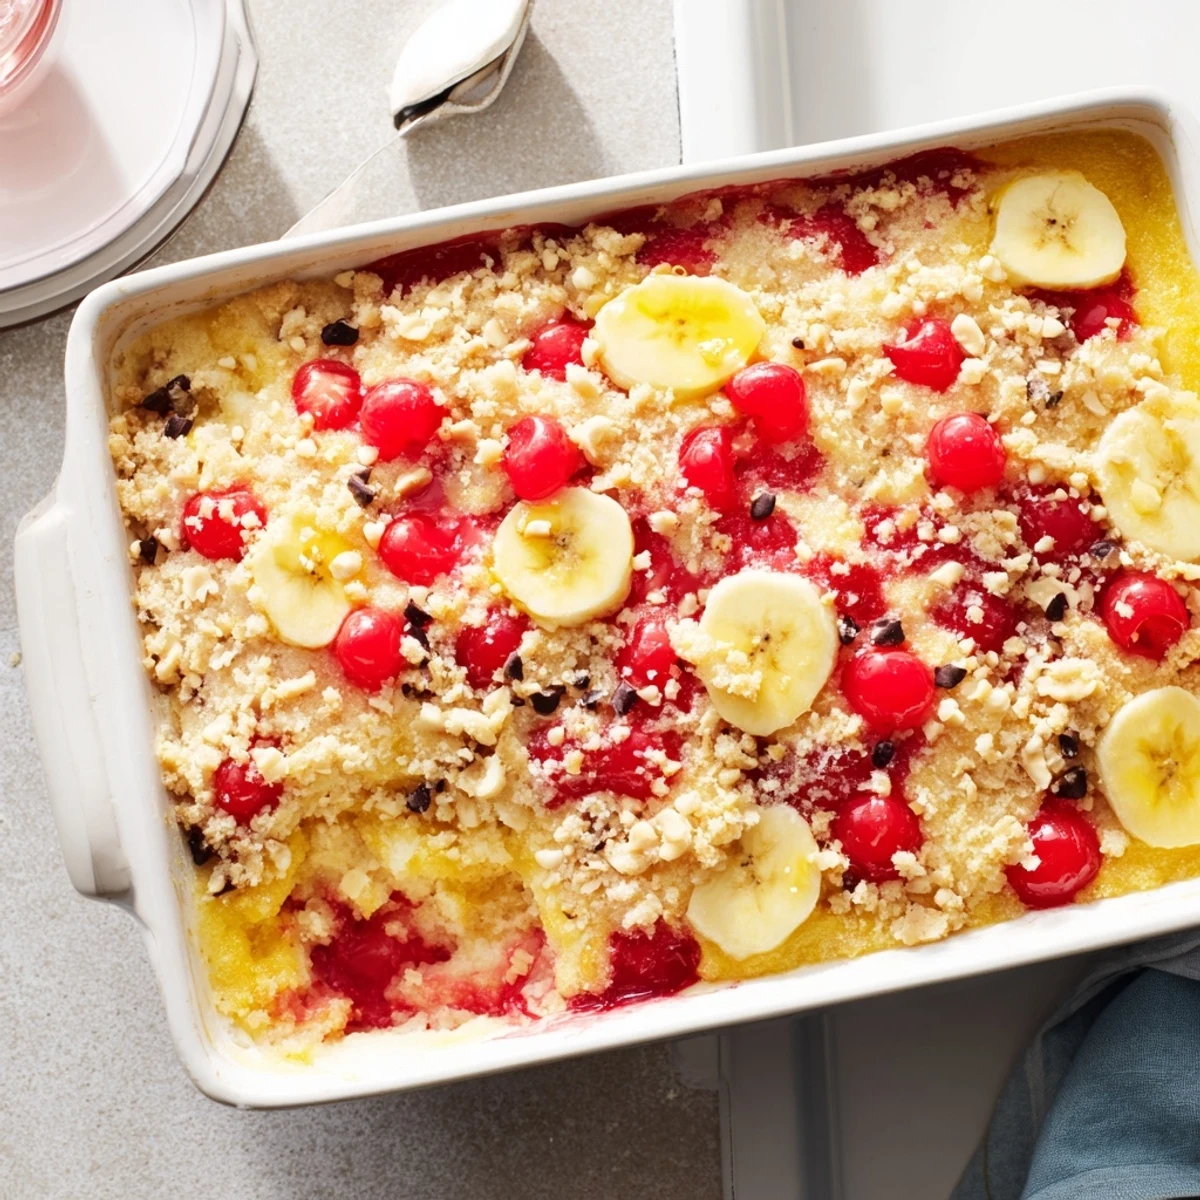
- 1 cup chopped walnuts or pecans: Optional but they add this lovely crunch that reminds me of nut toppings at the ice cream counter
- Whipped cream and chocolate syrup: Because some nights you just need the full sundae experience
Instructions
- Get your oven ready:
- Preheat to 175°C (350°F) and grease a 9x13-inch baking dish with butter or cooking spray
- Build the fruit foundation:
- Arrange banana slices in an even layer then spread the drained pineapple over them like a blanket
- Sprinkle the fun stuff:
- Scatter those bright cherry halves and chocolate chips across the pineapple layer
- Add some crunch:
- If you are using nuts now is the time to sprinkle them over everything
- The dump part:
- Pour the dry cake mix evenly over the entire fruit layer do not mix or stir
- Butter magic:
- Drizzle melted butter slowly back and forth until all the dry powder is moistened
- Bake until golden:
- Slide into the oven for 40 to 45 minutes until the top is golden brown and you see bubbles coming through
- The hardest part:
- Let it cool for about 10 minutes otherwise the hot fruit will burn your tongue
 Pin it
 My three year old helped me make this last week and kept asking when we could stir it. When it came out of the oven she took one bite and said I guess you were right Mommy.
Make It Your Own
Swap chocolate cake mix for the yellow if you want a double chocolate version. Sometimes I add coconut flakes because toasted coconut reminds me of the fancy sundaes my grandmother would order.
Serving Ideas
This is perfect warm but honestly I have eaten it cold for breakfast the next morning. A scoop of vanilla bean ice cream melting into the warm spaces is absolutely divine.
Storage Tips
Keep leftovers covered in the refrigerator for up to three days. The texture actually gets better overnight as the flavors meld together.
- Reheat individual portions for 30 seconds in the microwave
- Freeze unbaked portions wrapped tightly for up to two months
- Add fresh whipped cream right before serving for that fluffy topping
 Pin it
 There is something wonderful about a dessert that looks impressive but requires zero technique. This is the one I bring when I want people to think I tried harder than I actually did.
Recipe FAQs
- → Can I prepare this dessert ahead of time?
-
Yes, you can assemble all layers up to 24 hours in advance. Cover tightly with foil and refrigerate. When ready to bake, let it sit at room temperature for 15 minutes while preheating the oven, then bake as directed.
- → What's the best way to store leftovers?
-
Store any remaining dessert in an airtight container in the refrigerator for up to 4 days. The texture remains wonderfully gooey. Reheat individual portions in the microwave for 20-30 seconds to restore that fresh-baked warmth.
- → Can I use fresh pineapple instead of canned?
-
Absolutely! Use 2 cups of fresh pineapple chunks, finely chopped. Since fresh pineapple contains more liquid than canned, you may want to reduce the amount slightly or add an extra tablespoon of cake mix to absorb the excess moisture during baking.
- → How do I know when it's done baking?
-
The dessert is ready when the top is evenly golden brown and you see the fruit filling bubbling up around the edges, usually after 40-45 minutes at 350°F. The cake should feel firm to the touch but still have some give in the center.
- → Can I make this without butter?
-
You can substitute melted coconut oil or a plant-based butter alternative in equal amounts. The texture and flavor will vary slightly, but the dessert will still bake into a delicious treat. Margarine also works as a direct substitute.
- → What size pan works best?
-
A 9x13-inch baking dish is ideal for this recipe, providing enough surface area for even baking and proper depth for the fruit layers. An 11x7-inch pan works too, but may need 5-10 minutes extra baking time due to increased depth.